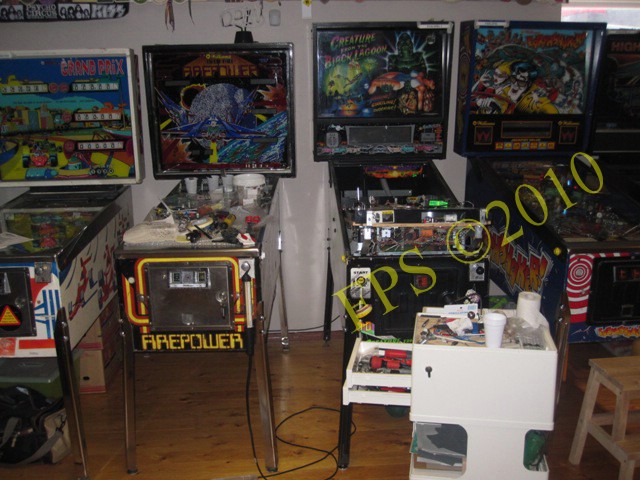
- Home Old school pinball <1985
- Grand Prix (EM) 1976
- Firepower (Sys 6) 1980
- Space Mission (EM)1976
- Genie (SS) 1979
- Magic Castle (SS) 1984
- Black Knight (SS) 1980 New school pinball >1985
- High Speed (Sys11) 1986
- Earthshaker (Sys11) 1989
- CFTBL (WPC) 1992 Arcade Project
- JK-Cabinet with MAME Contents CFTBL
- Playfield Cleaning
- CFTBL Mods
- Backbox Refurbishing
- Before-After Pictures
- Refurbishing Diary
- Finished Project
- Dokument - Flyer
|
Language |
|
|
Bally CFTBL (WPC) 1992 Refurbishing Project - Part I!
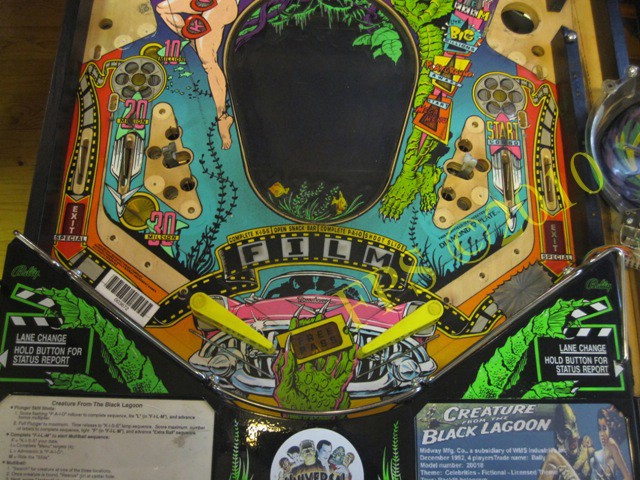
CREATURE FROM THE BLACK LAGOON - PLAYFIELD REFURBISHING
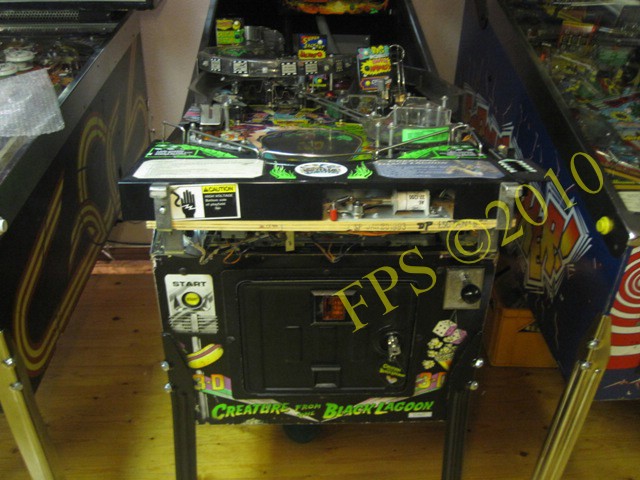
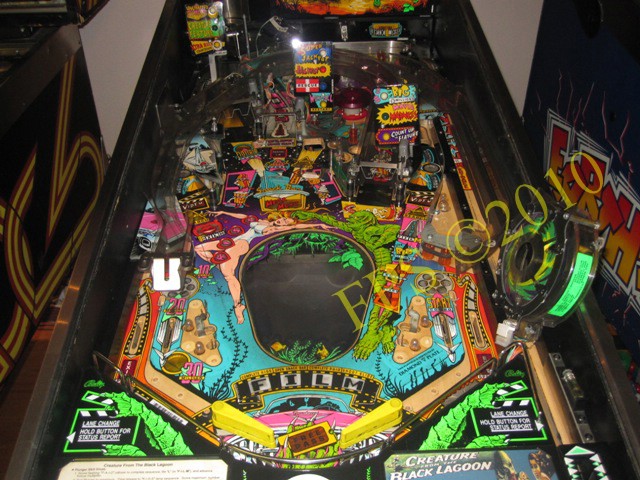
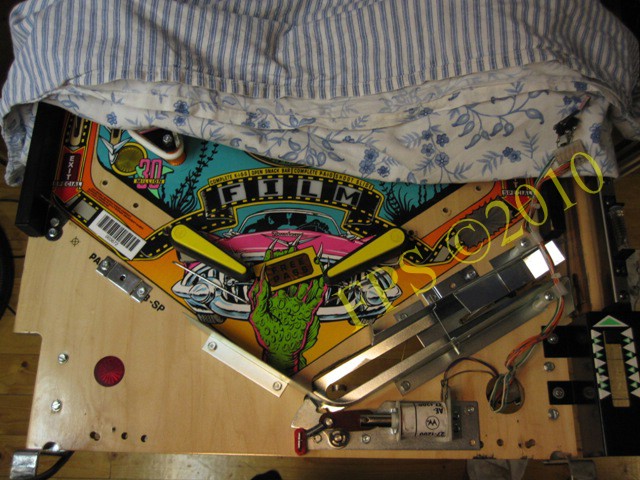
Now it was time to shop the playfield on the Creature From The Black Lagoon after being in my possession for just over two years. There has never been time to do this work since there always has been new pinball project to work on. But now it was time to do a playfield refurbishing.
PLAYFIELD BEFORE REFURBISHING
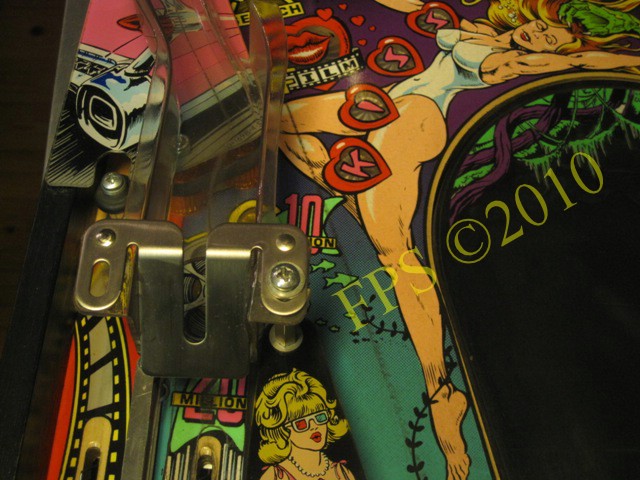
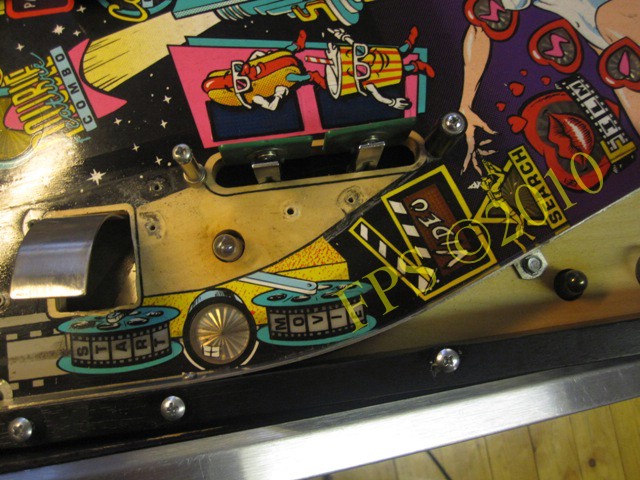
Left side of playfield at slingshot.
 |
 |
Right side at Bowl ramp.
 |
 |
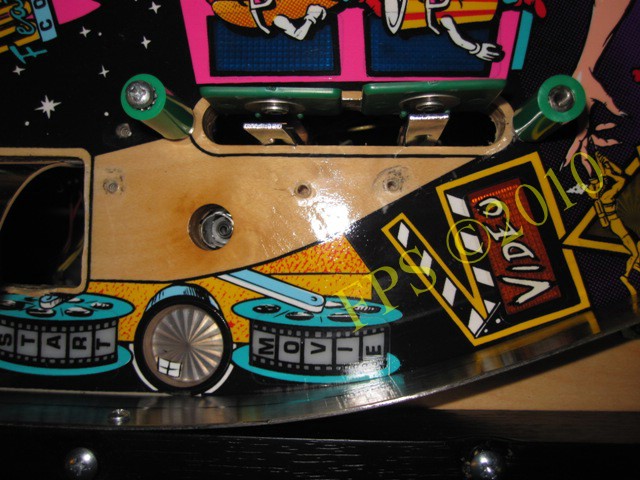
Left side at inlane and ball drop from ramp.

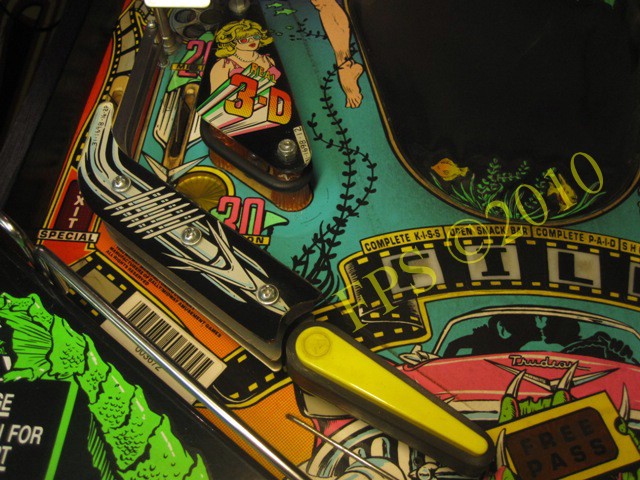
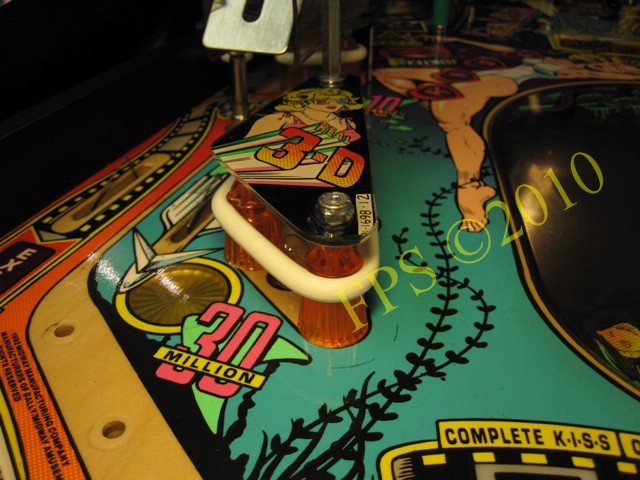
Entrance to K-I-S-S orbit.
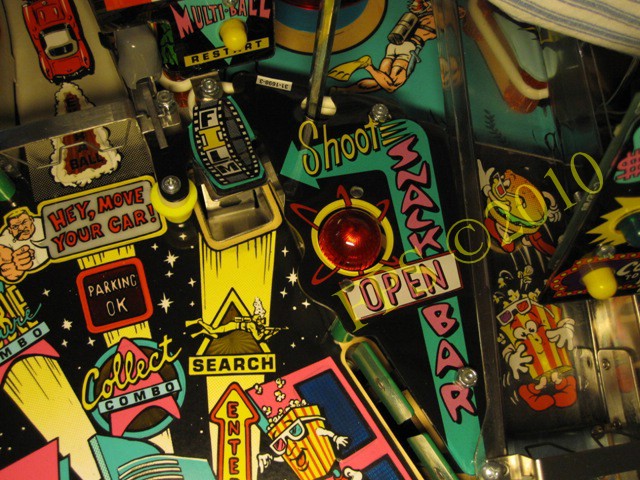
Area at Snack Bar hole.
 |
 |
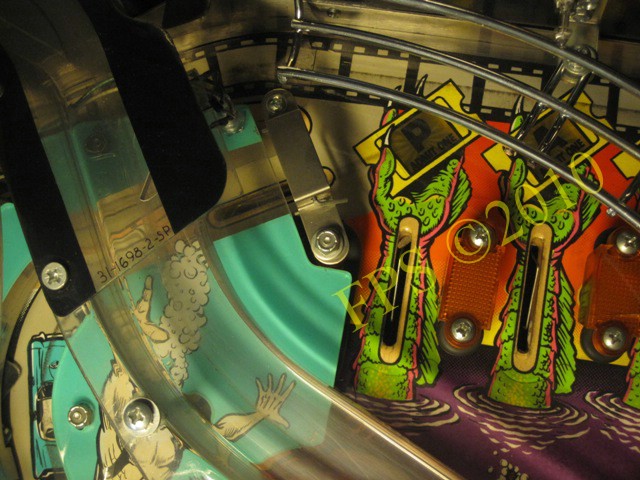
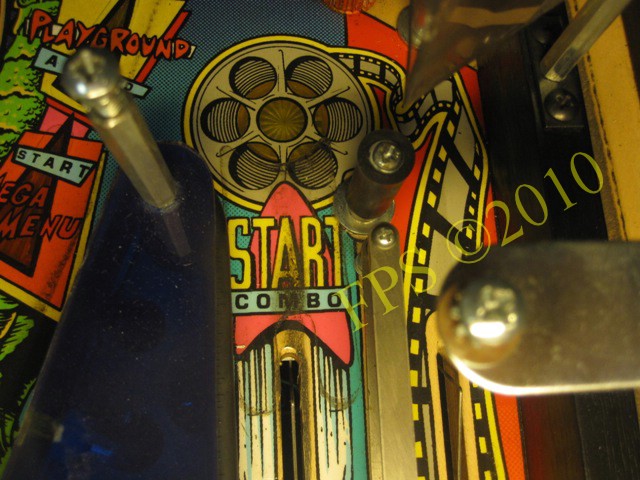
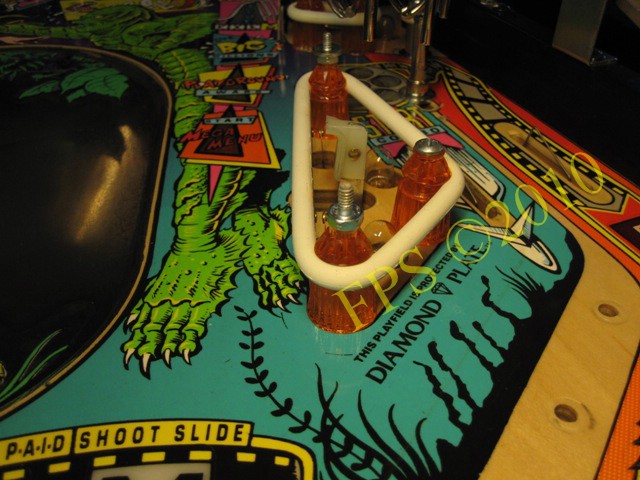
Entrance for center ramp and Slide orbit.
 |
 |
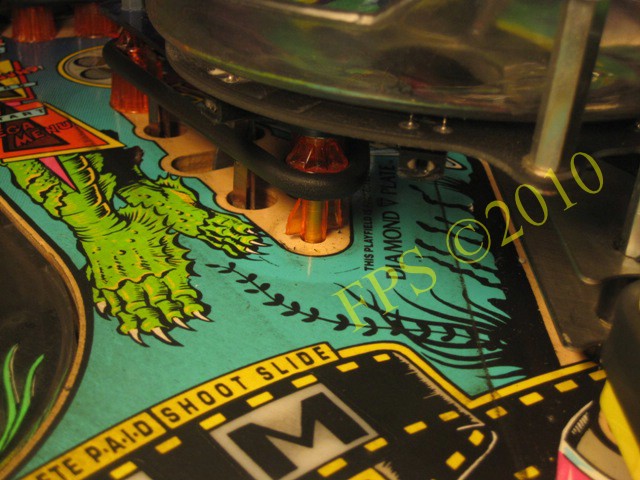
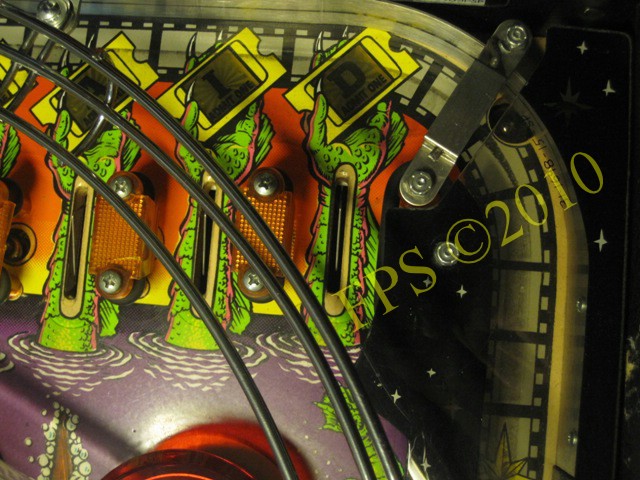
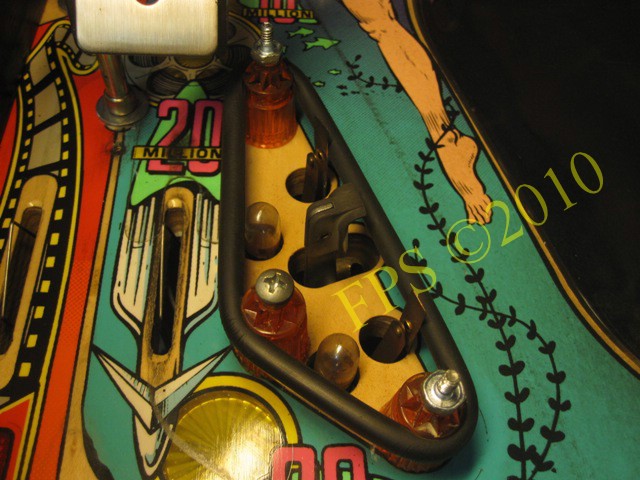
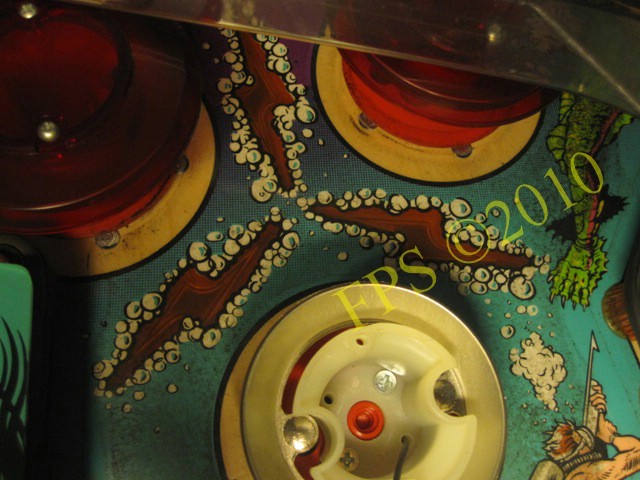
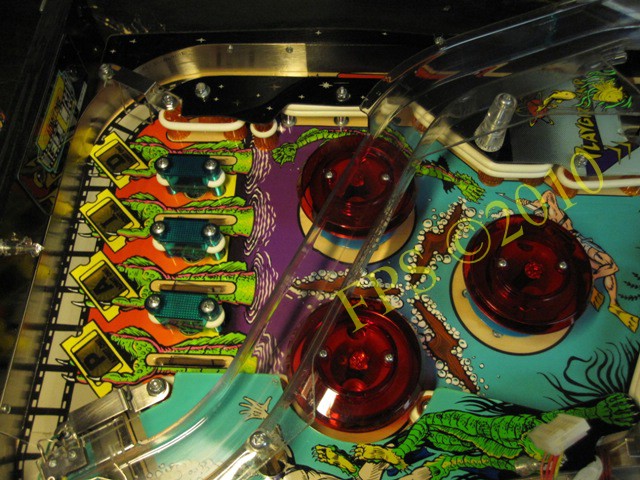
Upper area at P-A-I-D orbits.
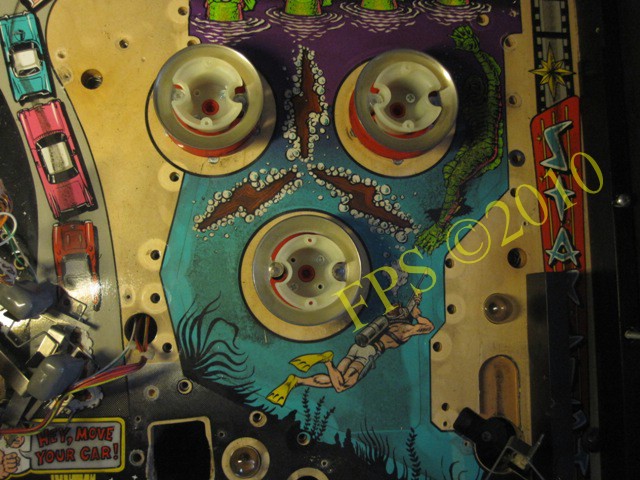
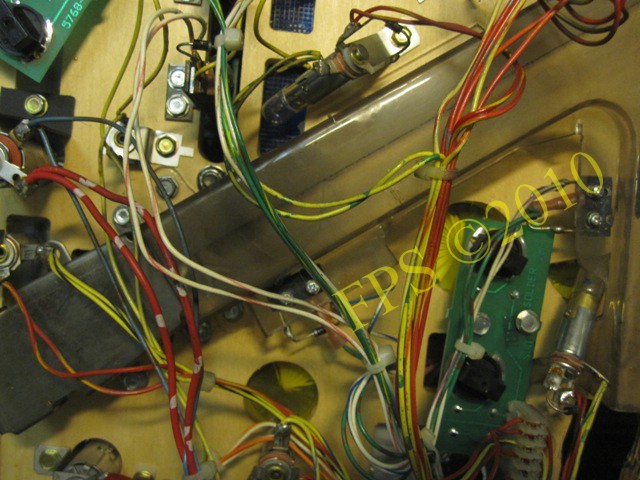
There was a lot of dirt on the playfield around pop bumpers.
 |
 |
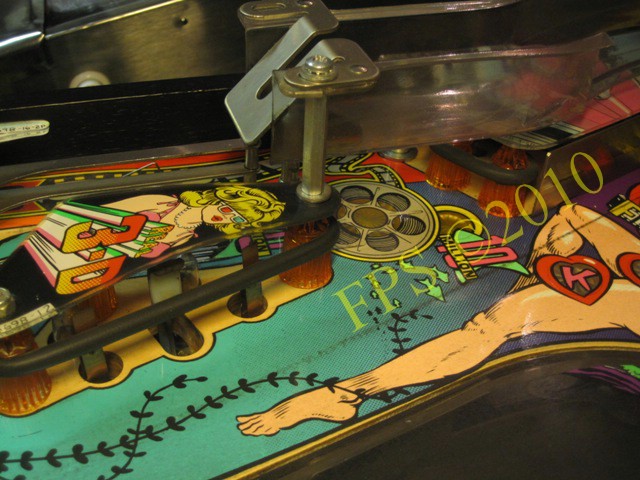
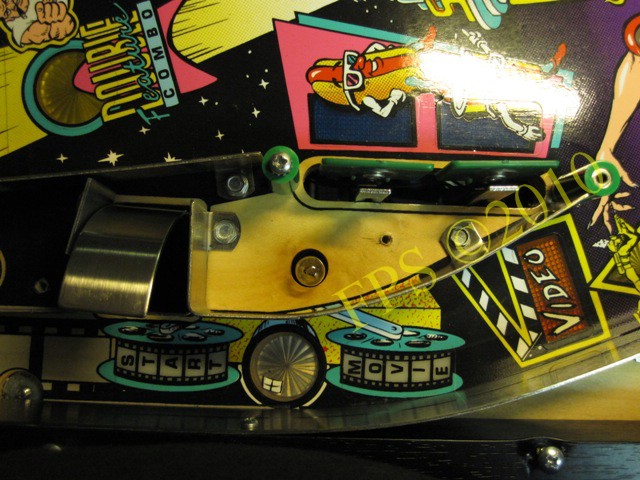
Ball view left ramp and Hey, Move Your Car! and right ramp.
Playfield plastic removed from left slingshot.
 |
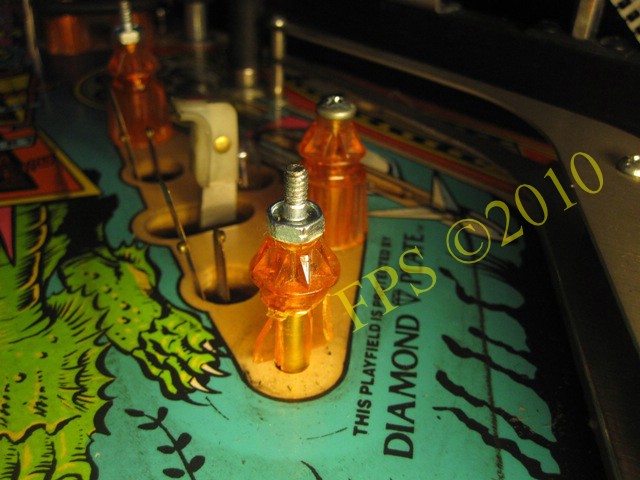 |
Here we see the area underneath Bawl ramp, notice that one orange plastic post has been completely destroyed.

The mirror in the cabinet was broken in one corner.
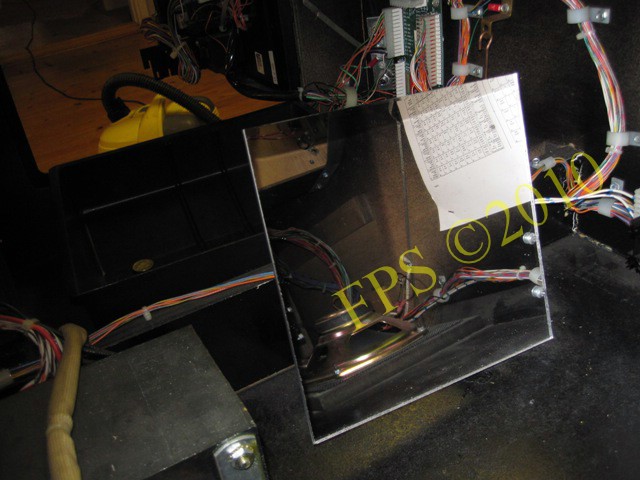
New mirror ordered from local mirror shop and installed.
The lower part of the playfield clean from playfield parts.
The area around the Snack Bar hole clean from playfield parts.
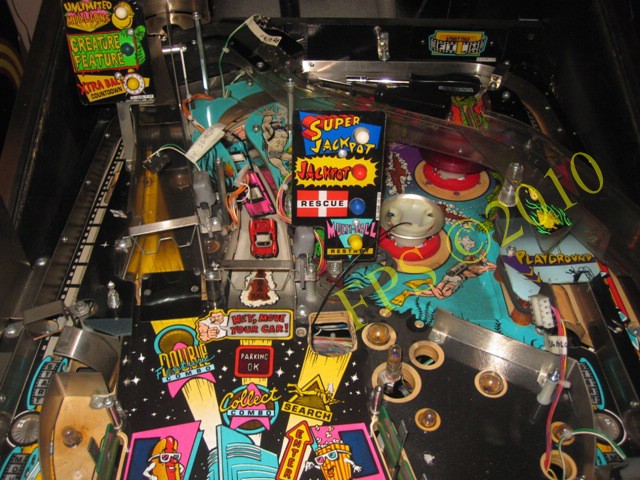
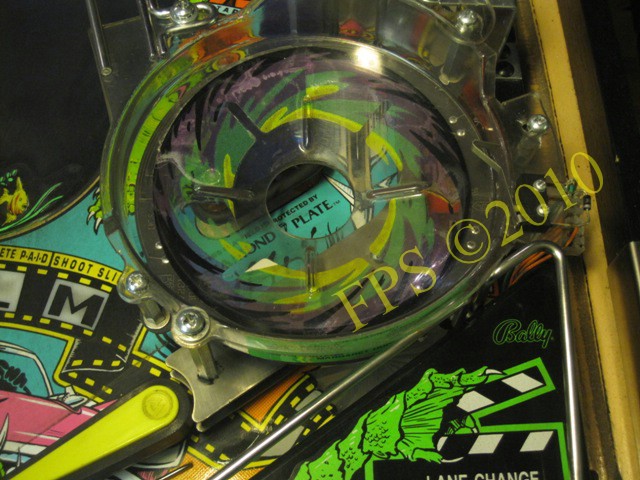
Actually a big part of Creature From The Black Lagoon playfield consists of ramps.

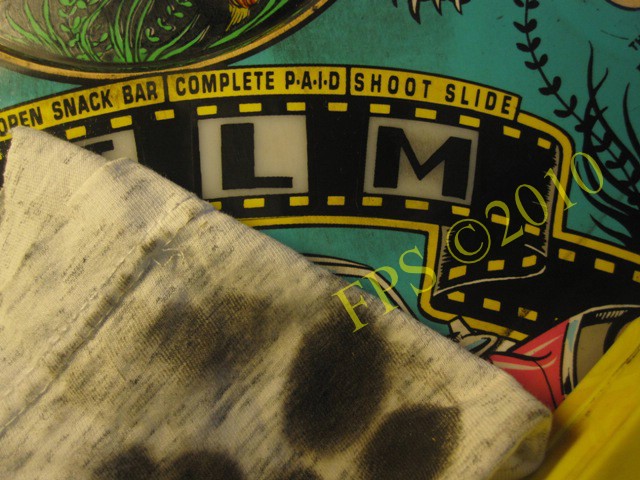
See what the cat dragged in - a part of the broken Snack Bar plastic is showing up in Hey, Move Your Car! orbit. We can see obvious dirt after the ball in the middle of the orbit.
 |
 |
As earlier mentioned the surface at pop bumpers was really dirty.
 |
 |
More dirt.
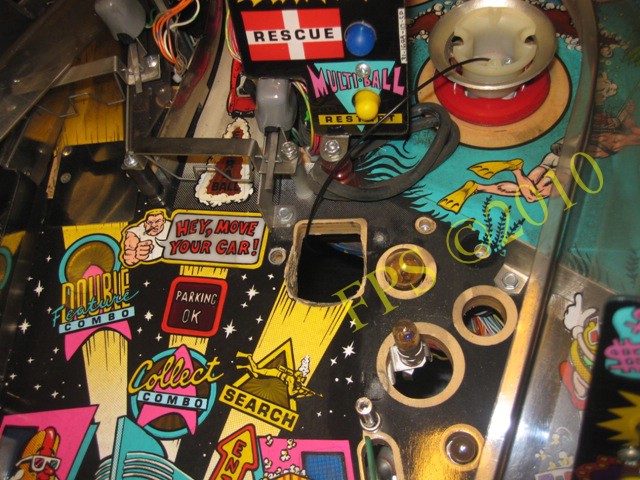
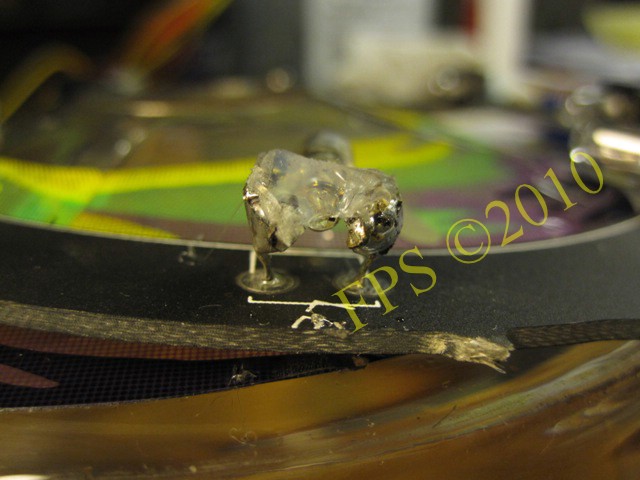
Oops, not every day you find a coin underneath the playfield plastics.
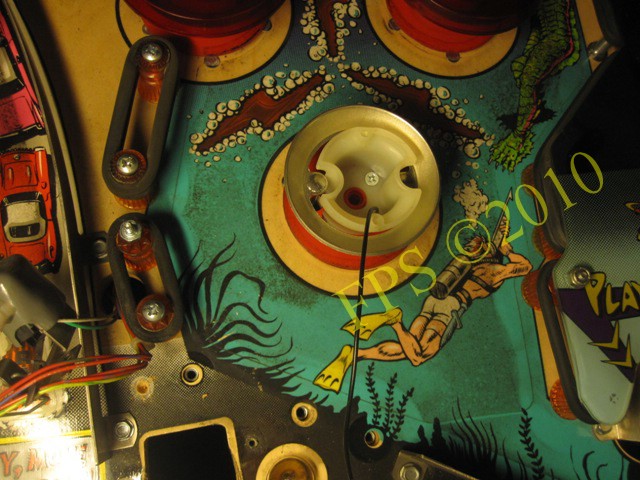
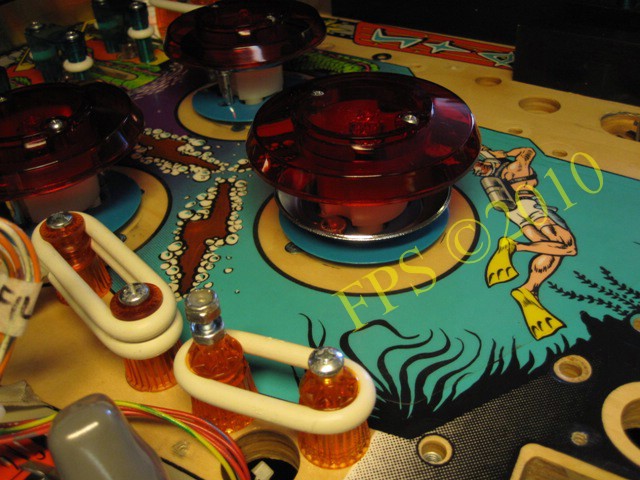
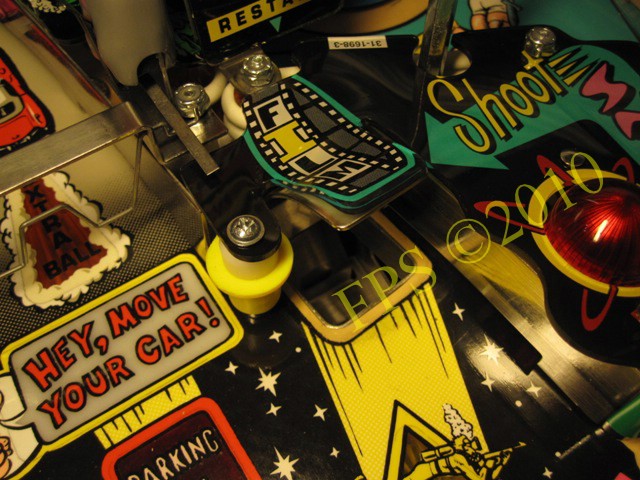
POP BUMPER LAMP MOD TEST
 |
 |
I have wondered for a long time why it is so dark at the pop bumpers on the Creature From The Black Lagoon. Almost every pinball machine I have played has some form of lighting in the pop bumpers, but not Creature From The Black Lagoon. Here is a test with a conventional lamp bulb # 47 provisionally mounted in the pop bumper to see how it looks with lights installed. See further in menu Playfield mods.
REFURBISHING CONTINUOUS
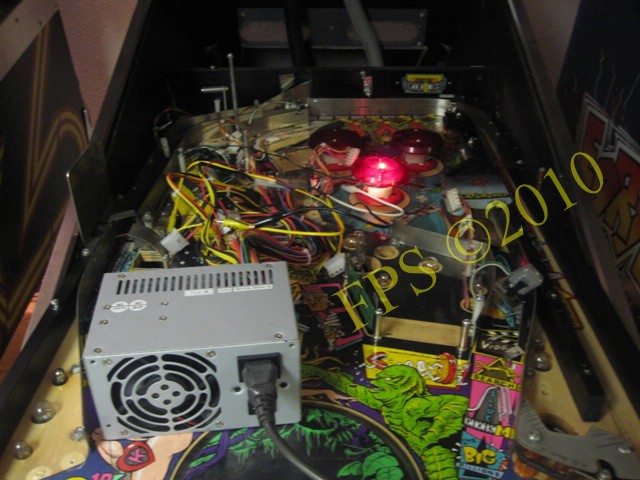
The work goes on to clean the playfield.

Center ramp hanging for drying after washing.
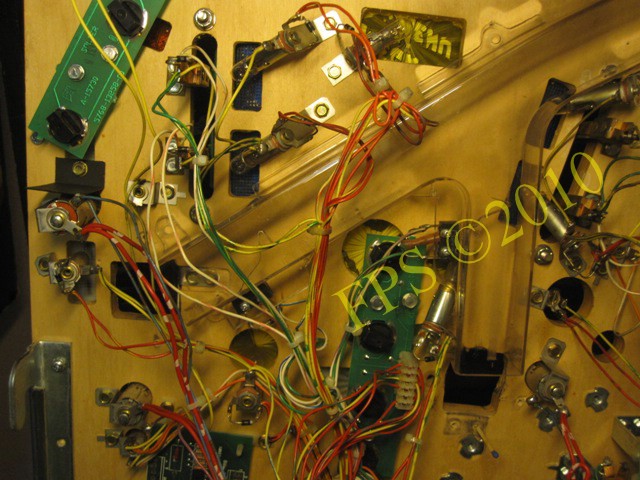
Right side of the playfield at Slide orbit, do not forget to clean the ball popper.

Right side.
Playfield underneath upper right playfield plastic.

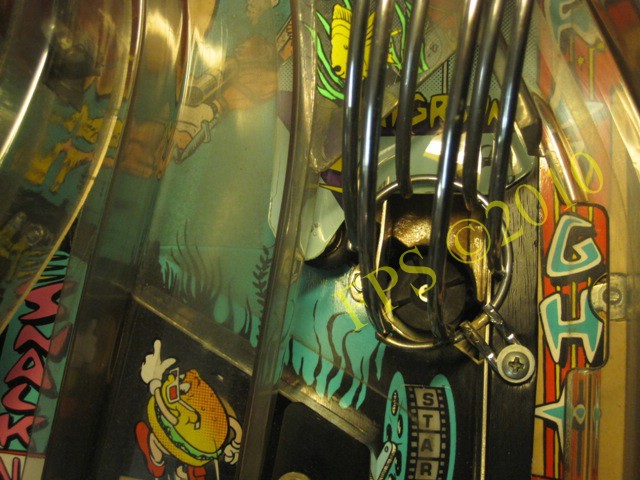
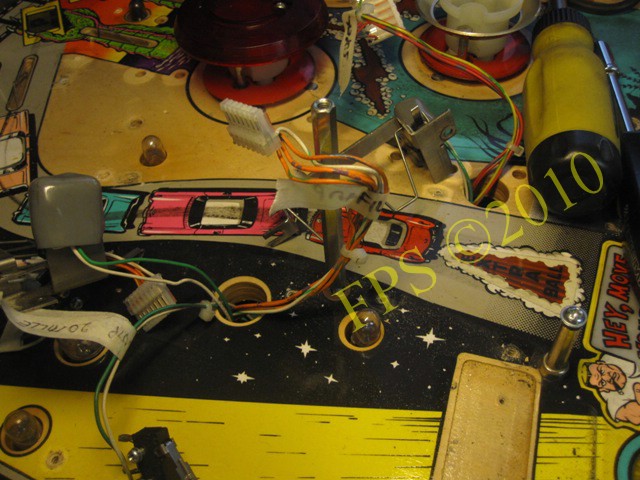
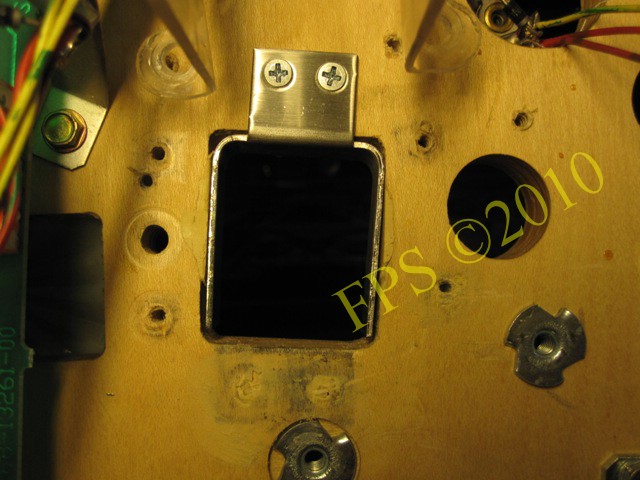
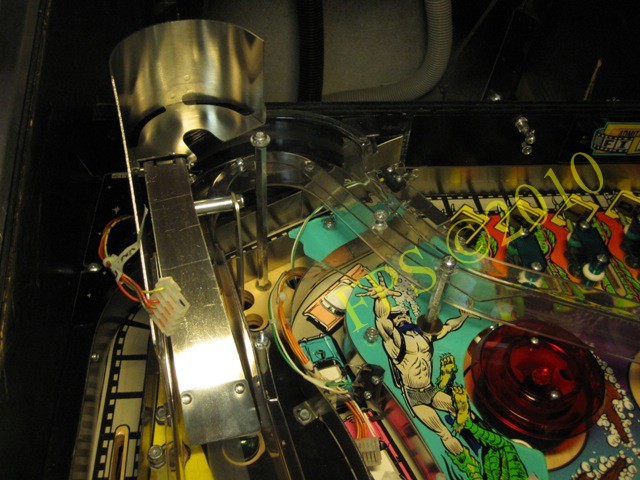
Upper right Ball gate - wire form seems to be of its own production when it actually should be made of a thinner wire.
 |
 |
A lot of dirt from the balls.
 |
 |
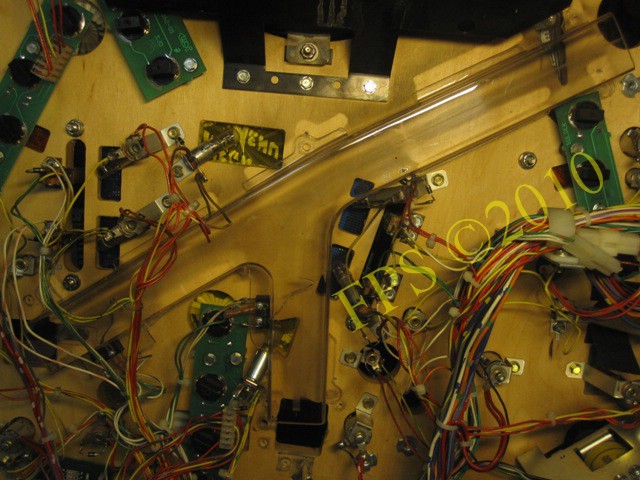
Left side of the playfield.
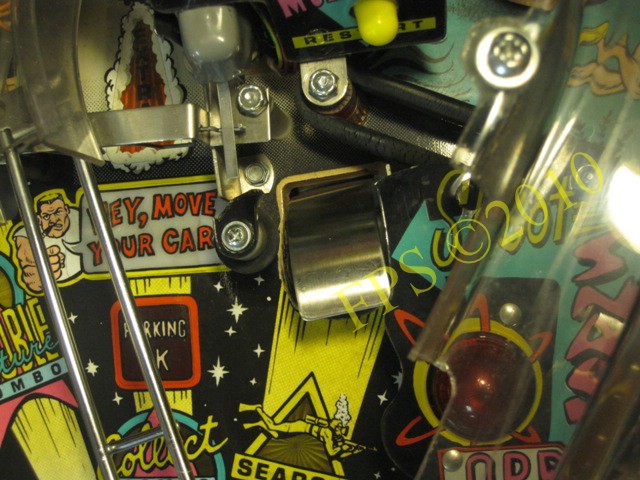
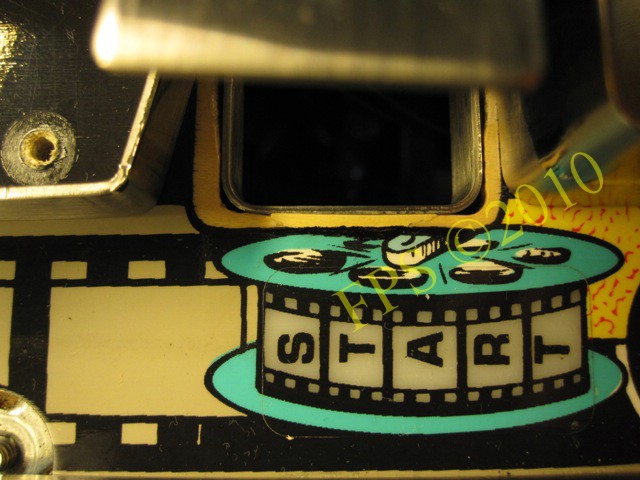
Hey, Move Your Car!.

The upper part of the playfield before cleaning with Novus 2 and finally waxing with Carnauba wax.
Middle part of the playfield.
Lower part of the playfield.
Here was a lot of dirt in the surface.
Here we see how dirty the cloth becomes when I clean the playfield with Novus 2.
Polishing metal parts with Autosol, ball guides.
 |
 |
The trough underneath the playfield was just full of dirt.

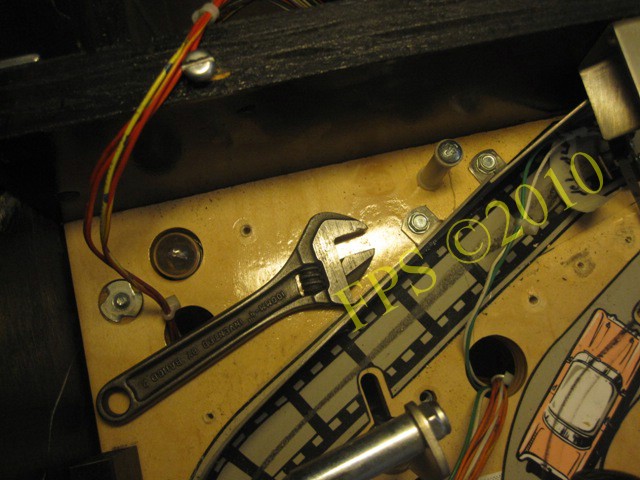
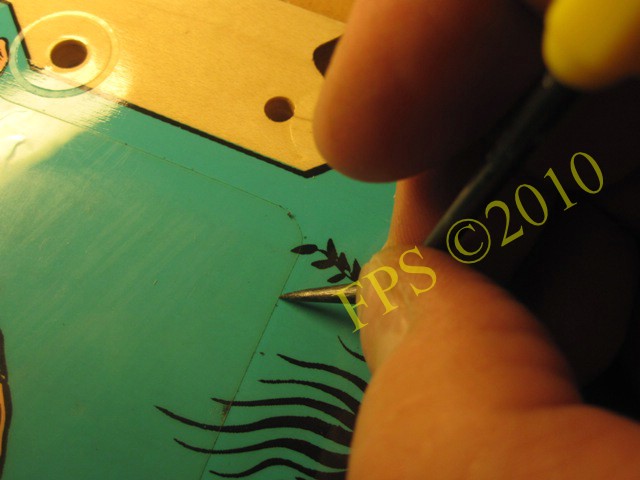
Repair of holes to attach the deflector. The screws do not want to sit down properly so I filled the holes with a piece of a match and plastic wood.
Trough after cleaning.
Do not forget to clean the switches, which sit inside the through.
A lot of dirt is collected at the edge of the Mylar. The dirt that sits here is often difficult to remove so to my help I gently scrape the edge with a blunt tip.
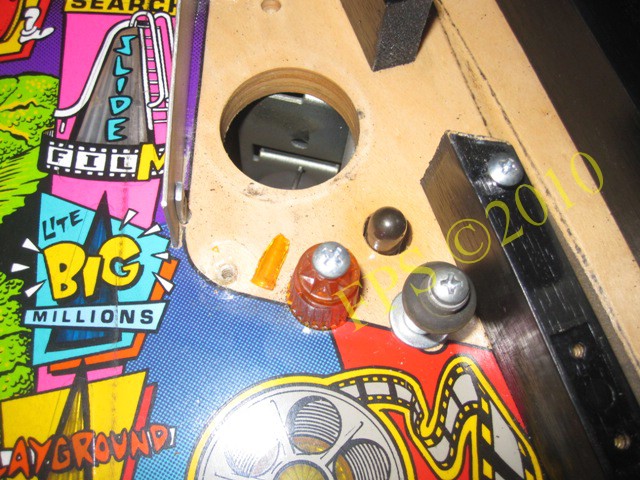
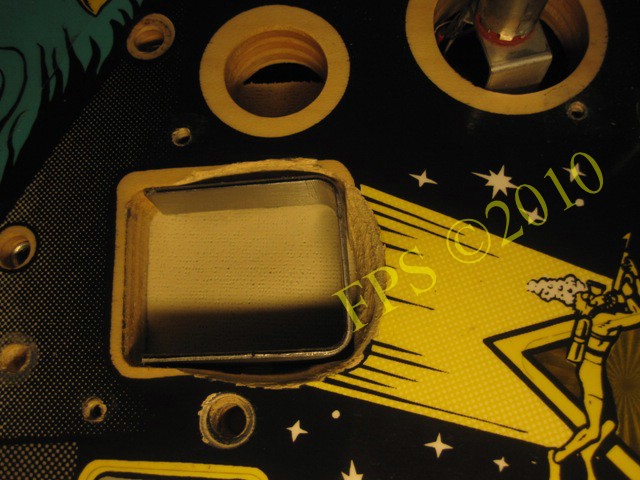
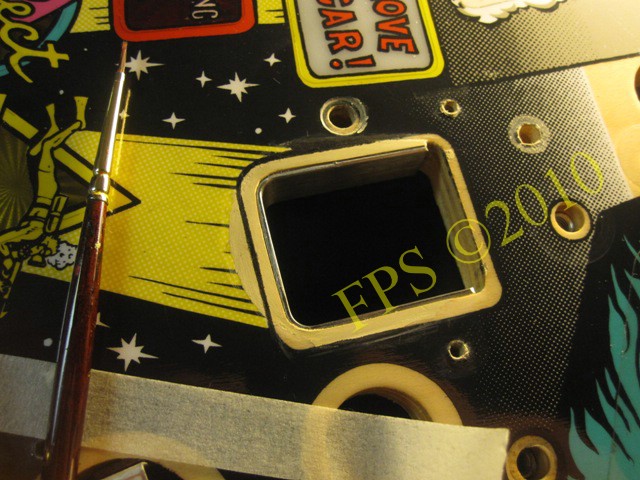
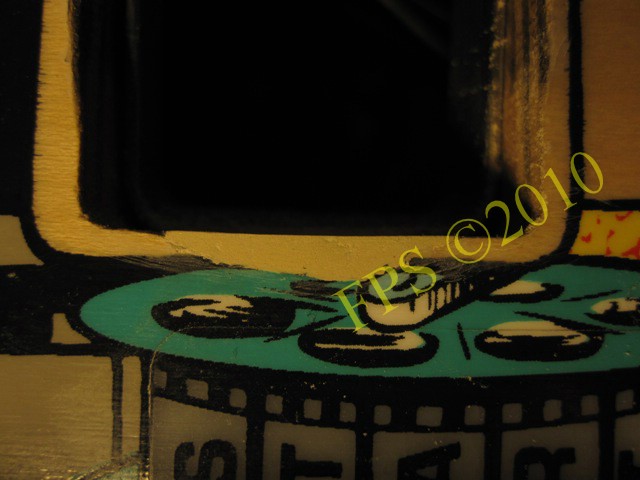
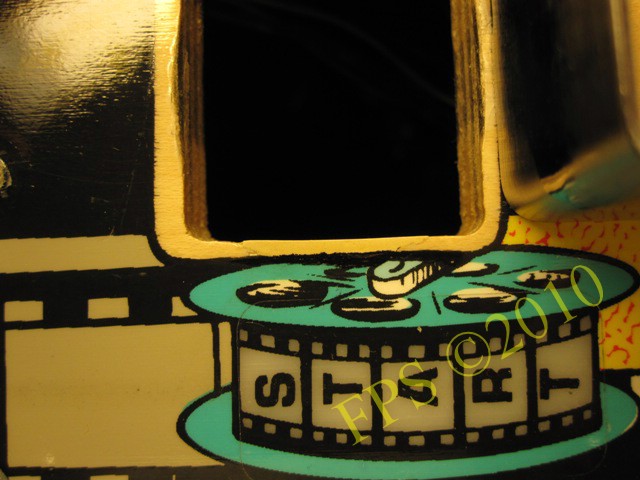
HOLE PROTECTORS
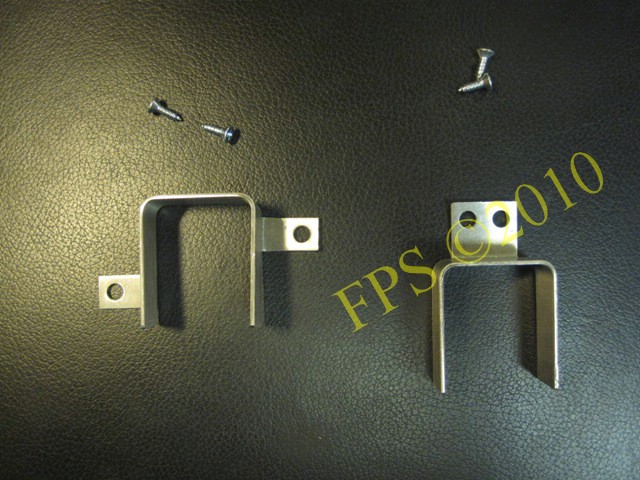
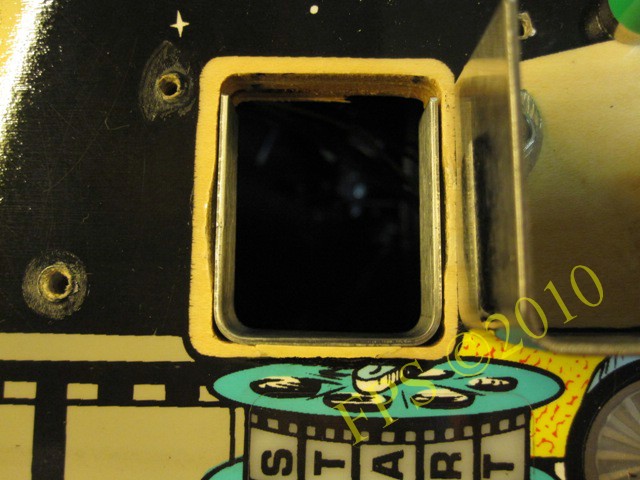
Hole protectors, left is for the K-I-S-S hole and right is for the Snack Bar hole.
 |
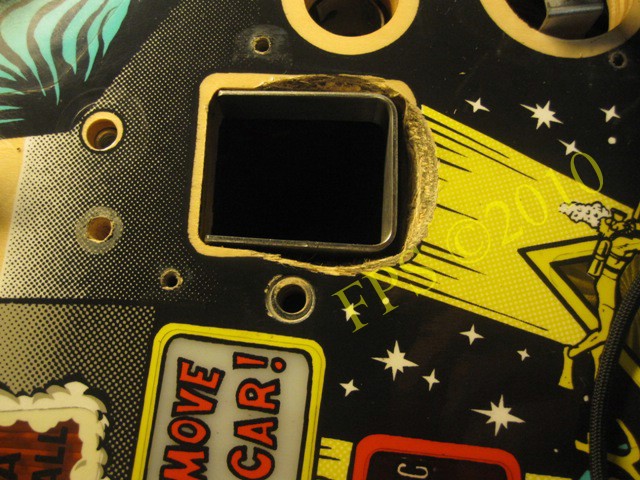 |
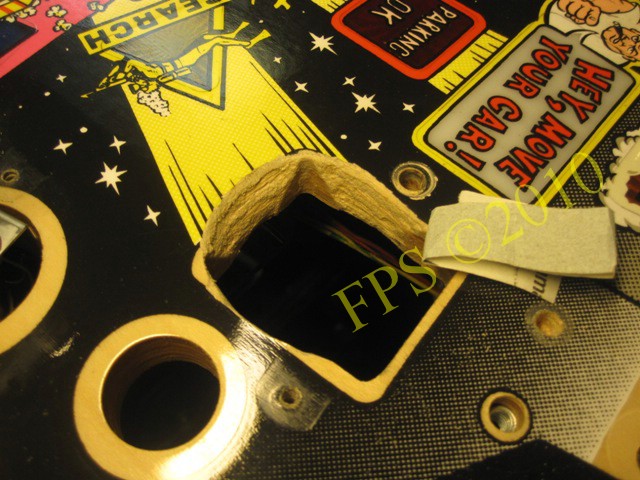
Here I have assembled protector for Snack Bar hole and we are now seeing how much the balls have torn down the edge of the hole. This edge must be built up again and I do so with chemical wood.
 |
 |
First I grind the edges very carefully with a sandpaper grain size #400 and then with grain size #1000.
 |
 |
I rub in some of protector with petroleum jelly and then I add a little chemical wood too see if it comes loose after drying. The chemical wood detached fine after it has cured. Now I can rub in the whole protector with petroleum jelly before I attach it to the hole and fill with chemical wood.
 |
 |
Protector in place and tape over the hole to avoid any of filling mass to fall down into the cabinet.
 |
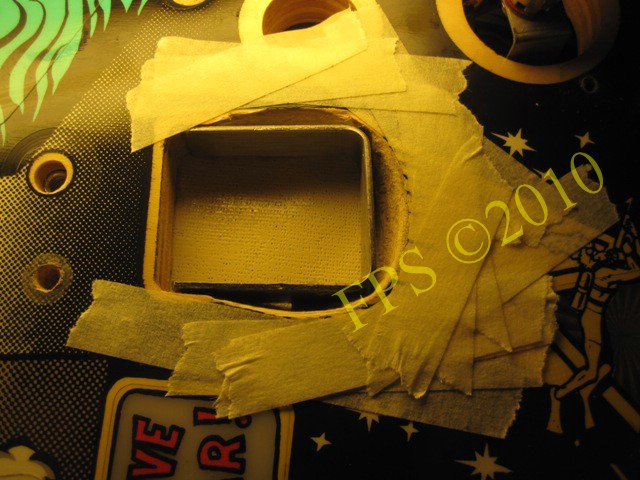 |
Before I fill the edges with chemical wood I mask of surrounding surfaces.
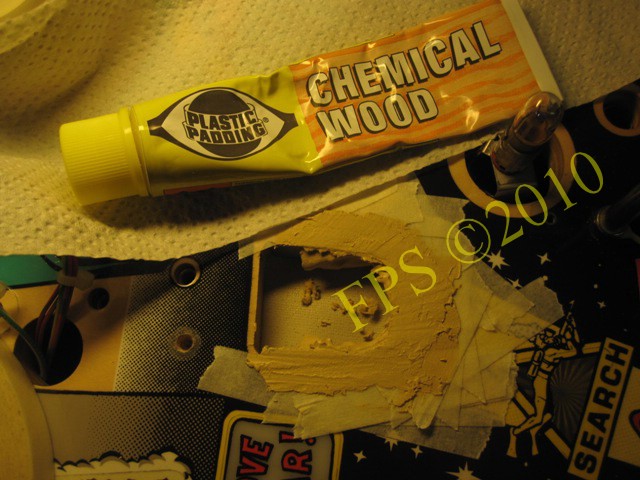
Chemical wood from Plastic Padding is used, it hardens quickly and can be sanded after 15 minutes.

Now I have filled the entire area with chemical wood.
 |
 |
Here is how it looks after very careful sanding with sandpaper grain size #400.
Hole after sanding.
 |
 |
First I paint the black contour line with black acrylic paint. Then I paint the yellow field and it was very difficult to match the original yellow colour. Finally I put a brown okra around the edge of the hole to imitate wood stains. When the paint has dried I varnish with two coats of floor varnish.
K-I-S-S HOLE PROTECTOR

Although the edge of the hole K-I-S-S was torn down and needed to be filled out with chemical wood to avoid a pit between playfield edge and the hole protector where the ball can get caught.
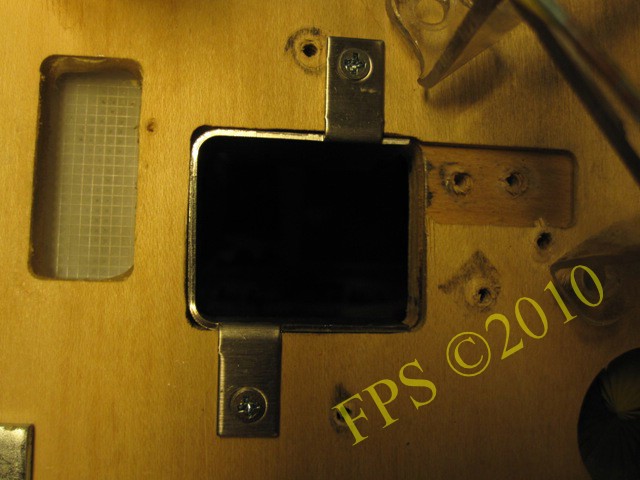
Hole protector attached with screws from the back side of the playfield.
 |
 |
Here I have sanded down the chemical wood very carefully with sandpaper grain size #400.
The result after painting and clear coating, now it's just to attach the hole protector from the backside of the playfield.
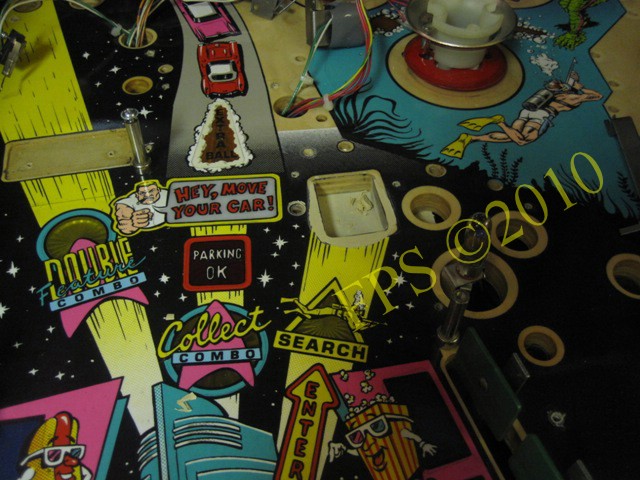
Finally with hole protector in place.
CURIOSITIES I
 |
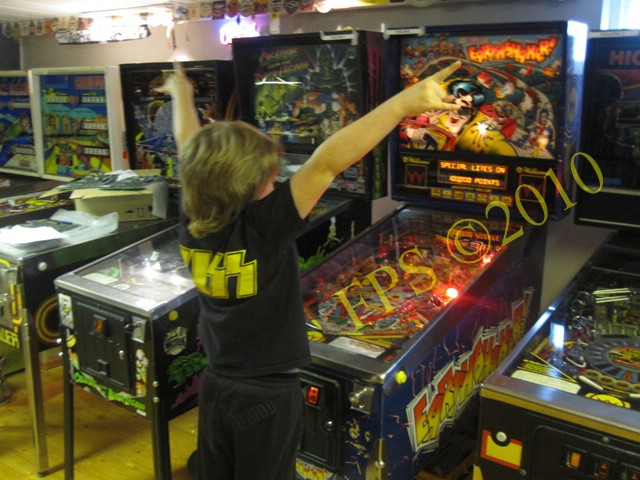 |
If you not do pinball refurbishing, you can always play.
PLAYFIELD REBUILD
 |
 |
 |
 |
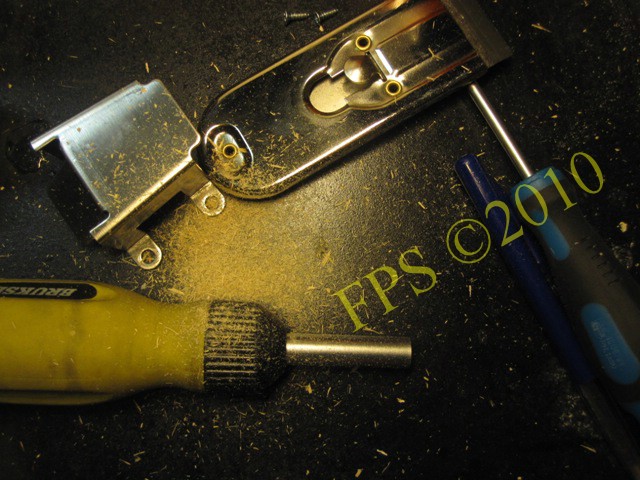
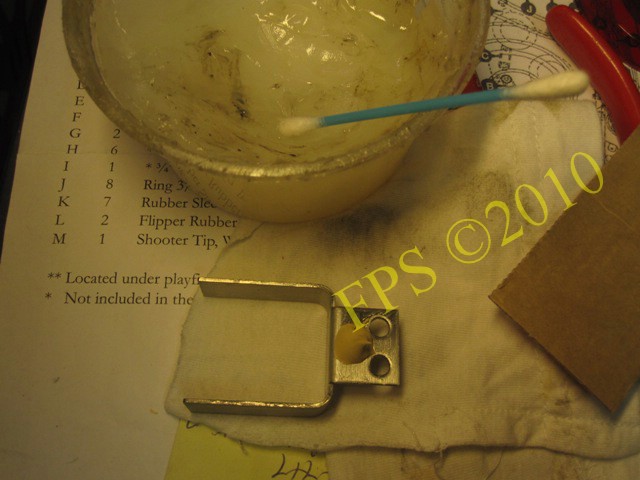
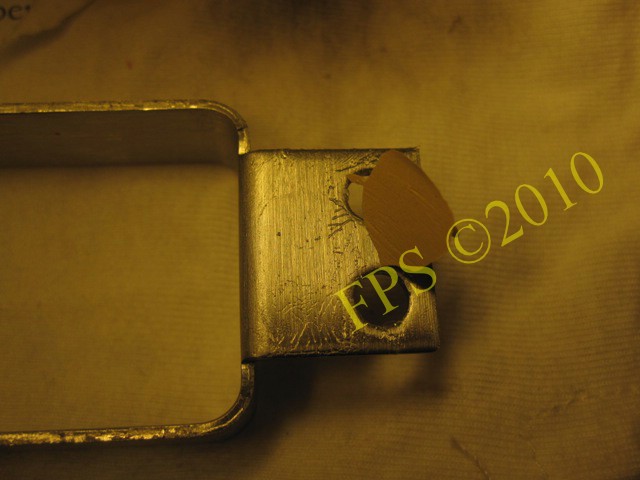
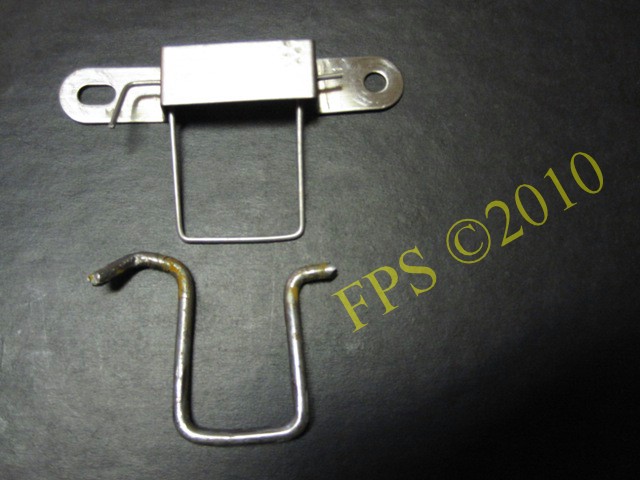
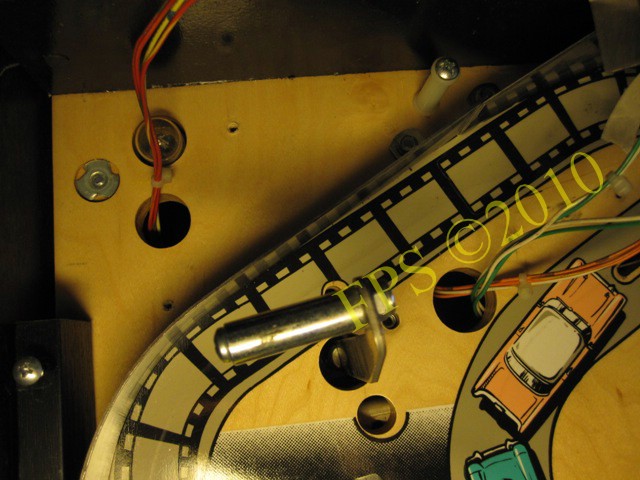
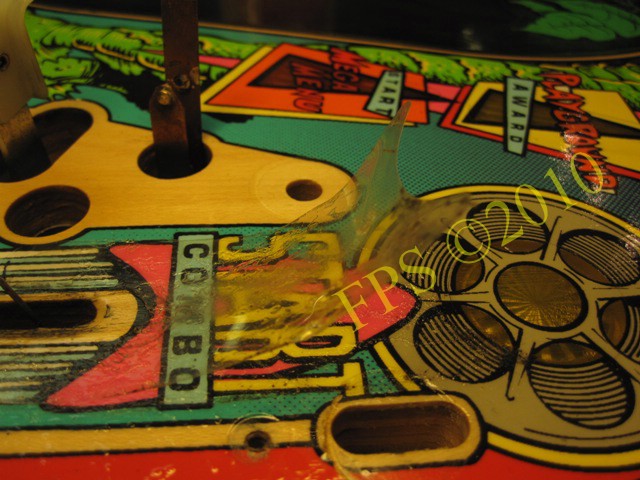
Wire form to the ball gate was not the original as I had to make a new one of a thread 1.5 mm thickness.
 |
 |
 |
 |
 |
 |
 |
 |
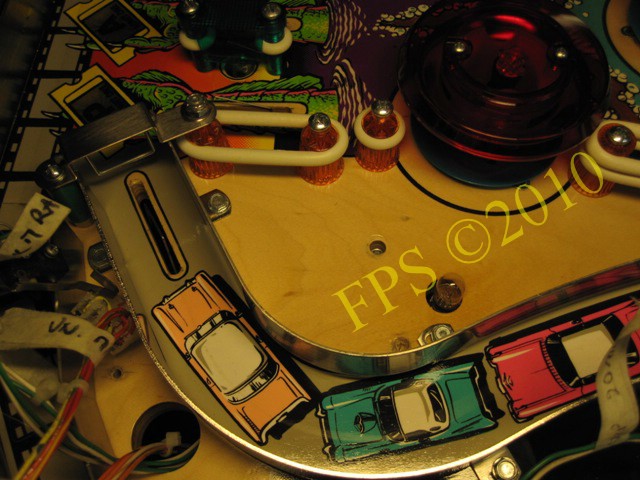
The center ramp was broken, so I got repair it with two-component glue (Araldite) and a sheet of plastic was attached on the outside as a reinforcement. Then I filled the edge around the plastic sheet with hot melt glue to even more increase the strength of the repair.
 |
 |
 |
 |
 |
 |
 |
 |
 |
 |
 |
 |
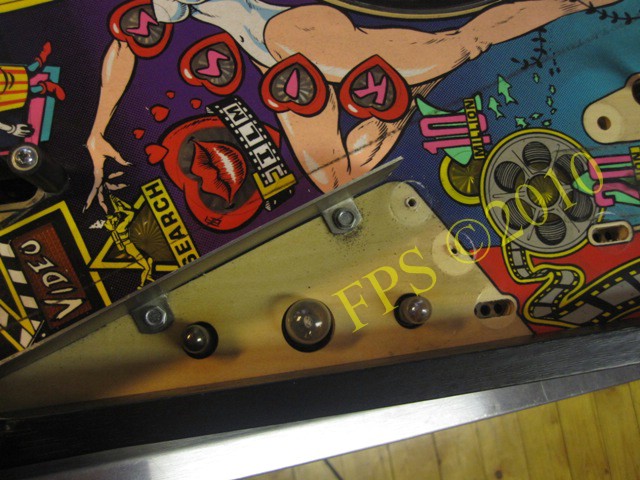
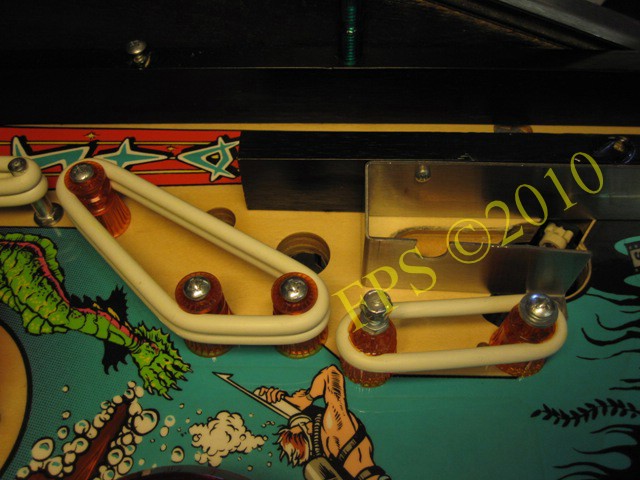
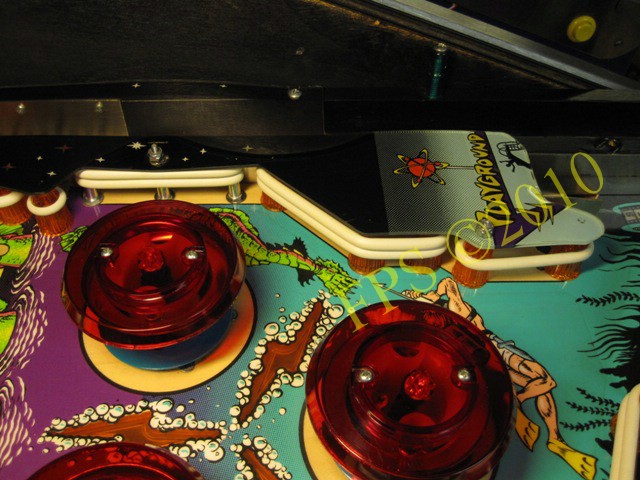
Left and right slingshot area after rebuild.

Ball view.
 |
 |
As always do not forget to clean underneath the Apron since a lot of dirt is collected here and it is often easy to leave this area without cleaning.
Area after cleaning.
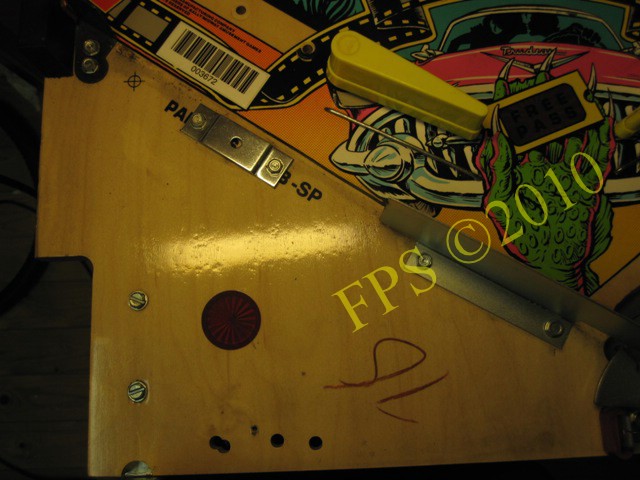
One of the bawl ramps lamps housing was broken and missing so I just attached a #89 lamp on the pins that war left with hot melt glue.
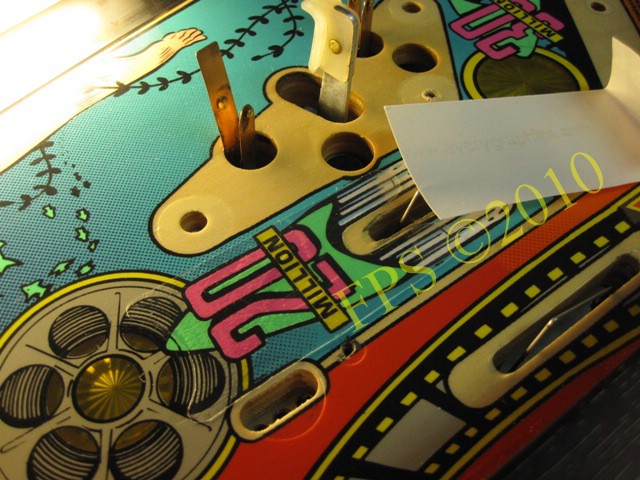
NEW PLAYFIELD PLASTICS
 |
 |
It is common on the Creature From the Black Lagoon that the K-I-S-S and Snack Bar plastics is broken so new plastics will be installed.
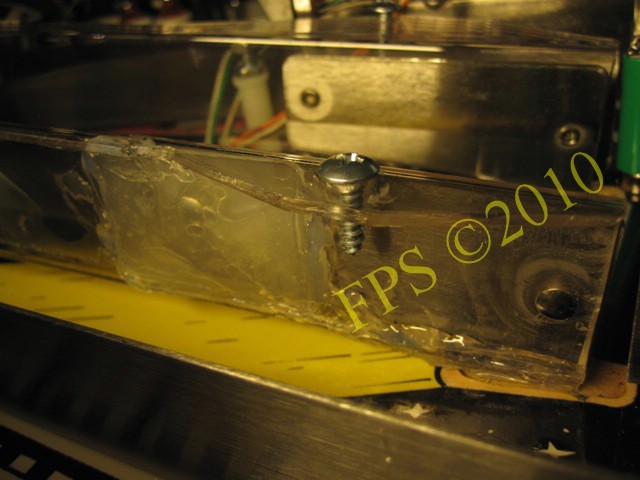
The K-I-S-S plastic is bent over the deflector bracket when it is attached with screws and stress is built into the plastic which makes it easier to crack if hit by a ball.
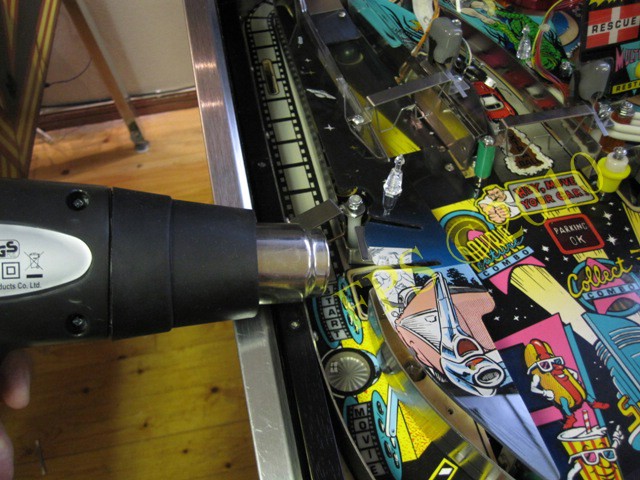
To avoid that stress is built into the plastic I gently heat up the plastic with a air gun so that it conforms to the deflector bracket when it is fastened.
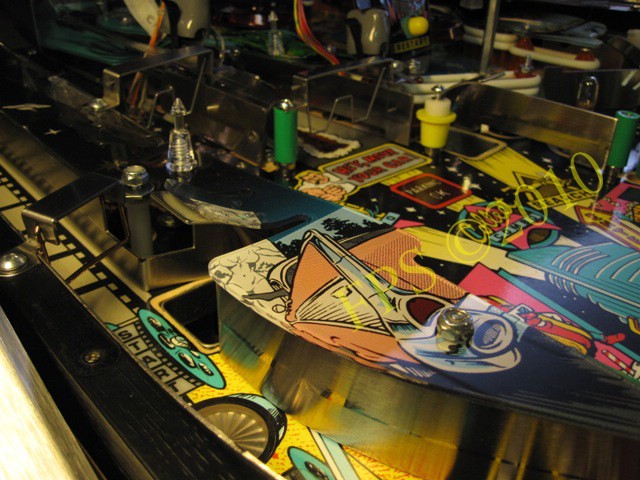
Here we see how the plastic following the surface of the deflector bracket.
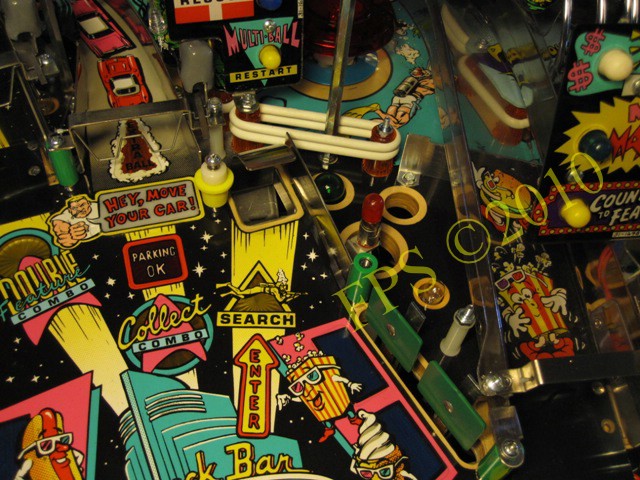
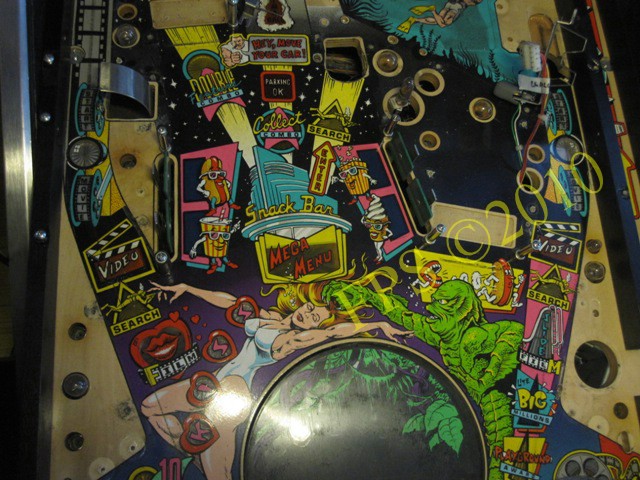
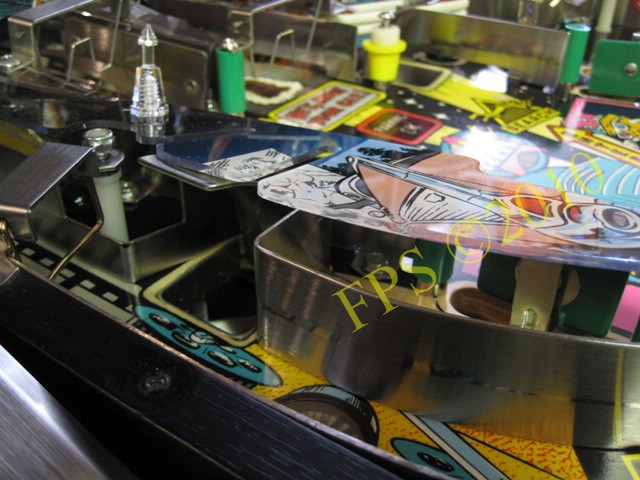
The area around the Snack Bar hole before the plastic is installed, notice the green flashers and the red light for "Shoot Snack Bar".
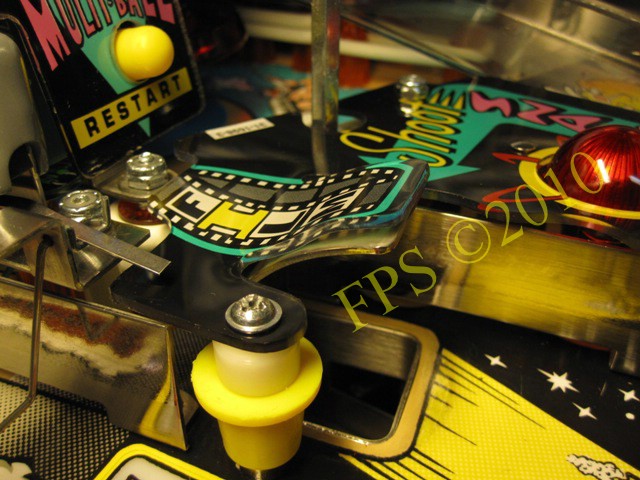
Same principle as above is used when fitting the Snack Bar plastic.
 |
 |
MYLAR REMOVAL

Mylar patches is attached at inlanes to protect the playfield from ball drops from the ramps. These were a little bubbly and full of dirt and sometimes the ball would get stuck at the line separating inlane/outlane and to prevent this I cut out new pieces of Mylar.
To loosen the Mylar from the playfield I used a spray Label Off from auto part store Biltema that effectively dissolves the glue without damaging the playfield.
Then I made a template of paper from the original Mylar and use it to cut out new Mylar.
 |
 |
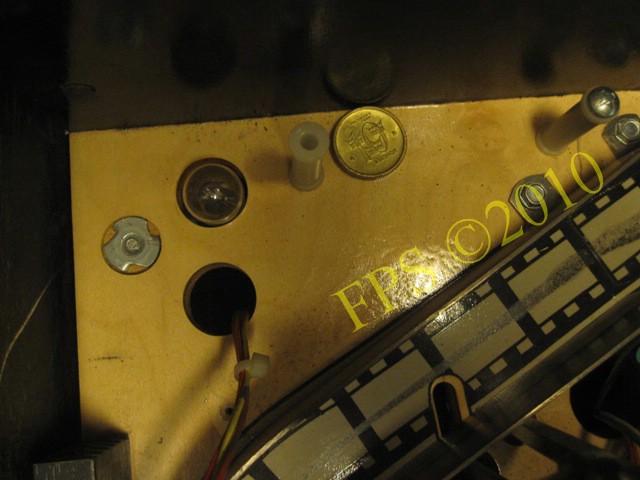
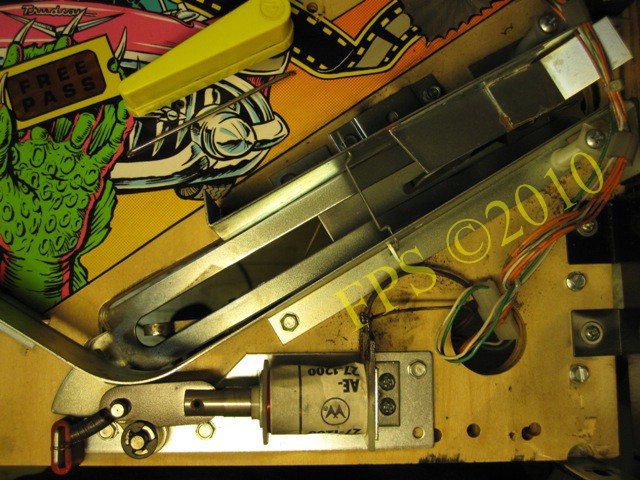
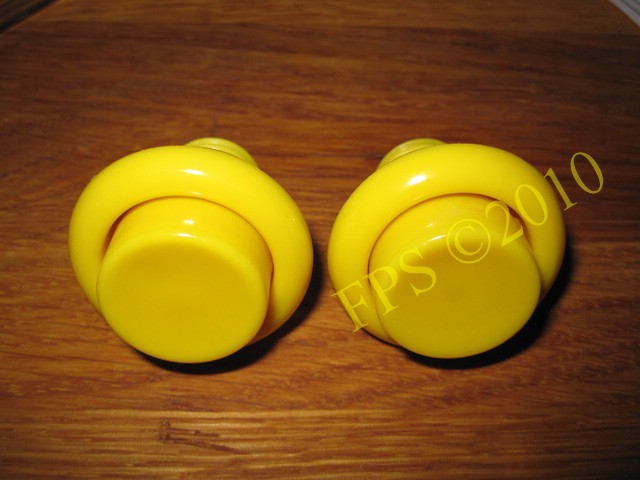
Do not forget to clean flipperbuttons and Plunger.
CURIOSITIES II
Some original dust from the clear coating at the factory.
Pleasure and Pinball
© FPS. All right reserved. |
Page Last updated:
2010-05-07 |