- Home Old school pinball <1985
- Grand Prix (EM) 1976
- Firepower (SS) 1980
- Space Mission (EM)1976
- Genie (SS) 1979
- Magic Castle (SS) 1984
- Black Knight (SS) 1980 New school pinball >1985
- High Speed (Sys11) 1986
- Earthshaker (Sys11) 1989
- CFTBL (WPC) 1992 Arcade Project
- JK-Cabinet with MAME Contents Earthshaker
- Playfield Refurbishing
- Playfield Painting
- Playfield Parts
- Playfield Re-build
- Before-After Pictures
- Refurbishing Diary
- Finished project
- Documents - Flyer
|
Languages |
|
|
WMS Eartshaker Playfield Refurbishing - Part III
REPAIR OF PLAYFIELD PARTS
After the paint touch-ups on the playfield had dried for two weeks I started with reparation and refurbishing of playfield parts. First I will show how I made own ramp protectors to the center ramp and other repairs.
Center ramp damages
RAMP PROTECTORS
One side of the entrance to the center ramp was broken, a big hole was in the side, the other side of the entrance had cracks - it need to be repaired. My first idea was to use 1-2 mm thick Lexan plastic. It is transparent and flexible. The idea was to glue the Lexan on the outside of the ramp with Araldite glue (2 component glue) and then fill the to the groove with epoxy. I tried to put cement on a piece of lexan (cement is use to secure the thread on tied flies which is used when fly fishing), the cement reacted with the Lexan plastic which got a dull surface and I abandon the project. Then I made a decision to try to do own ramp protectors. I choose to work with brushed non-corrosive steel which have a natural shiny surface. I got a sheet from a local sheet-metal firm.
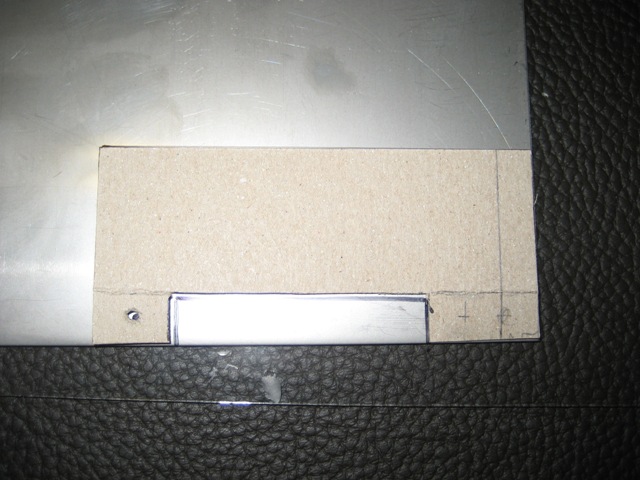
I started to do a template in cardboard which I pass in to the ramp. To attach the protector to the ramp I use the existing holes for the wire form. The length of the protector is set from the existing holes. I measured the length from the holes to the front end of the ramp and added some extra length in the back to get the overlap. In the overlap I drill a hole with same size as the hole in the ramp. This holes will be used to attach the protector to the ramp.
A similar overlap with a hole was made in the front of the protector to attach it. I attached the protector on the ramp and drilled through the protectors hole and got a new hole in the front of the ramp to attach it. Some bending of the protector was made to get a perfect shape before drilling the hole.
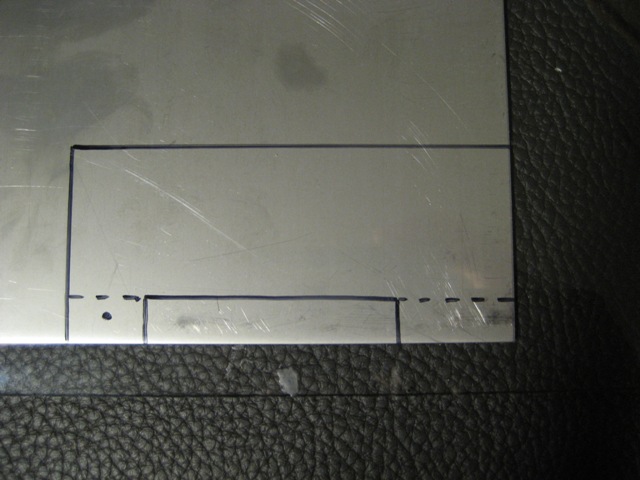
I put the template and draw the contours on the sheet of metal. The hatched line is where the metal will be bended around 90 degrees. It is important to add some extra material since during the bending the material will "shrink", I was on the border line to add to less material but I made it.
Before creating the over laps I cut out the protector from the sheet of metal - use gloves because sharp edges is created when cutting in the metal. Afterwards I sand the edges to remove burr.
The bending was made in a working bench and I got a round nice shape on the protector. A lot of adjusting is needed to get the protector to follow the ramps curvature, I lot of patience is needed.
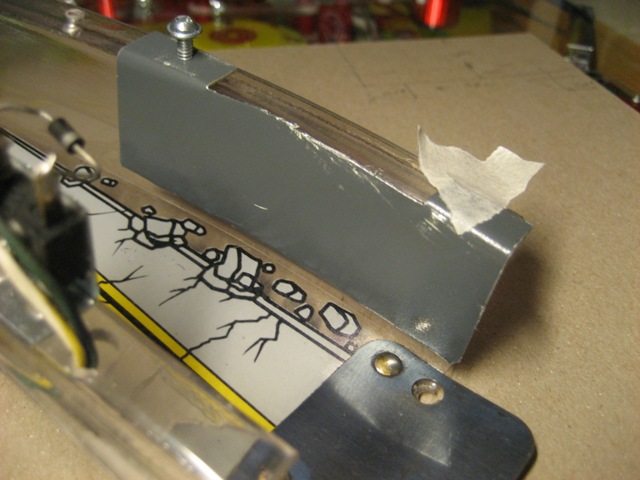
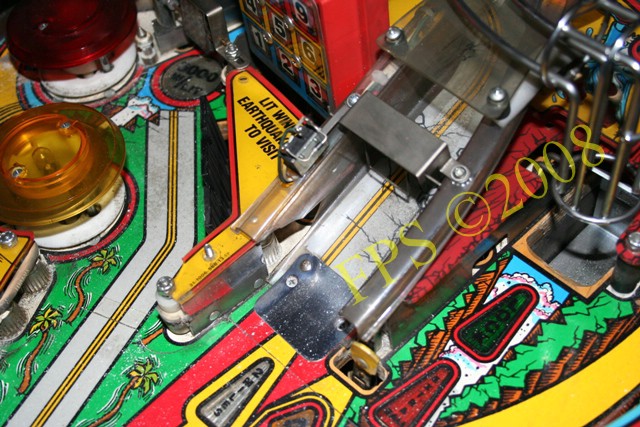
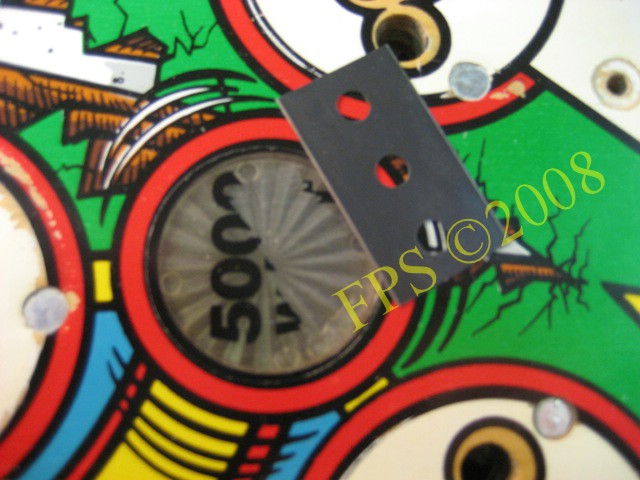
The picture shows the overlaps and the present hole in the ramp. This is the first prototype I made in a thinner sheet metal. I tried to get a space of 1-2 mm in the bottom of the protector and the ramp.
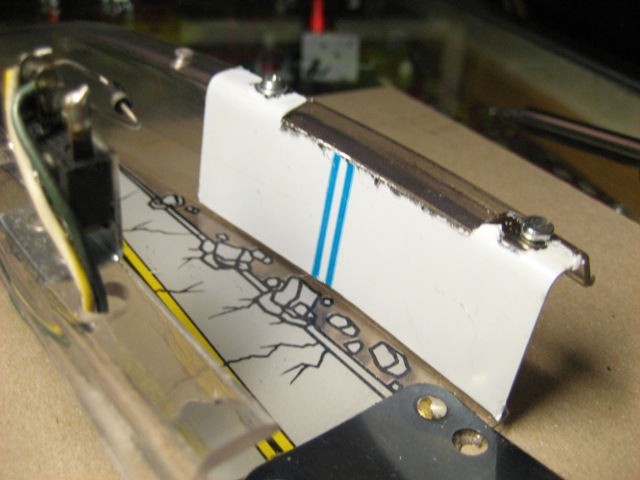
On the picture we can see the bend of the protector which follow the ramps curvature and the front hole for attachment of the protector. There was no natural points to attach the ramp in the front end, as posts.
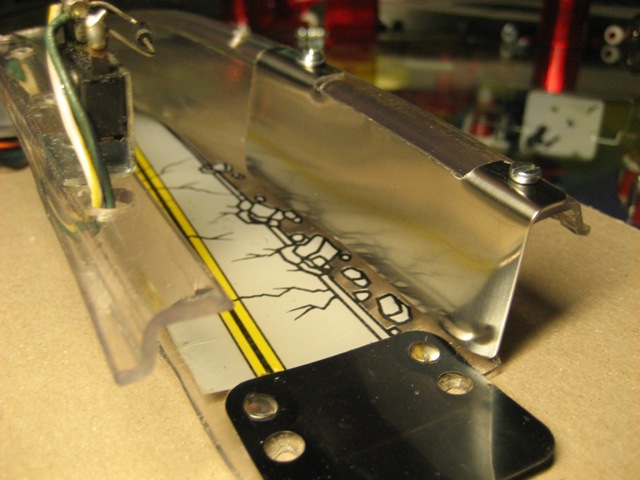
Now is the right ramp protector finished. In the front end I made a bend to avoid the ball to hit the protector edge. We can also see the how big the damage is in the ramp on the other side. I use a screw size M3 and a nylock nut to attach the protectors. The cracks in the ramp was repaired with melt glue on the outside. Melt glue is flexible. It was not important to fix the cracks since the protectors will do the job to protect the ramps entrance.
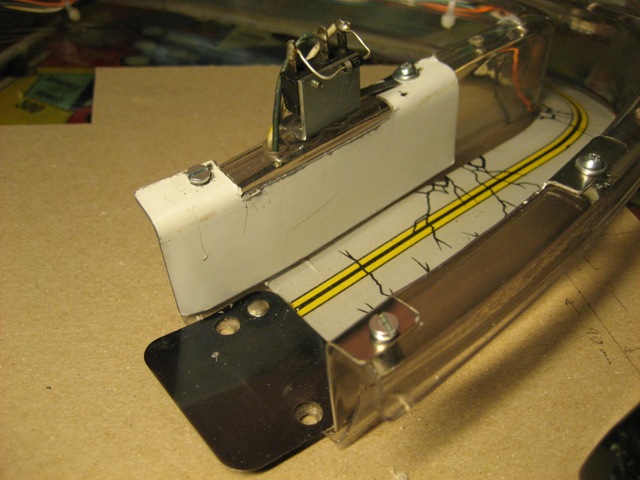
Here we can see the other side with ramp protector before I remove the protective plastic film. The big gap/hole in the ramp is now hidden by the ramp protector.
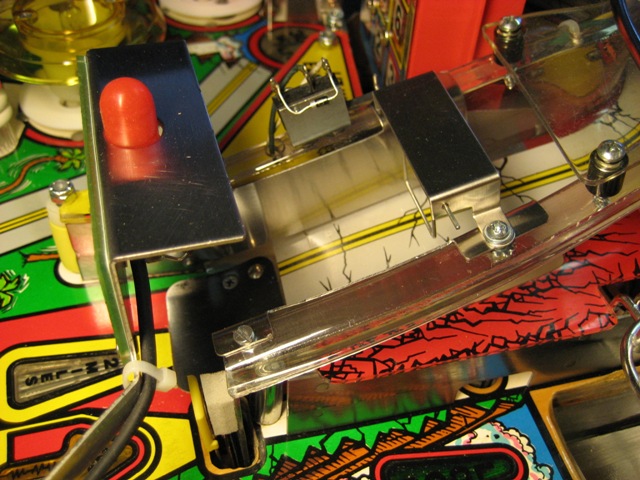
The finished result.
Center - Spiral ramp deformed
ATTEMPT TO RECREATE ORIGINAL SHAPE
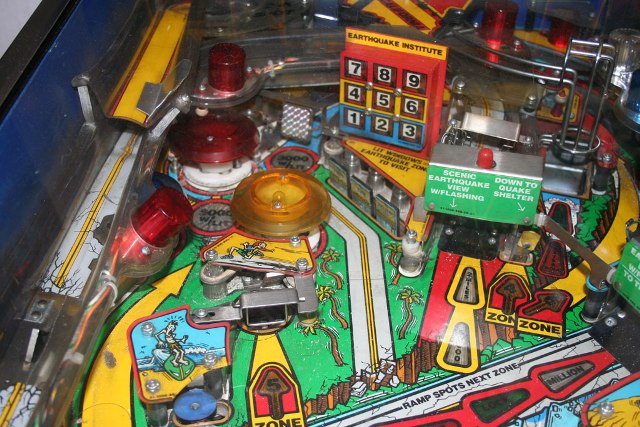
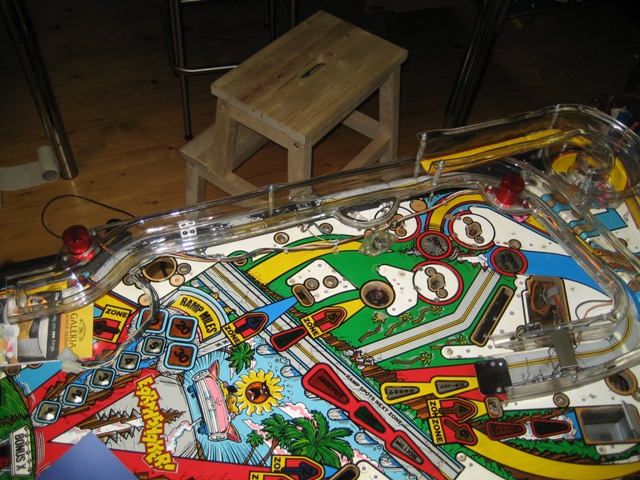
To the left in the picture we can see how the center ramp Amber Flasher Dome is hanging down and how the spiral ramps sides is hanging down to the right.
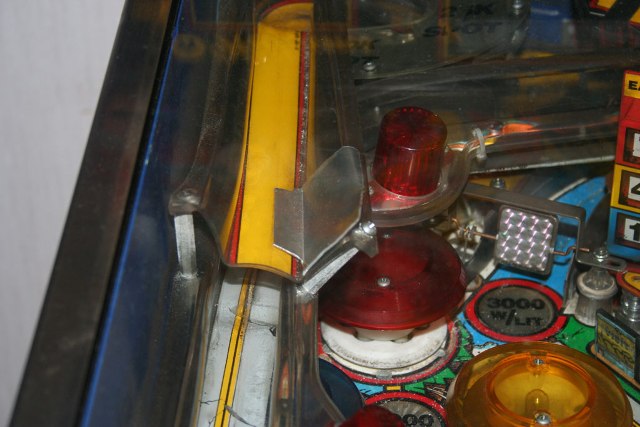
In some way the ramp has been hot and start to collapse. McGyver was not late to make a fix - a piece of aluminum sheet where glued to the ramp to avoid that the ball miss the center ramp below.
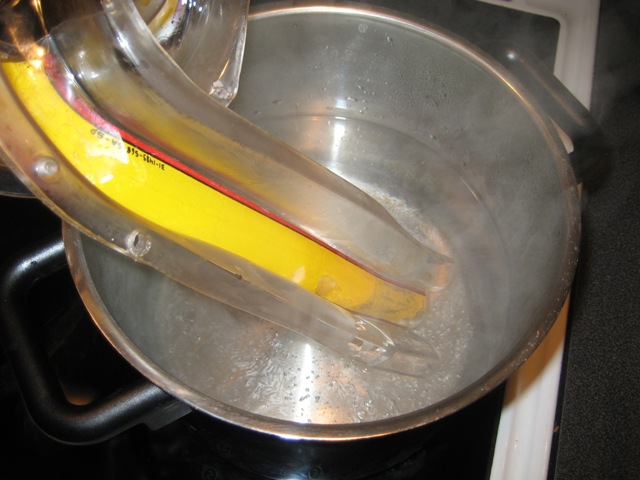
How should I get the ramps shape back to original shape? One attempt could be to heat the ramp in the oven and then bend it. I have heard that playfield plastics with a bend can be heated in the oven (temp unknown) and then be put between books with a heavy load. I tried to dip the ramp in boiling water for 5 sec each time to see if start to be soft or "flow". It work out well, since I had put it in the water enough times it started to be soft, then I could reshape it. Even with gloves it worked find to shape it.
 |
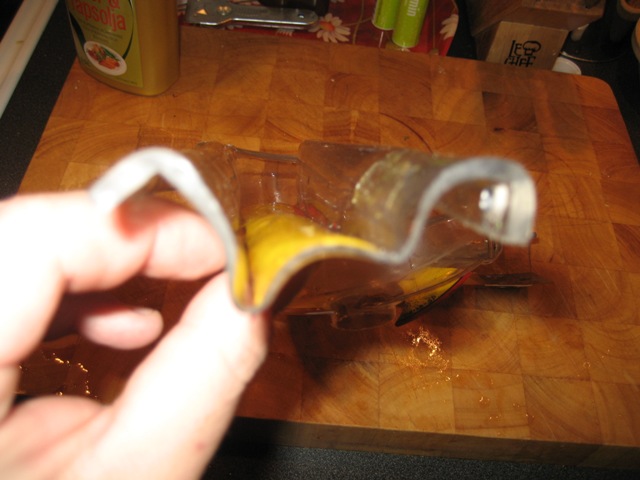 |
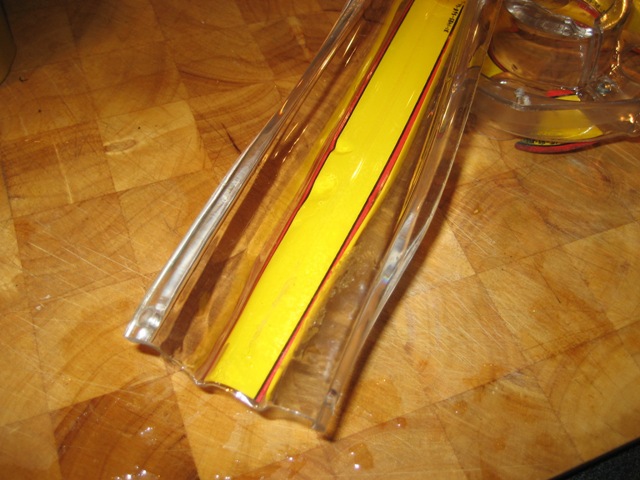
These pictures show how the end of the ramp has start to be smooth and I can start to reshape the ramp. It work to dip the ramp in boiling water. The sticker on the ramp still left despite the heat from the boiling water.
The center ramp was to big to dip in boiling water so I assembled both ramps on the playfield and worked with them on spot.
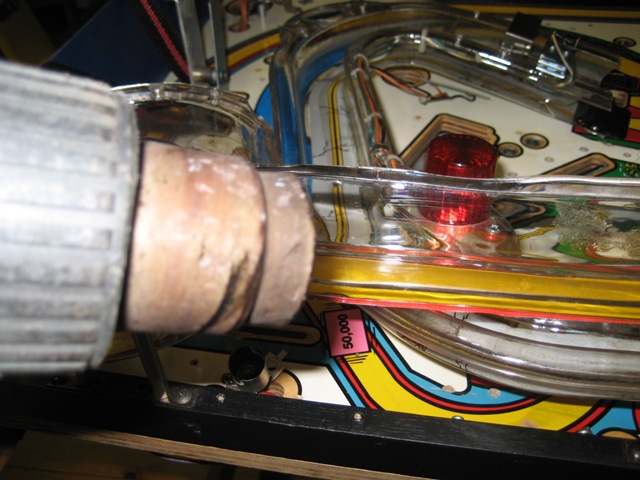
I used a hot air gun to heat the ramps where I need to bend them to original shape. Since the ramps is attached with screws in there fixing points the ramps will keep the shape when cooling. BE VERY CAREFUL when heating the ramp with the hot air gun because the temperature when the ramps plastic start to melt can be reached very fast. I positioned the hot air gun about 25-30 cm from the ramps plastic and only heated for short periods - it worked out find.
The finished result after heating and reshaping of the ramps to almost original shape. I was not able to heat more to make the last shaping because the risk was to big that the achieved shape would be destroyed.

The area on the ramp with Amber Flasher Dome reshaped.
I will mention that short after the work with the spiral ramp I found a NOS on the E-bay for a modest amount of US dollar. The work was not a waste because it can be a good experiment and training for projects in the future.
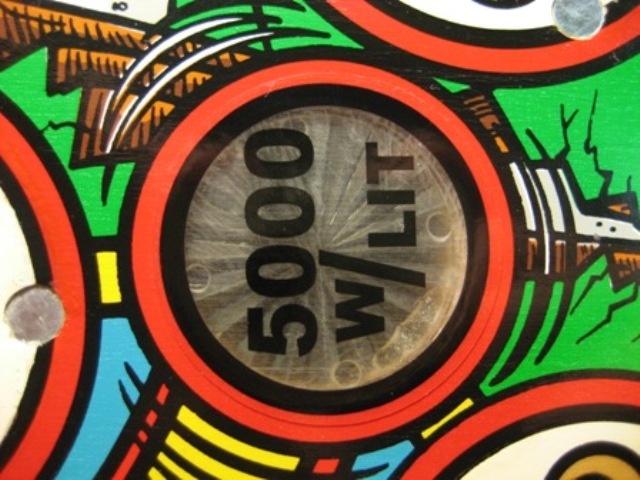
5000 W/LIT
NEW INSERT DECALS
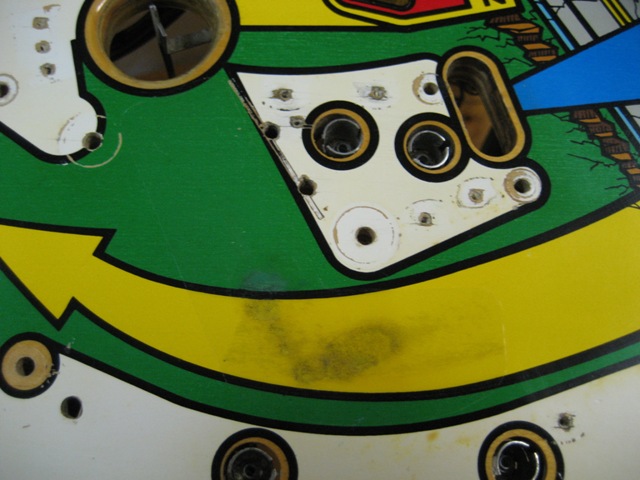
The left over from the lift off insert decal 5000 W/LIT I removed by using a razor blade. Hold the razor blade almost in level with the insert and make short movements to avoid scratches on the insert. My intention is to replace with a new decal found on the E-bay. I do not know if I need to seal the new decal with varnish or if it is strong as Mylar?

All left over from the 5000 W/LIT decal is now carefully removed. Afterwards I clean with Novus 2.

Remove a little bit of the decals protection paper and position it to the black contour line. Work you through while pressing the decal on place - be careful to not touch the side with the adhesive since there can be finger prints.
Nice, the new decal on place I'm satisfied with the result and wait to see it when the light is lit.
Create your own mylars
NEW MYLAR ON PLAYFIELD AREAS WITH BALL ACTION

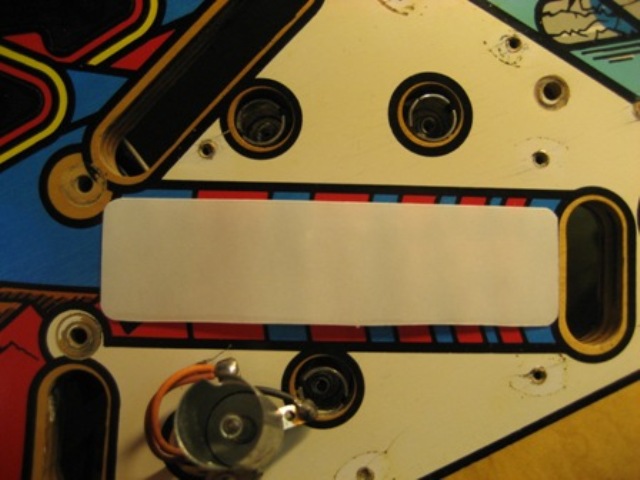
I made a drawing of the mylar in the program Microsoft Visio. The scale is in millimeter so the measurement will be as in the reality when printing the drawing. I cut out the printed template and put it on the playfield and then I can see if it has the shape I wanted. In this case it is the mylars for the inlane switches that where made.
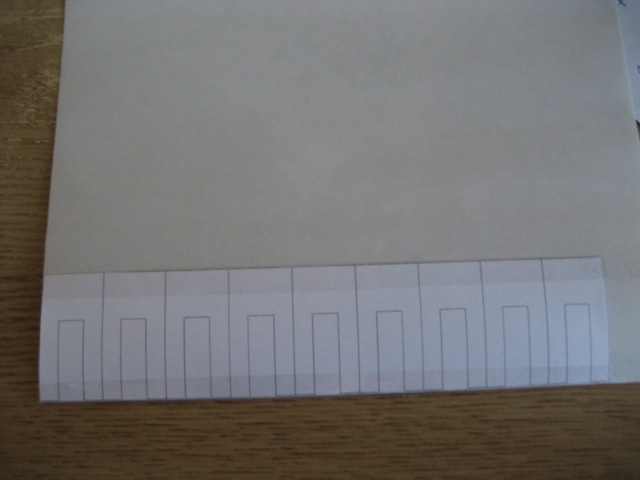
I duplicate the mylar in Visio and print - then I can cut out a lot of mylars in one time. Before cutting I tape the template to the sheet with mylar.
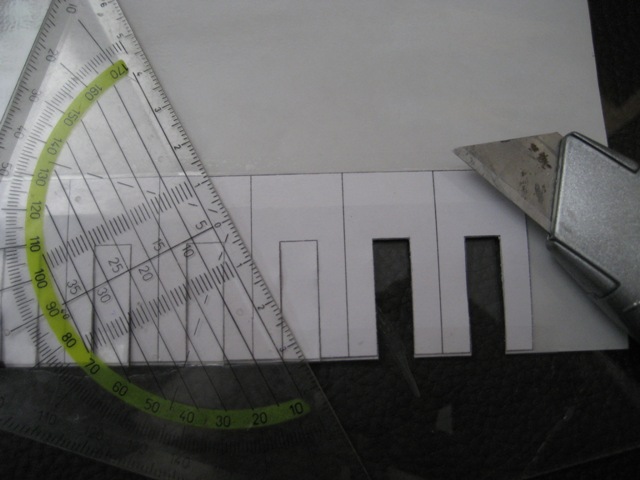
I use a sharp carpenter knife to cut out the mylar or a razor blade - a ruler is used to guide during the cutting.

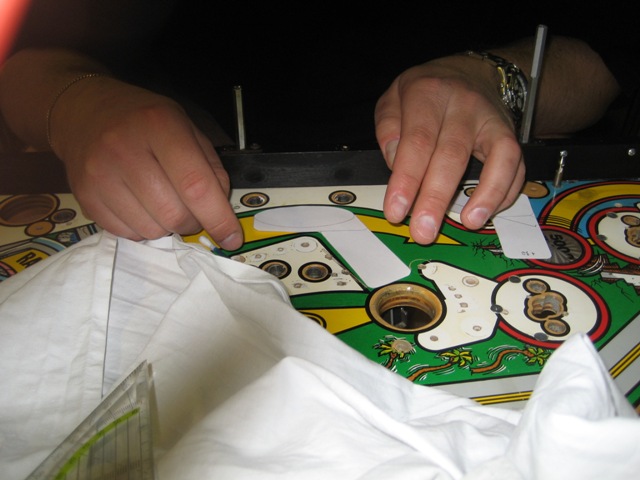
The mylar piece placed on the playfield underneath the skill-shoot ramp.
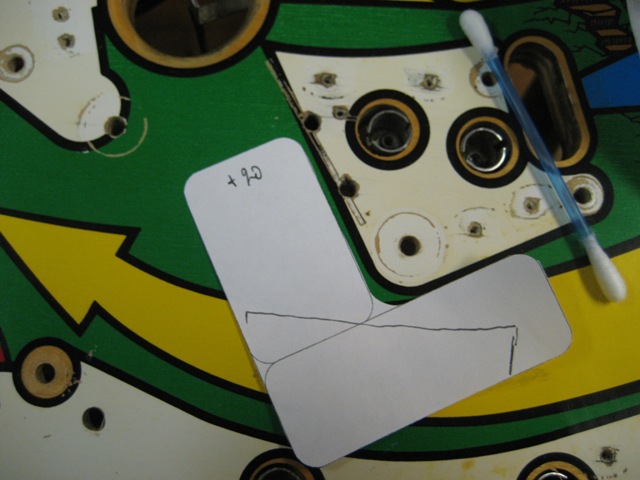
Shaping the mylar that will be used at zone 5 kick-out hole ball drop. I make notes on the template on how I will redraw it in Visio, make it 20 mm longer in one end, turn it down some degrees. Then I print it and cut out again for a new test until I am satisfied with the shape of the mylar.
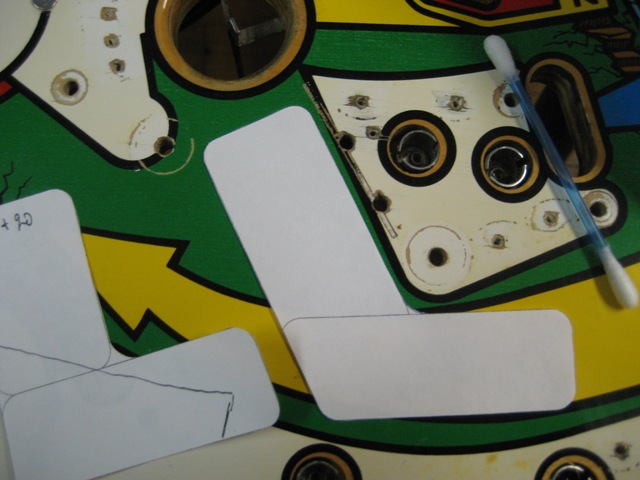
Here we can see how the template is lengthen and turned. The previous template is visible to the left in the picture.
Some attempts before final shape is found.
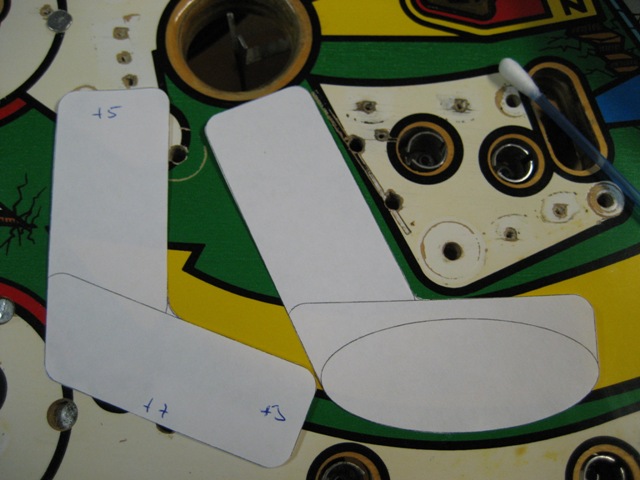
I wanted the mylar to follow the curved black contour line in the bottom of the picture. So I added a ellipse to the template (drawing) in Visio.

Here is the finished mylar. I start to remove a little bit of the protective paper and work through to avoid air bubbles when attaching the mylar.
Now I have attached the mylar and the playfield surface is protected. This is one of the areas where I did paint touch-up.
MYLAR AROUND BUMPERS and 5000 W/LIT INSERT
 |
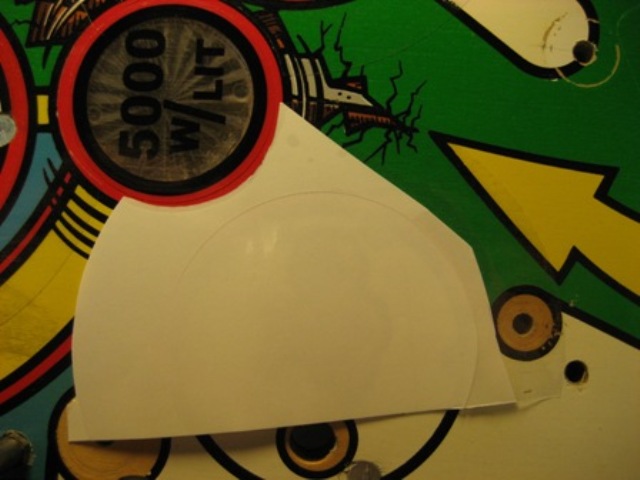 |
Modifications needed on the pop bumpers mylar to not interfere with the 5000 W/LIT decal. I cut out a half circle in the pop bumper mylar to avoid interference.

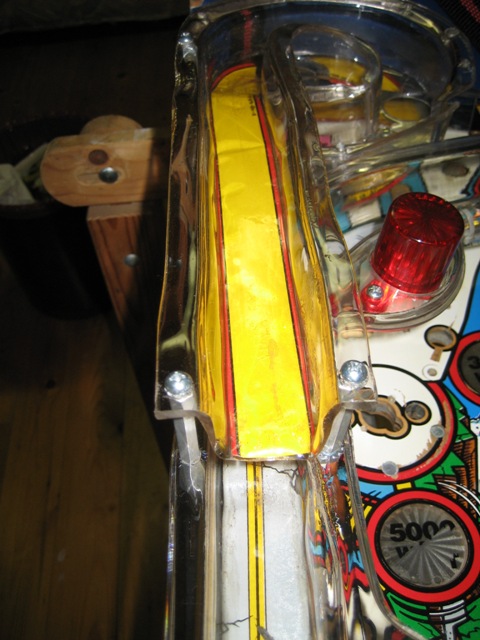
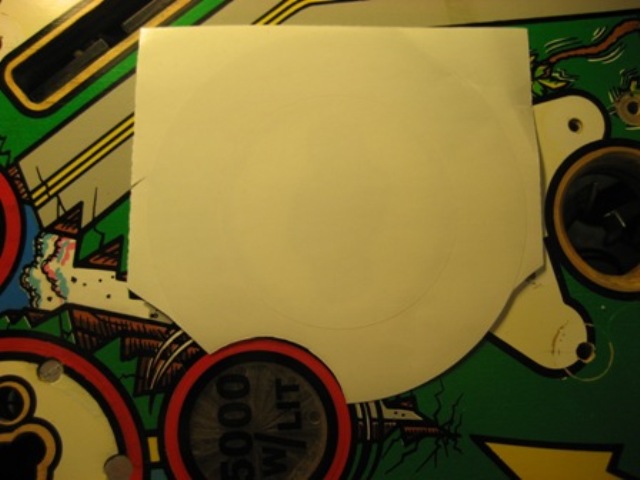
Shaping of mylar which shall be applied on the yellow paint touch-up in the area above the pop bumpers.
Shaping of mylar which shall be applied in the area where the captive ball is placed - the balls surface is stamped with risk for new wear in the long run.
VISIT THE FAULT
NEW DECALS

New drop targets decals where found on Mr. Pinball Classified - the price was 7,5 USD which I thought was a good investment since the old ones was done.
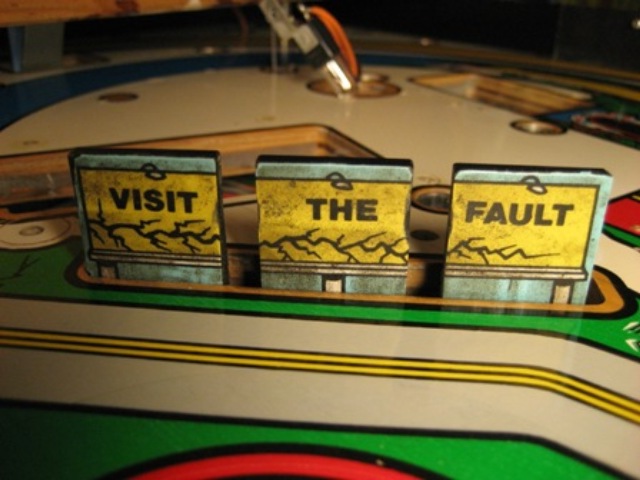
Here we can see how much dirt and wear it was on the present drop target decals.
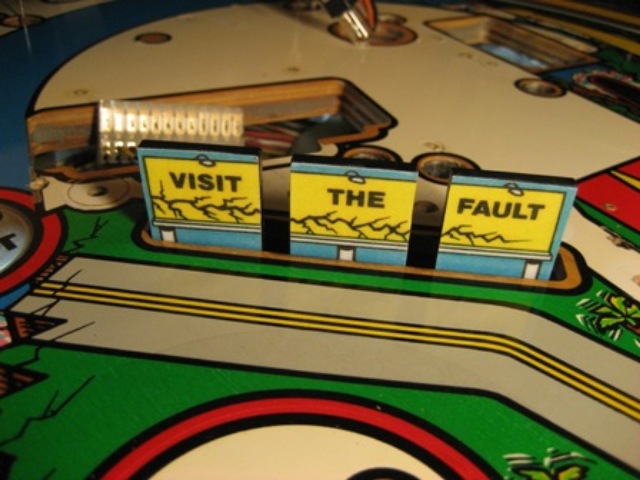
The difference between the new and old decals is obviously.
Pleasure and Pinball
© FPS. All right reserved. |
Page Last updated:
2008-08-01 |