- Home Old school pinball
- Grand Prix (EM) 1976
- Firepower (SS) 1980
- Space Mission (EM)1976
- Genie (SS) 1979
- Magic Castle (SS) 1984
- Black Knight (SS) 1980 New school pinball
- High Speed (Sys11) 1986
- Earthshaker (Sys11) 1989
- CFTBL (WPC) 1992 Arcade Project
- JK-Cabinet with MAME Contents Firepower
- Playfield Refurbishing
- Playfield Painting
- Cabinet Refurbishing
- Playfield Parts
- Electronics
- Refurbishing Diary
- Finsihed project
- Dokument - Flyer
|
Language |
|
|
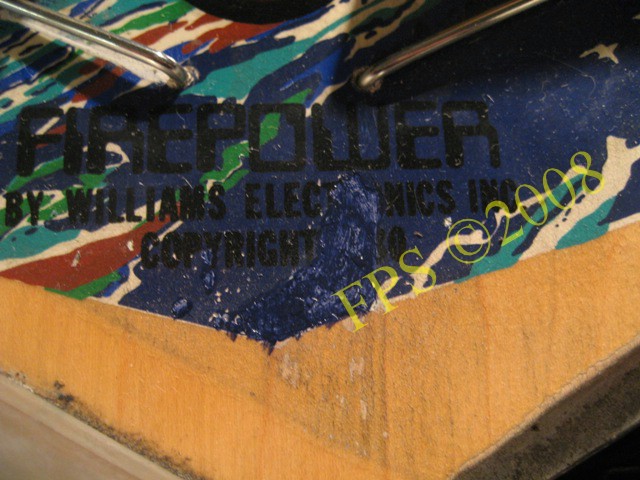
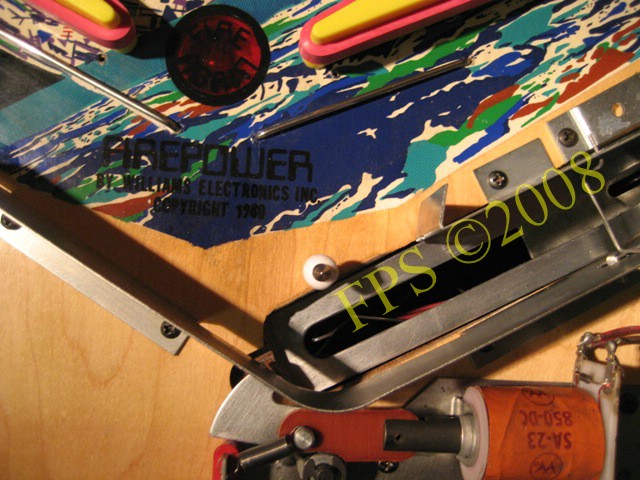
WMS Firepower Playfield Refurbishing - Part II!
FIREPOWER PLAYFIELD PAINT TOUCH UPS
The wear on the playfield can sometimes look horrible when you get closer. When playing a game you do not notice it so much apart from when the ball is going down in the wear and change the direction then the predicted. On mine Firepower there was a lot of wear in the middle part of the playfield which interrupt me a lot. I started to think to do a refurbishing of the playfields wear and damages - playfield paint touch ups was the solution to save the games playfield to avoid interruptions during game play.
The reason I believe that one should do paint touch ups of a damage or wear on the playfield even if they result are not entirely perfect is that it is better than to leave the areas on the playfield with clean wood. If the paint touch ups are not quite perfect this will usually not be detected by a viewer or player, but a damage or wear in the playfield where there are no motives or colors will be far more conspicuous and in some cases also affect the play negative.
 |
 |
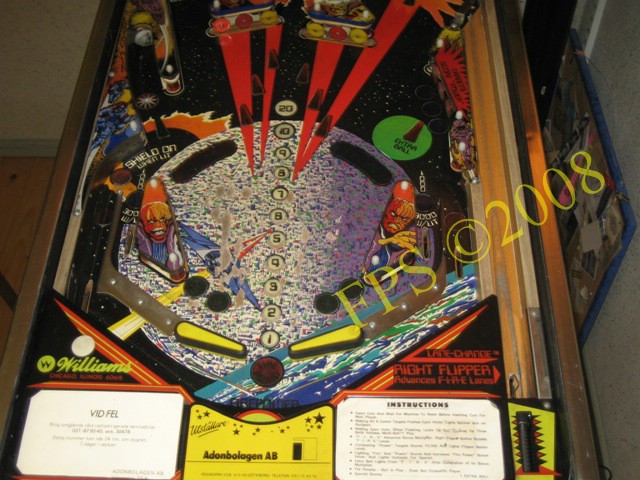
The pictures above is taken before the painting of the playfield started. We can se the major wear on the space ship. Also the area at the right sling shoot and around the bonus inserts has wear. I decided to start investigate which possibilities there was to do painting on the playfield and found that acrylic paint should work.
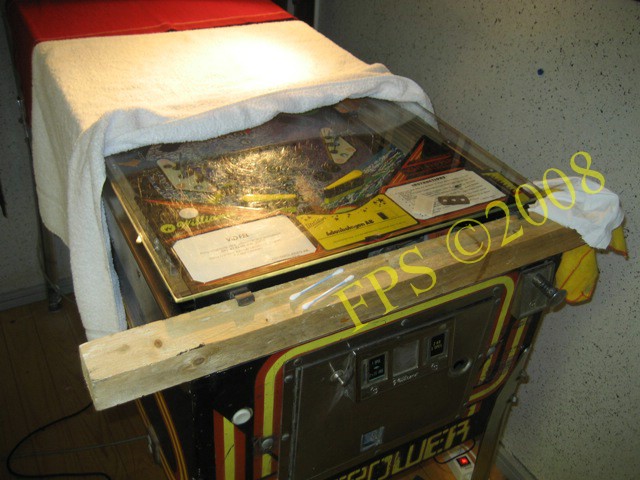
To be able to paint on the playfield without having it lifted out from the pinball I put a wooden bar 45x45 cm, it levels the playfield. After painting and varnish I put the playfield glass above to avoid dust during drying.
 |
 |
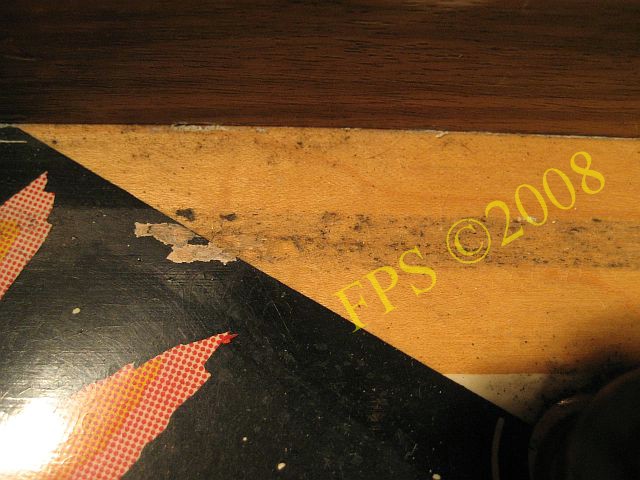
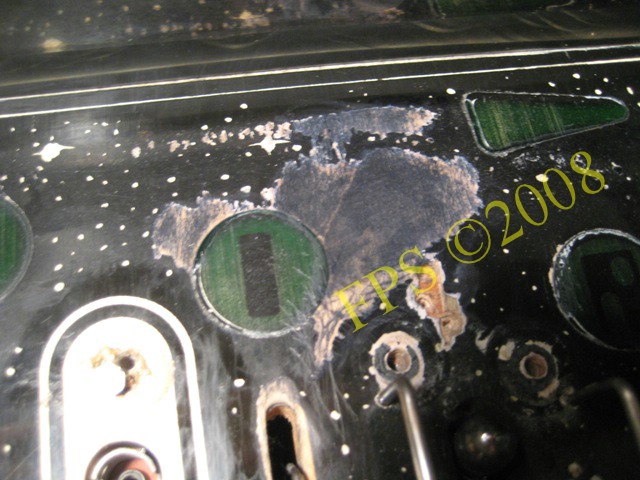
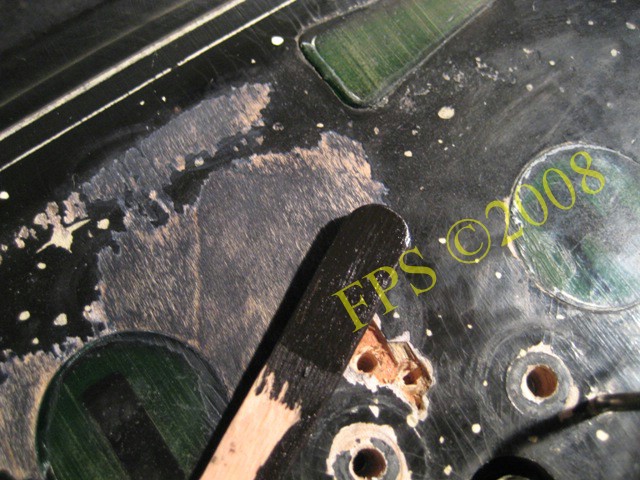
On the upper part of the playfield it was wear down to the bare wood, specially around the inserts F - I - R - E. We can see that somebody has done a attempt to do paint touch-up with a black marker pen directly on the wood without any great success. There was also wear around the upper kick-out holes edge.
 |
 |
Pictures on the left side of the playfield before paint touch-up.
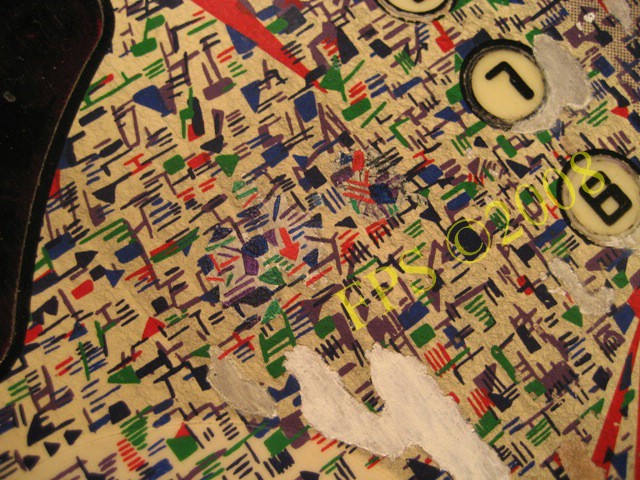
Area around jet pop bumpers before paint touch-up. Notice how somebody has done a desperate attempt to paint touch-up with an black marker pen around the contour of the lanes for roll over switches. We can also notice that the lane guides is not as the original transparent.
 |
 |
Wear at the right sling shot before and after.
 |
 |
The left picture show stand up targets and the black contour line around the inserts before touch-up, right picture afterwards.
 |
 |
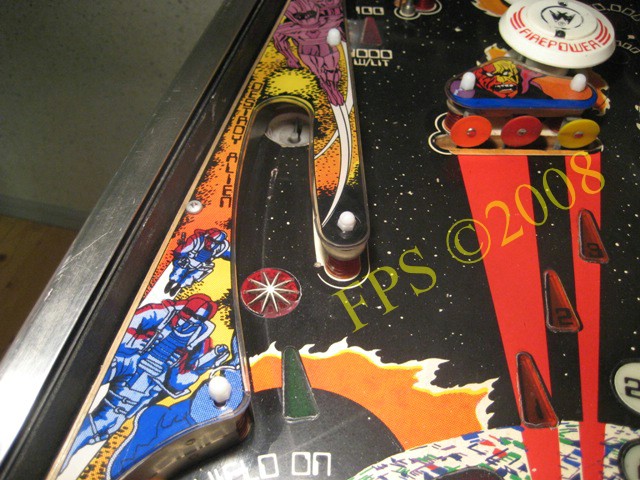
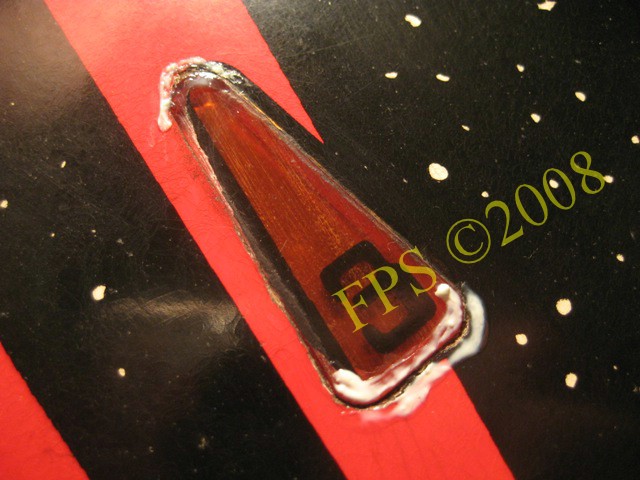
Left and right kick-out holes has wear around the edge and a groove in the entrance to the hole after ball. On the right picture we can also notice a groove in the ball arch.
This is how nice the area below left kick-out hole looks after paint touch-up.
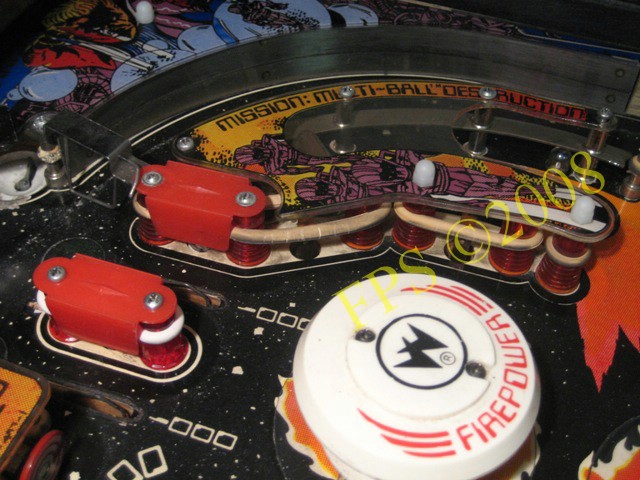
Upper kick-out hole has wear as earlier described.
 |
 |
Above apron where the ball exit the playfield was major wear as well. We can see how I has started to match the blue base color. The letters was made by using a template from the existing letters. I copy the existing letter on a grease-proof paper and cut out. I put the template on the playfield after applied the color and paint the letter with an black mark pen. Afterwards I paint the letter again but this time with black acrylic paint. The numbers where no existing so them I had to do by free hand.
REPAIR DAMAGE FROM SCREW AND PAINT TOUCH-UP

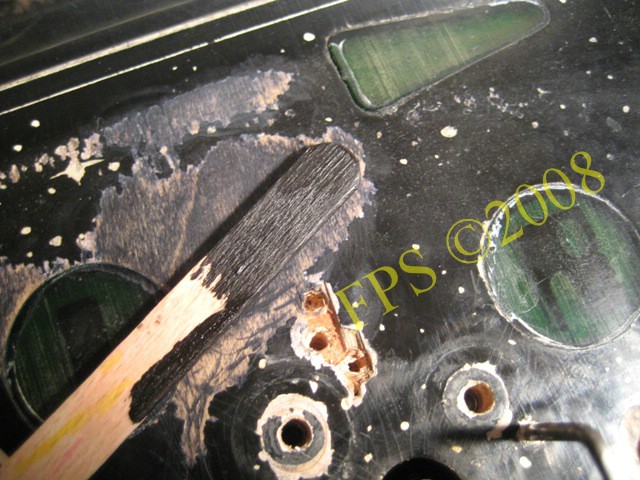
The detail on the picture show how somebody had made a attempt to do touch-up with a black marker pen and also heavy damage from a screw. Some handy repair dude had entered a screw straight down in the playfield to prevent the ball from being caught with some nasty damage to the playfield as result. Again a warning for Mr. McGyver.

I started to fill the damage after the screw with plastic wood - be careful to not applies this on surrounding surfaces since it is hard to get off. I filled to an even surface and afterwards I wiped with cloth soaked in water to minimize afterwards sanding. Sand with a fine sand paper, try to avoid scratching the surrounding surface.
The wear around the insert -I- is major. As luck is only black paint is needed and some with stars in the black need to be painted. I do not need to mix and math colors in this area.
I choose a enamel based black paint for the touch-up in the top area of the playfield. I make a test by painting on a wood piece to see if it match. Since the surrounding color is varnished the shine on the test do not fully correlate but I thick it will work with this enamel black paint after varnish.
To be sure I made a match with the black paint varnished.
Here is the finished result after touch-up of the upper area.

A close up of the upper area after touch-up I was satisfied with the result after applied 4-5 layer of floor varnish, the damage was at all very extensive. The surface went out to be even and very glossy.
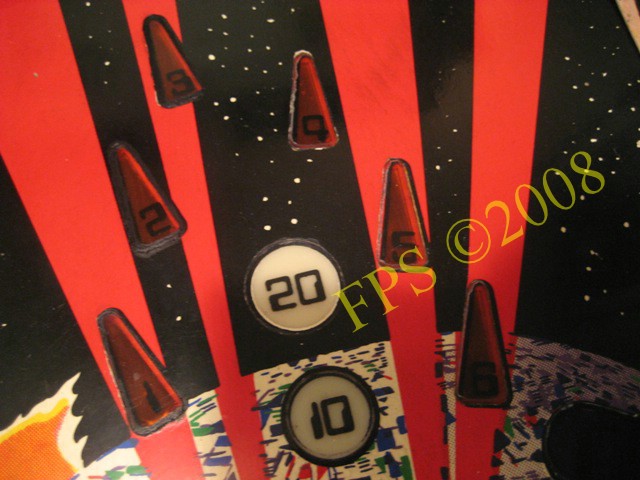
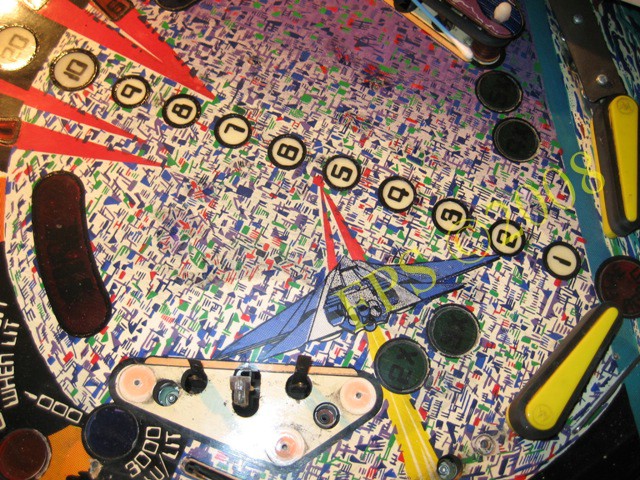
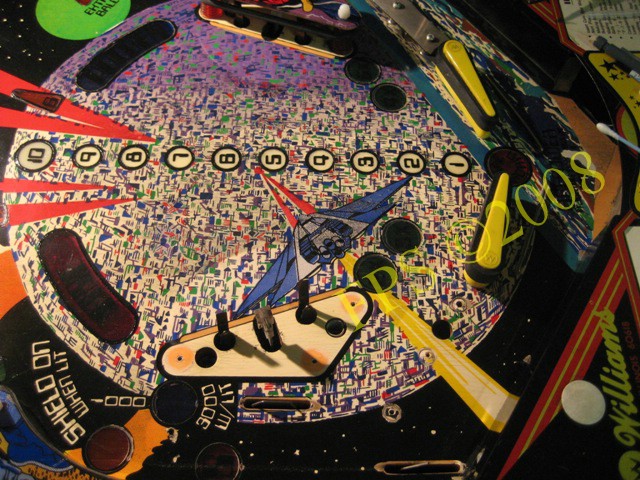
INSERTS 1-6
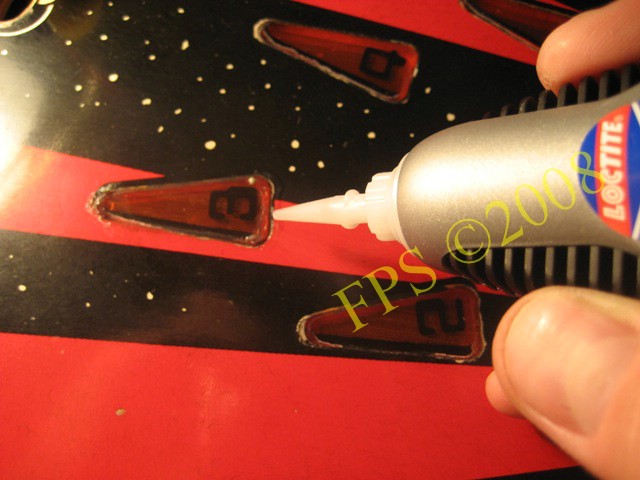
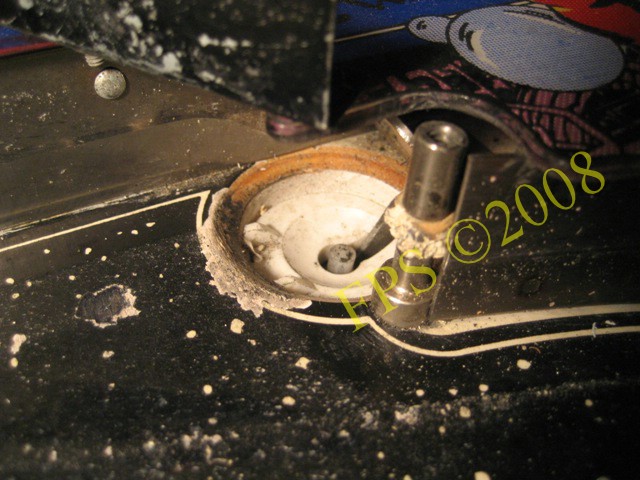
For inserts which had lifted from the playfield I tried to remove the old glue with I nail and applies new glue and press down the insert. Difficult to make it good. I have heard about a method where the insert is heated with a hot air gun from the underside and then pressed down. It is also possible to use a round wood stick and then knock down the insert. I thought both methods sounds hard to do. But in the future I will not use my method by adding new glue since the result was not 100% good. On some spot the glue does not flow down enough deep and I was not able to press enough to get the insert even with the rest of the playfield. Actually I tested the method with the round wood stick but I did not dare to knock enough hard.
HHere I paint the contour line after the gluing of the inserts.
I also made a test to mask with Masking Latex so I could paint inside the mask. After painting the mask can be rubbed off. But it did not worked so well so instead I choose to paint by free hand.

When painting the contour line I use a fine brush and soak as little paint as possible in the brush to avoid brush traces.

Painting and varnish on the playfield.

An example of how the result went out around the inserts for targets 1-6 after varnish.
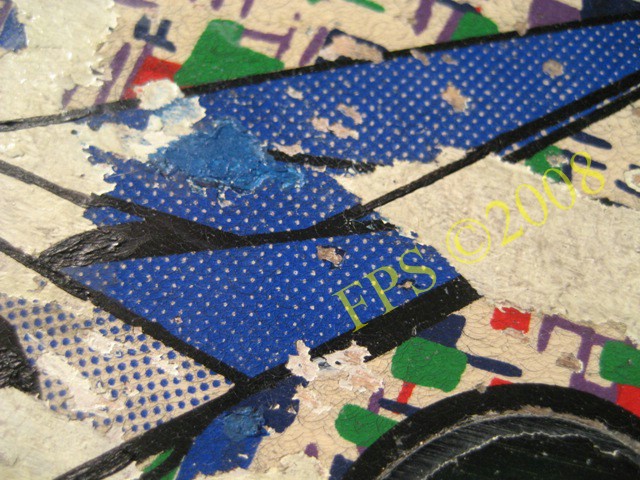
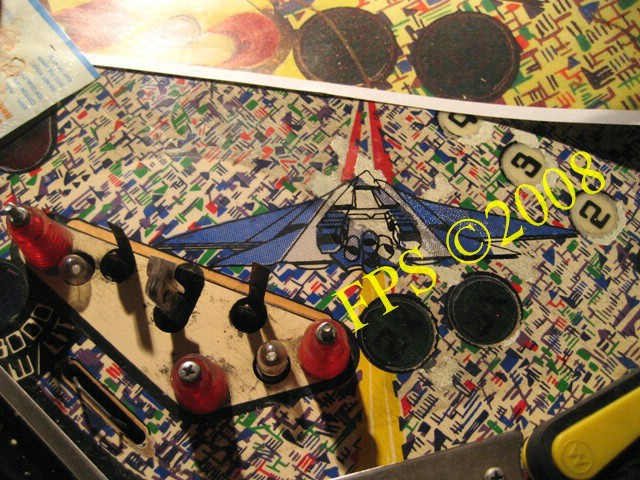
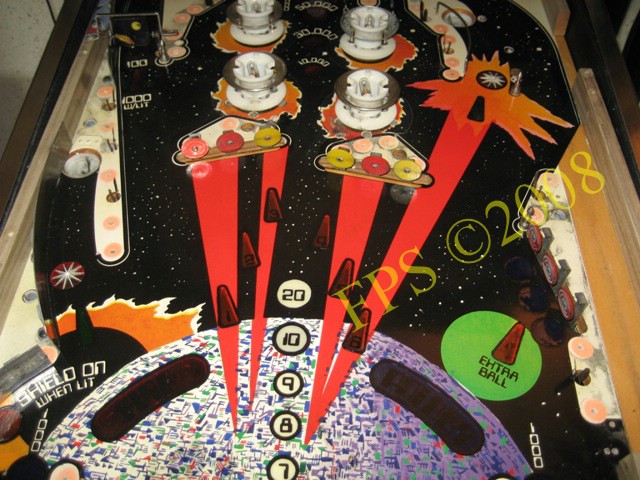
PAINTING ON THE SPACE SHIP
First I sand the wood with a fine sand paper avoid to sand on the surrounding surfaces. Afterwards a clean with a q-tip soaked in Acetone. Depending on the dept of the wear I applies some layer of white foundation. I finish with a layer of thin (glazing paint) paint where white, black and yellow paint is mixed. The mix is a attempt to find the old grey-yellow white color on the playfields from beginning white areas.
 |
 |
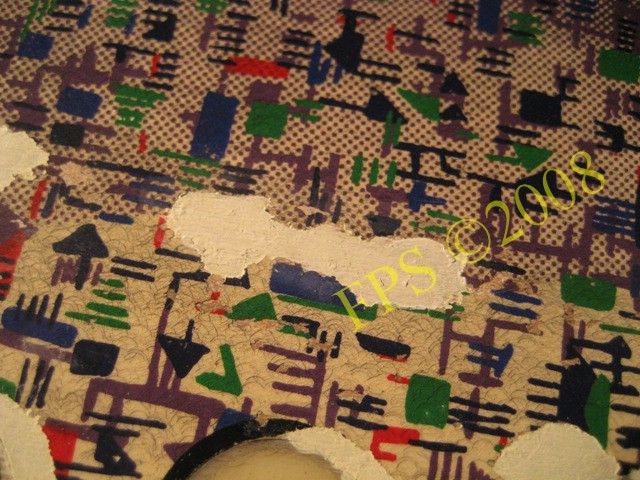
White foundation applied.
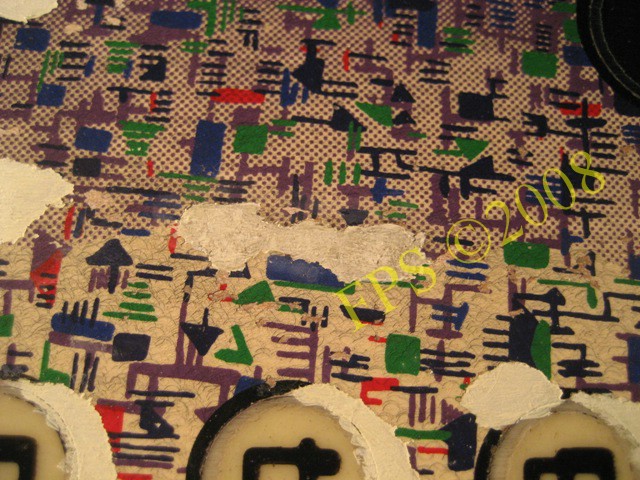
A grey/yellow white foundation applied to match the old white original color.
To recreate ball swirls I use black paint mixed with gel for acrylic paint and a brush with only a few hair left. I move the brush in circular movements on the white surface. Finally I paint the colored pattern which consist of red - green - blue figures as cubes, prism, lines.

Here we can see how I have tried to recreate the old white original color.
The white foundation for the space ship is finished and I work with applies the blue color - there is always some uneven surface after painting with acrylic paint and a brush but I think I can even out this by applying enough of layers with varnish. If there still is uneven spots this can be sanded with some Novus 2 soaked in a q-tip.

Here is the contour on the ship recreated with a black marker pen before I paint the contour with black acrylic paint- I draw by free hand from a print out of the space ship.
We can see the print out in the top of the picture.
 |
 |
The space ship finished - It was time consuming to match all the colors. But the result was over mine expectations.
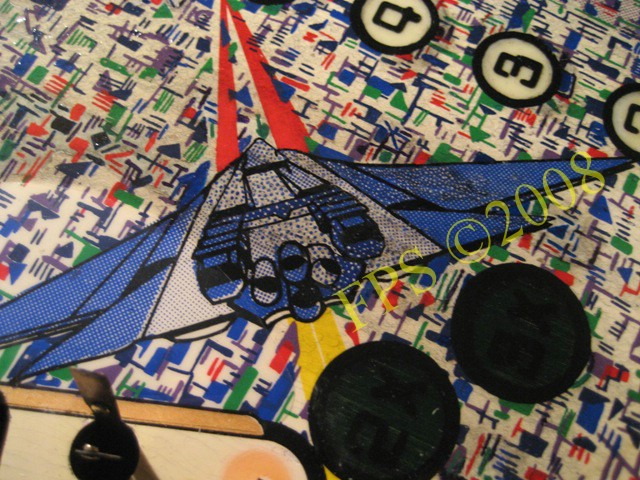
When I felt happy with the colors and the space ship I applied three layers of floor varnish to achieve a hard and even surface.
SPINNER

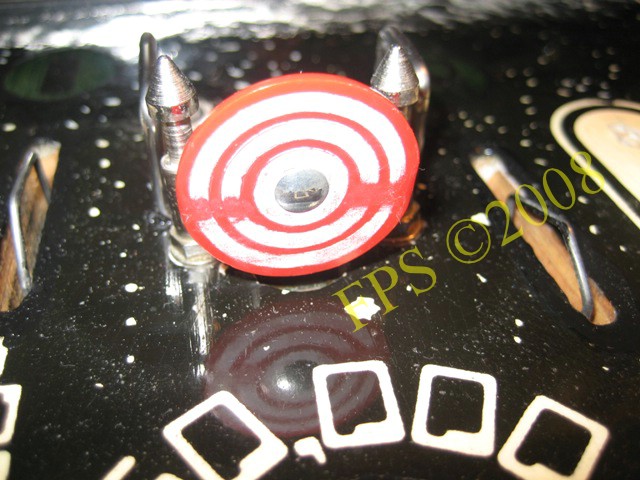
Spinner before paint touch-up. There is some small marks in the spinners paint after the ball.
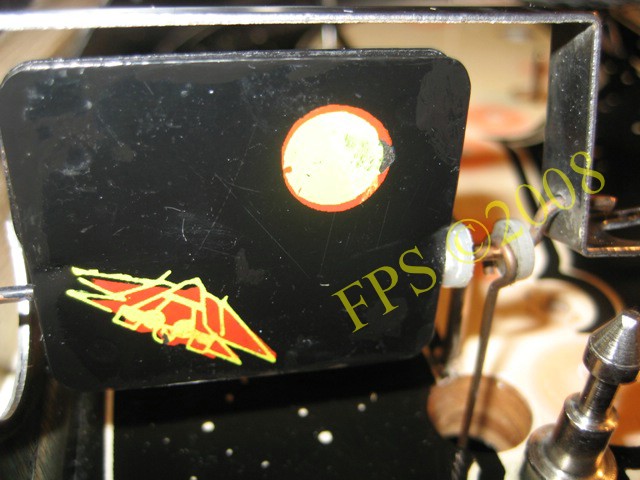
The yellow in the sun and black paint in the right top corner painted on the spinner.
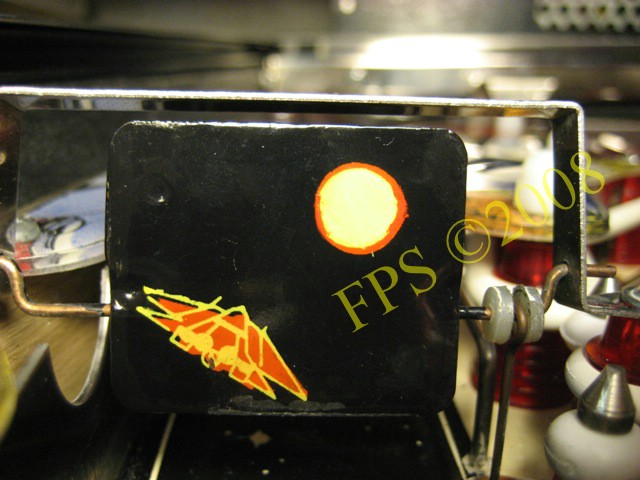
The finsihed result - Spinner.
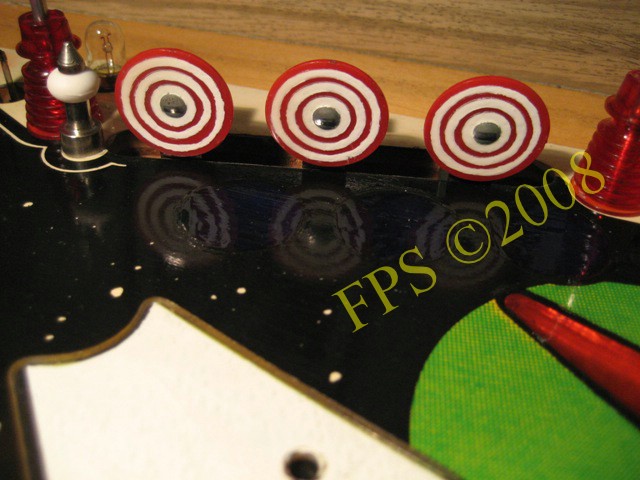
STAND UP TARGETS
Here is how the white rings on the targets looked before painting. Wear after many ball hits. I made paint touch-up of the rings with a white marker pen. After that I applies two layers of floor varnish - unfortunately I have seen that the varnish can not withstand the hits from the ball. First I had I idea to cover the targets front with mylar but since the surface not is even I abandon this idea. There is grooves where the white color is. Maybe in the future I can figure out another idea to do this better.

Here we can see the same target after paint touch-up.
+80 hours later
FIREPOWER TOUCH UPS - THE FINISHED RESULT
 |
 |
 |
 |
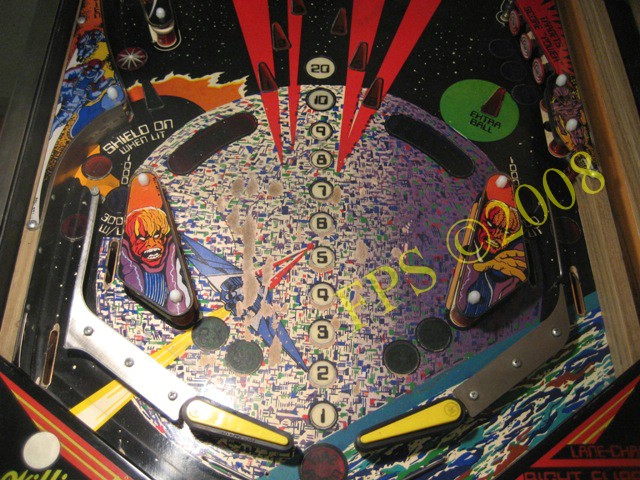
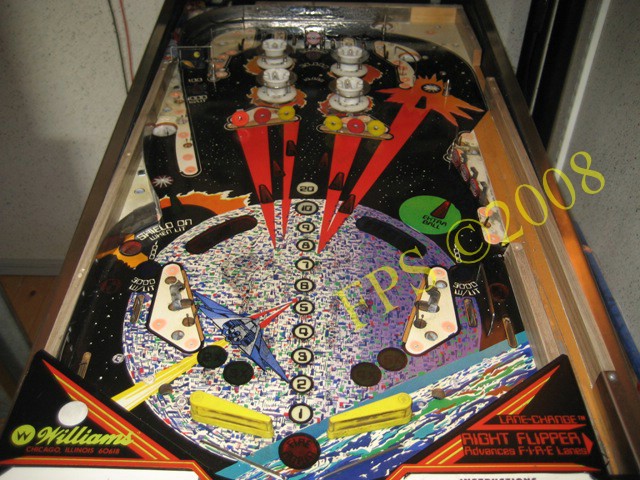
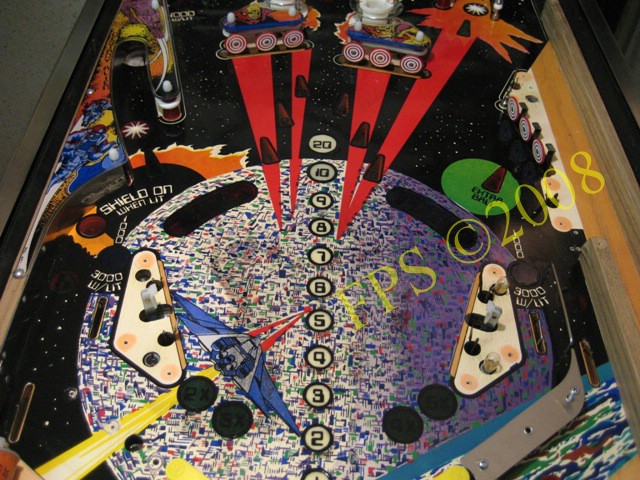
Some pictures of playfield after paint touch-up.
 |
 |
The left picture show the upper part of the playfield, upper ball arch. After varnish the playfield shine nice. The right picture show paint touch up around inserts at the right stand up targets On shooter lane we can see no sign of groove after the ball which is common.
Close up after paint touch-ups.
|
 |
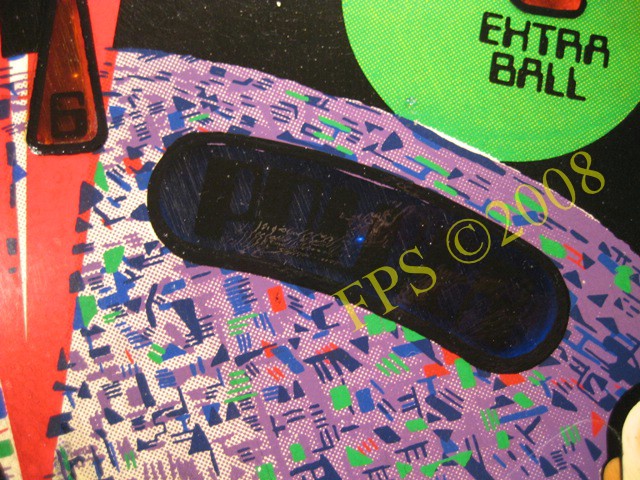
Before and after paint touch-up of the upper kick-out hole.
|
 |
Before and after paint touch-up of the right kick-out hole.
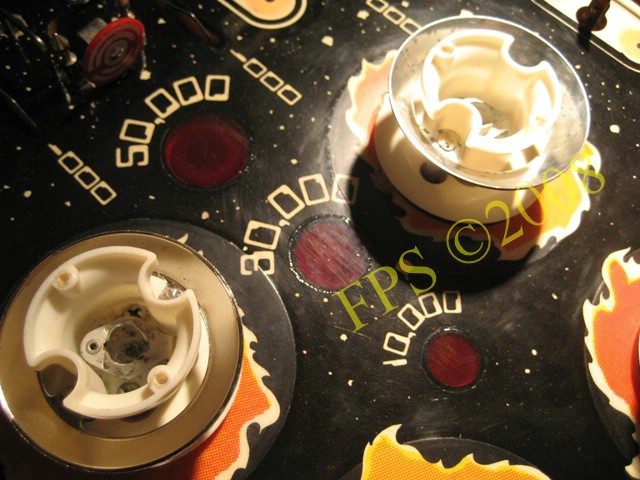
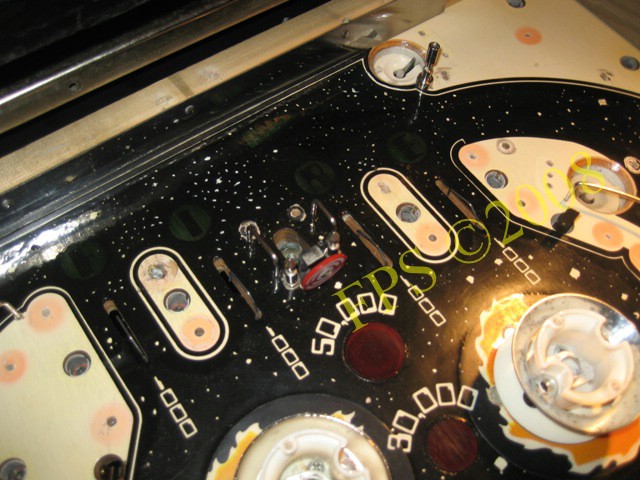
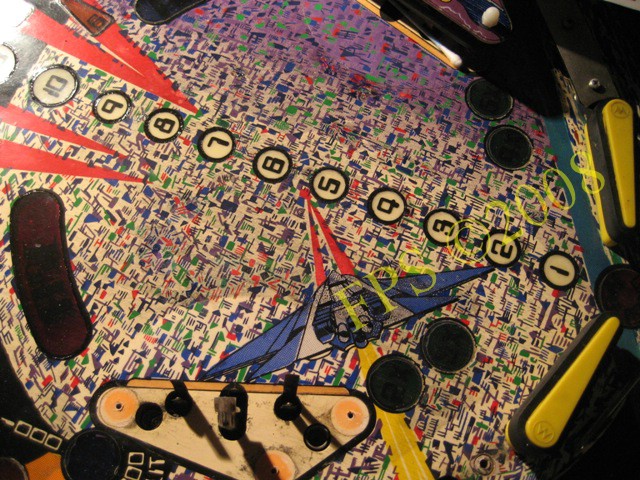
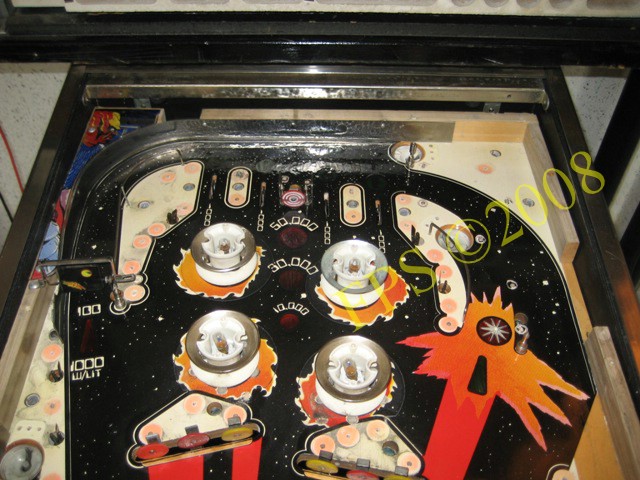
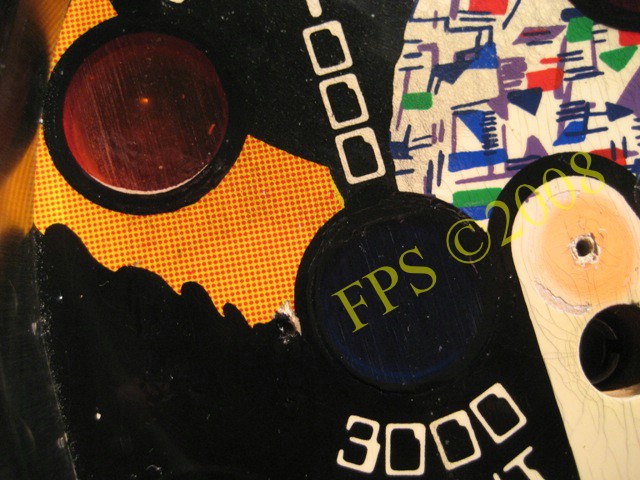
Also around inserts 10, 30, 50-thousand the contour line was in need of paint touch-up with black color.
|
 |
Before and after paint touch-up of the wear in Shooter lane.
|
 |
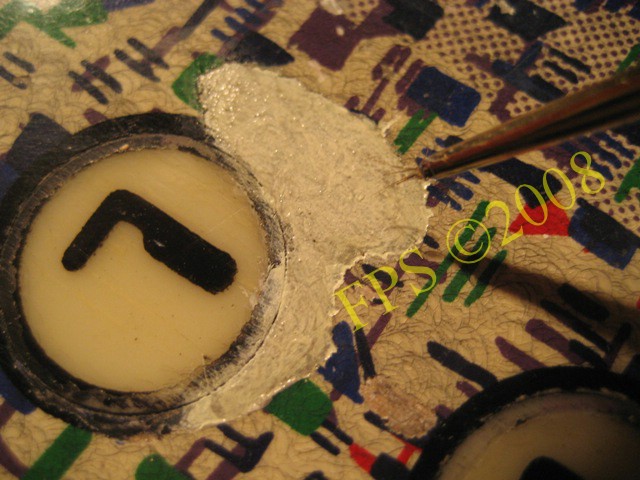
Before and after paint touch-up of the inserts 1-6.
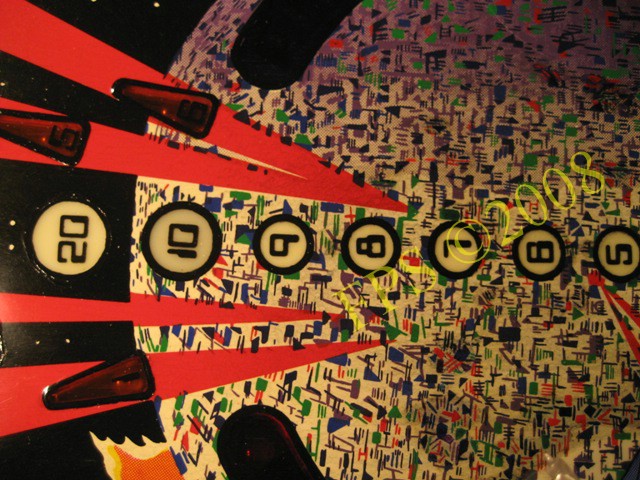
Also around inserts 20, 10, 9... the contour line was in need of paint touch-up with black color.
 |
 |
Example of area after varnish.
ADDITIONAL PICTURES AFTER PAINT TOUCH-UP
 |
 |
 |
 |
 |
|
Pleasure and Pinball
© FPS. All right reserved. |
Page Last updated:
2009-03-24 |