- Home Old school pinball<1985
- Grand Prix (EM) 1976
- Firepower (SS) 1980
- Space Mission (EM)1976
- Genie (SS) 1979
- Magic Castle (SS) 1984
- Black Knight (SS) 1980 New school pinball >1985
- High Speed (Sys11) 1986
- Earthshaker (Sys11) 1989
- CFTBL (WPC) 1992 Arcade Project
- JK-Cabinet with MAME Contents JK-Cabinet with MAME
- Cabinet Refurbishing
- Monitor
- Controls
- Interface
- Speakers - Sound
- Software
- Before-After Pictures
- Refurbishing Diary
- Finished project
- Document
|
Language |
|
|
JK Cabinet to MAME - Arcade Project Part I!
OUT WITH THE OLD
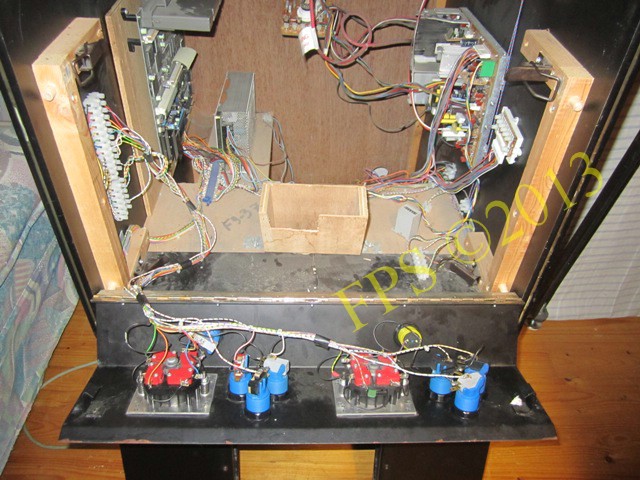
All electronics and cables to JAMMA game are cleaned out of the cabinet to fit the computer and the "new" monitor.

Controller card for the old monitor is no longer needed.

Also the transformer is removed.
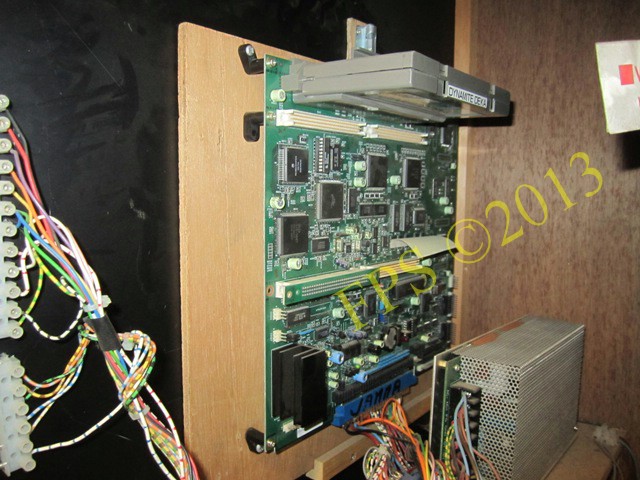
Here we can see the "JAMMA board," a PCB that is interchangeable by the 56 polers JAMMA connector (blue) visible in the bottom of the picture. JAMMA is a standard that was developed in the mid 80´s in order to easy change games in the cabinets without having to scrap the cabinet when a game got old. JAMMA stands for Japan Amusement Machinery Manufacturers Association and consists of several companies developing arcade games, Namco Bandai, Konami, Taito, Tecmo, Capcom and others.

The game that sat in the cabinet when it was purchased was DYNAMITE DEKA from SEGA.
CABINET - WIRING
Now is the most picked out from the cabinet. There is no power switch on the outside of the cabinet, it is only possible to start by connecting the power cord in the electrical outlet. A switch is probably missing since the cabinet has been on around the clock, when it has been at a operator. A switch for 220 volt and a start button for the computer on the outside of the cabinet were requirements that needed to be dealt with.
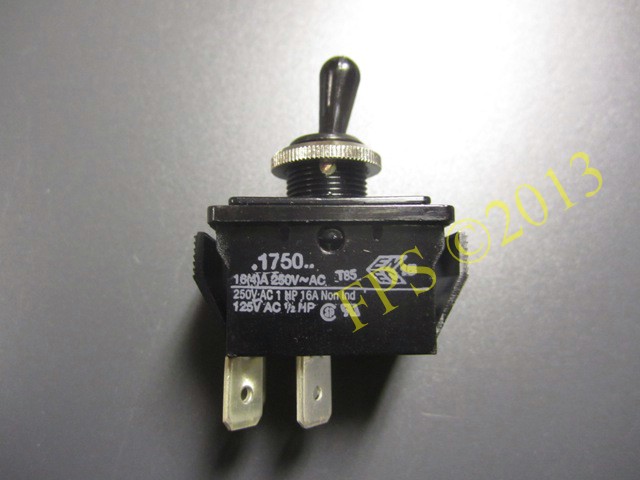
A 2-pole ON/OFF toggle switch is used to break 220 volts.

A hole in the roof of the cabinet is drilled and milled out to make room for the toggle switch.
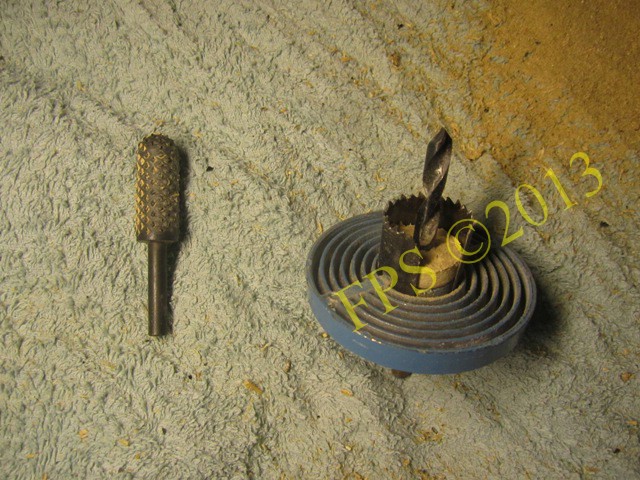
A pin cutter for wood is used to make the hole oval.
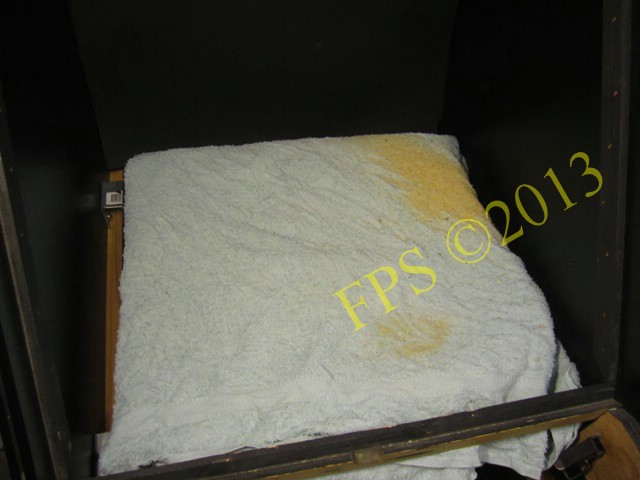
A towel covers the monitor to protect from sawdust or if something is dropped at work.
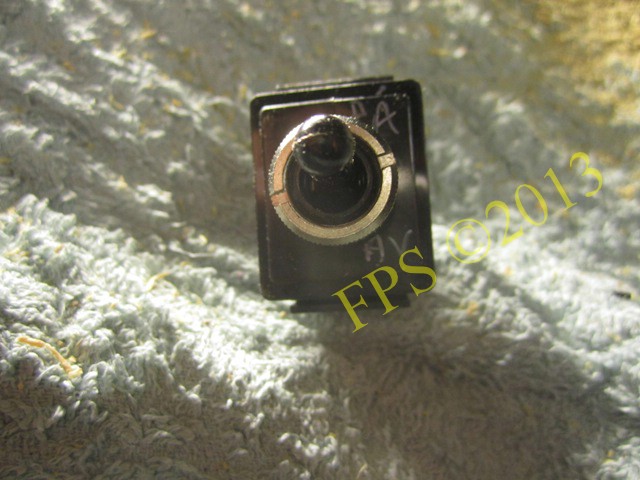
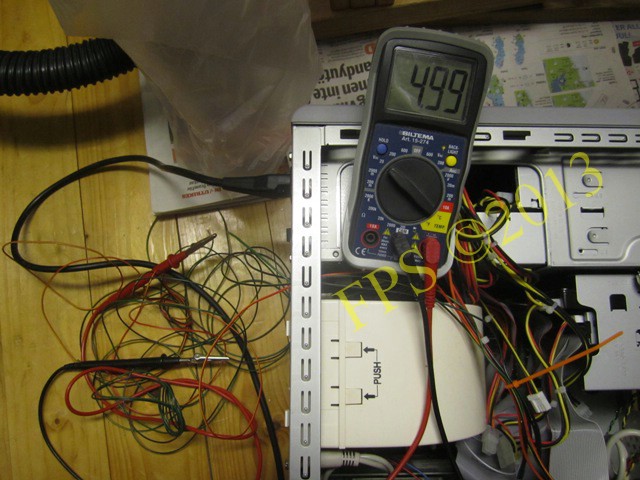
With the multimeter a continuity measurement is done to identify ON and OFF position to know which direction the toggle switch shall be mounted.
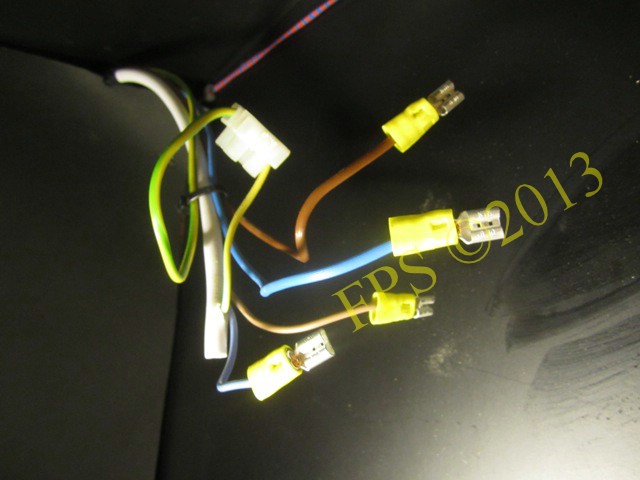
Cable lugs are used to connect wires to the toggle switch. Ground wires are connected to a separate terminal connector.
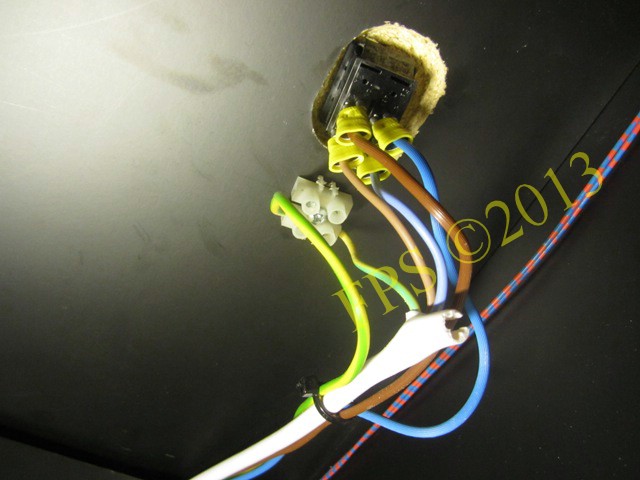
Toggle switch is now installed.
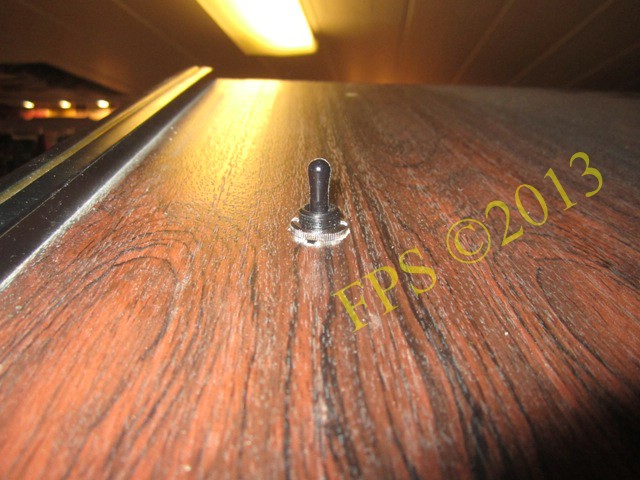
Toggle switch is easily accessible on top of the cabinet roof.
CABINET - START BUTTON
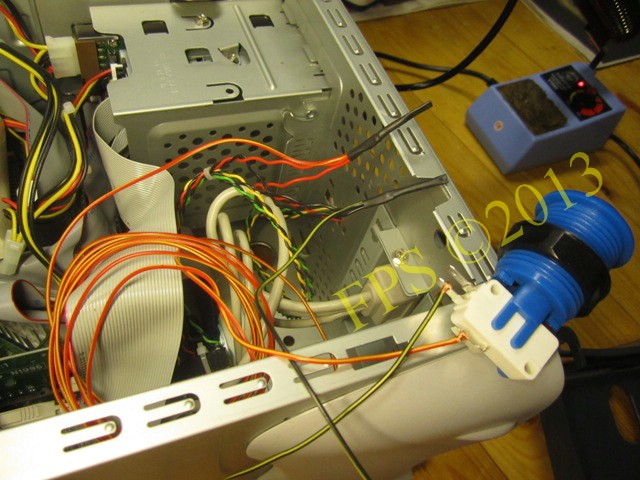
To boot up the computer from the outside of the cabinet, a pushbutton is used as start button which is mounted next to the toggle switch on top of the cabinet roof. The pushbutton switch is spliced onto the cables from the computer´s start button for a test which is shown in picture. Cables is routed out from the computer to the pushbuton on the top of the cabinet roof.

At the same time +5 volts cables are prepared for the lamp on coin hatch.
+5 Volt.

The cables to the pushbutton (start button) and +5 volts is passed through a hole in the computer's rear chassi.

A hole for the pushbutton (start button) is drilled with diameter 29 mm next to the hole for the toggle switch (220 volts).
A hole drill is used.

Start button for the computer is now installed.
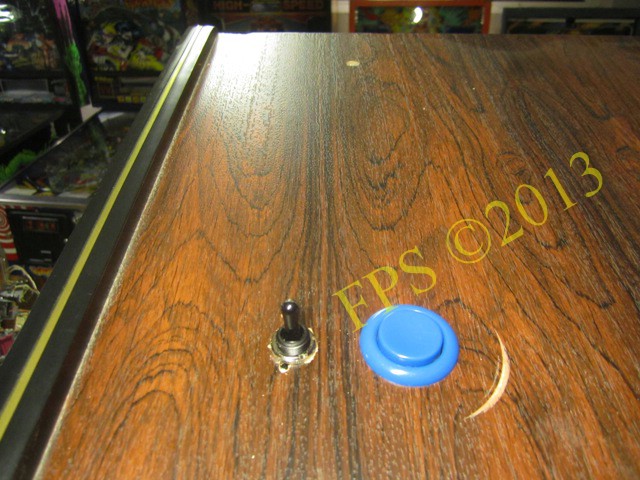
The final result, the damage around the switches in the roof surface from drilling is not visible as it is in hidden areas. The function is the important thing here.

All cables in place.
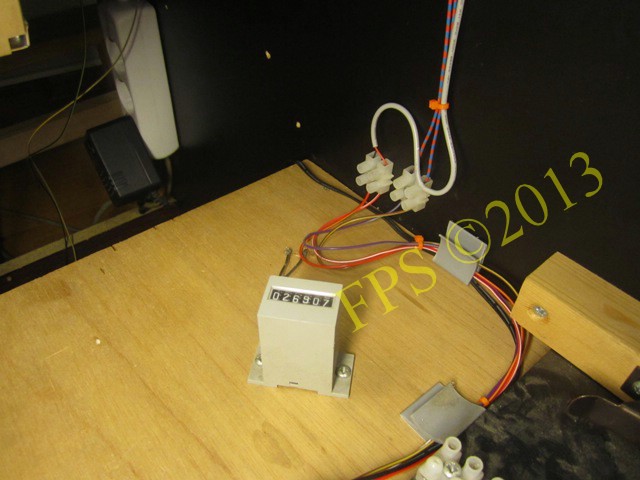
The only thing that is retained by nostalgic reasons is the coin counter. It has been played a few games on the cabinet over the years, almost 27 000!!

The power supply for the speakers are connected and two slots are left for the monitor and the computer. The power outlet is attached to the cabinet inside wall by hot glue.
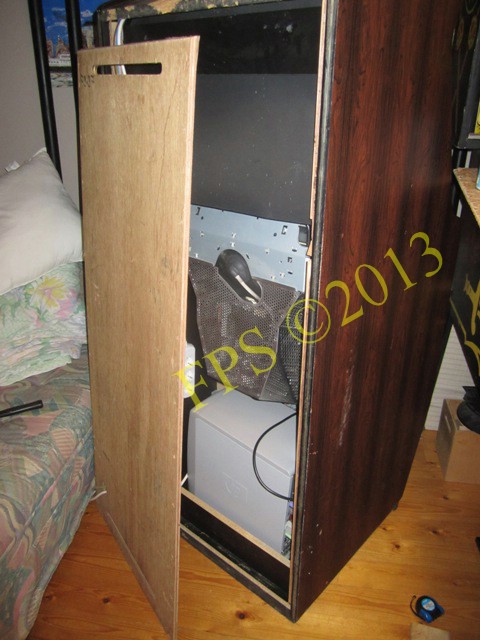
The back of the cabinet is removed, it sat well when it was glued and fastened with staples, to get the computer inside and make fine cable routings.
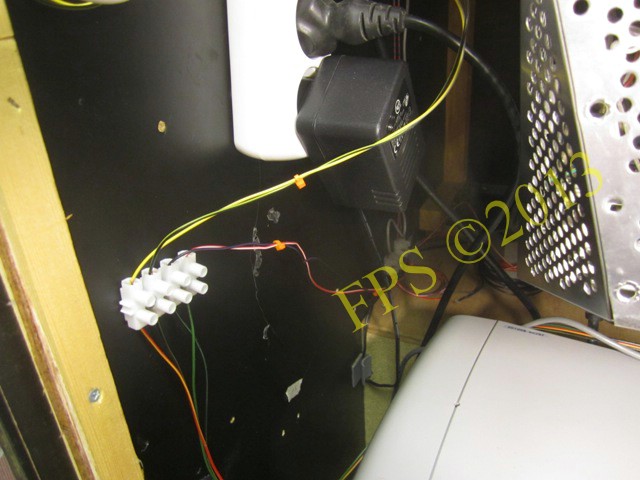
The cables from the start button and +5 volts goes through a connector terminal.
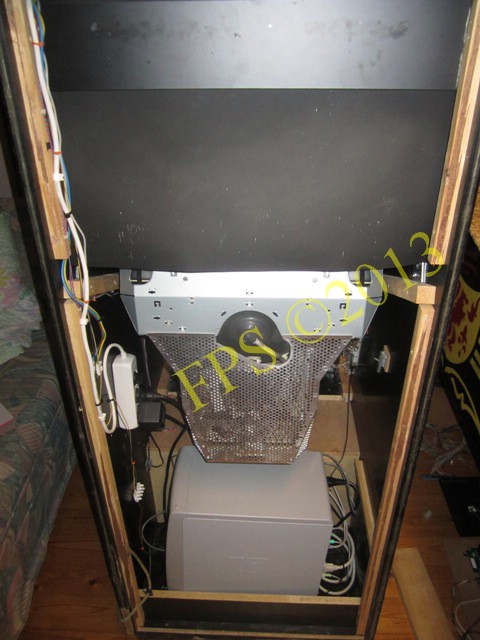
Cable routing and computer in place inside the cabinet.
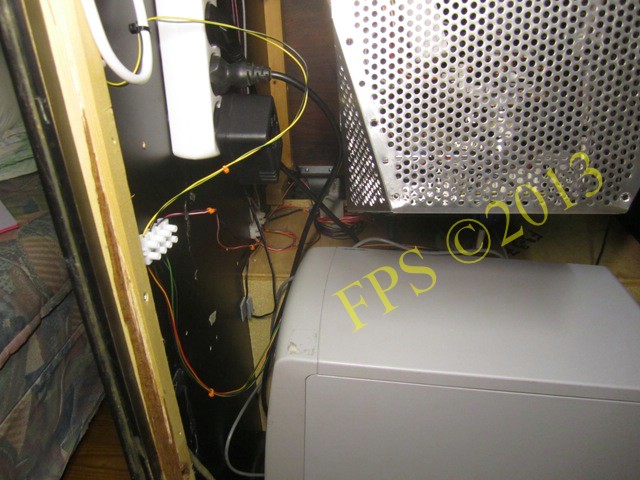
There was a lot of cable routing and the result was finally good.
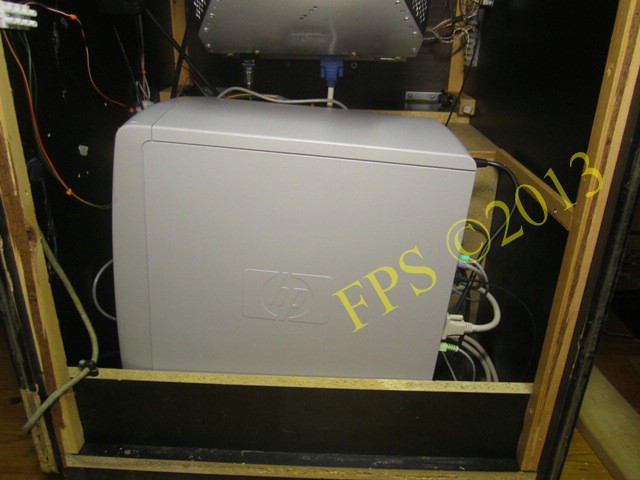
Another picture on the computer, time to mount the back cover with 4 mounting screws for easy access to the computer in the future for upgrades or servicing.
Pleasure and Pinball
© FPS. All right reserved. |
Page Last updated:
2013-04-18 |