- Home Old school pinball<1985
- Grand Prix (EM) 1976
- Firepower (SS) 1980
- Space Mission (EM)1976
- Genie (SS) 1979
- Magic Castle (SS) 1984
- Black Knight (SS) 1980 New school pinball >1985
- High Speed (Sys11) 1986
- Earthshaker (Sys11) 1989
- CFTBL (WPC) 1992 Arkad Projekt
- JK-Kabinett med MAME Contents Black Knight
- Playfield Refurbishing
- Playfield Painting
- Cabinet Refurbishing
- Electronics
- Before-After Pictures
- Refurbishing Diary
- Finished project
- Dokument - Flyer
|
Language |
|
|
Willimas Black Knight Refurbishing project - Part II!
BLACK KNIGHT PLAYFIELD PAINT RESTORATION
And now to the fun part of this project, playfield paint touch-ups.
The wear on the playfield can sometimes look horrible when you get closer. When playing a game you do not notice it so much apart from when the ball is going down in the wear and change the direction then the predicted. On mine Williams Firepower pinball machine there was a lot of wear in the middle part of the playfield which interrupt me a lot. I started to think to do a refurbishing of the playfields wear and damages - playfield paint touch-ups was the solution to save the games playfield to avoid interruptions during game play.
The reason I believe that one should do paint touch-ups of a damage or wear on the playfield even if they result are not entirely perfect is that it is better than to leave the areas on the playfield with clean wood. If the paint touch-ups are not quite perfect this will usually not be detected by a viewer or player, but a damage or wear in the playfield where there are no motives or colors will be far more conspicuous and in some cases also affect the play negative.

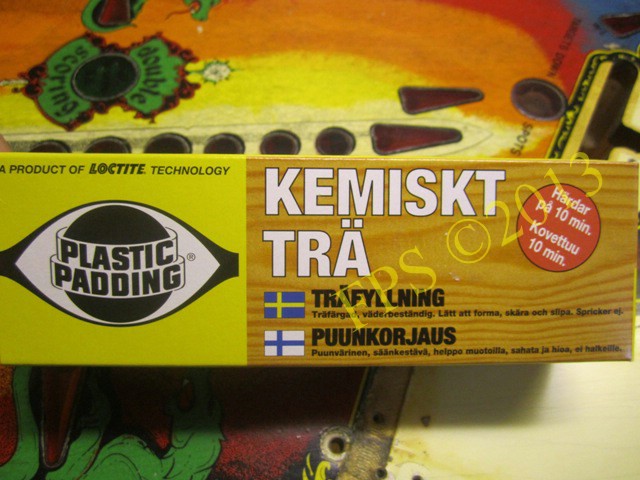
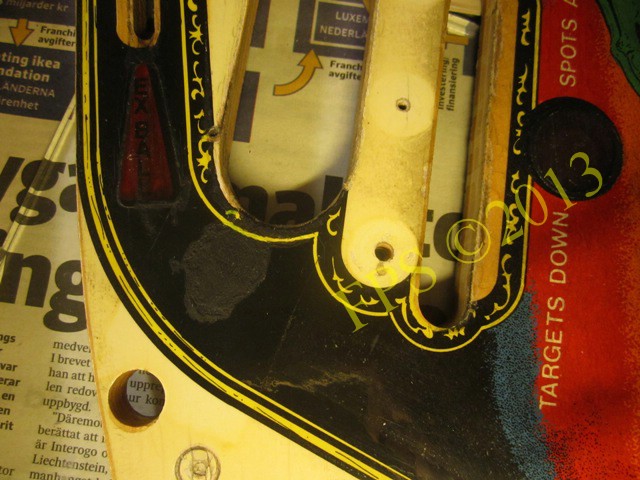
Before painting, I fill surfaces with wear on the playfield with chemical wood and sands lightly with fine sandpaper afterwards.
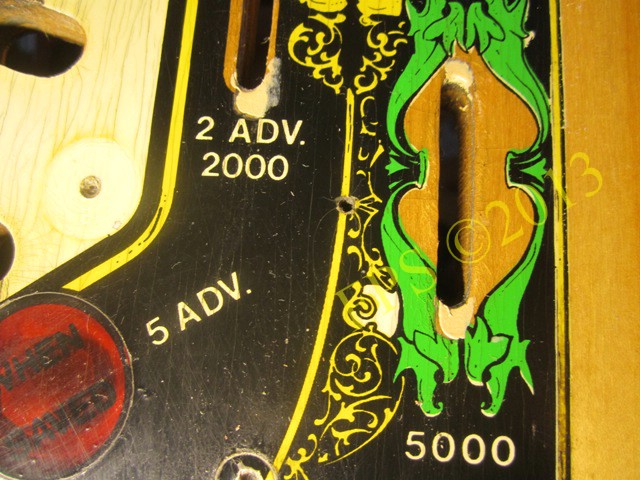
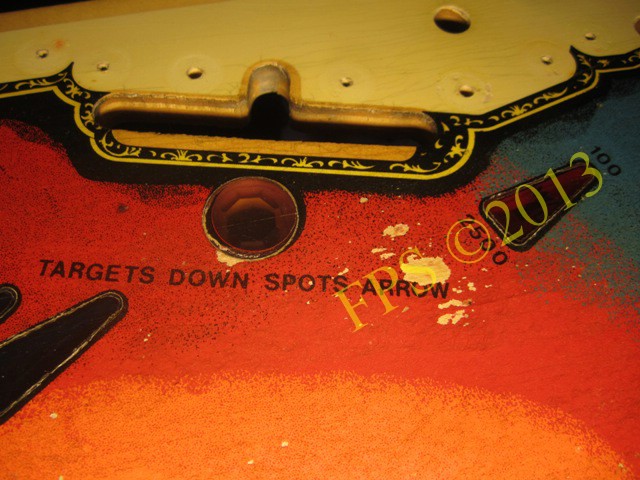
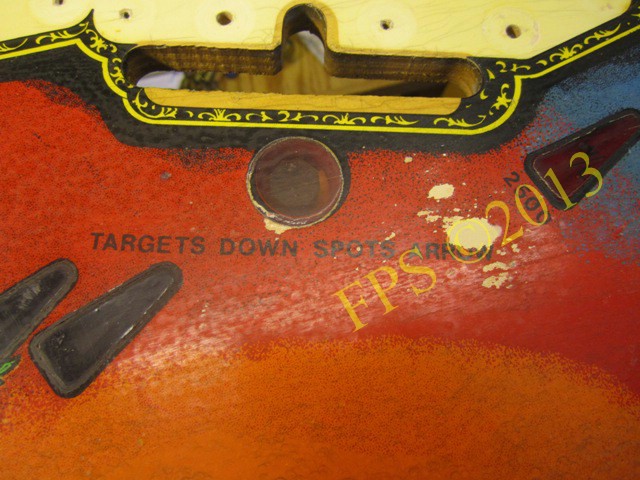
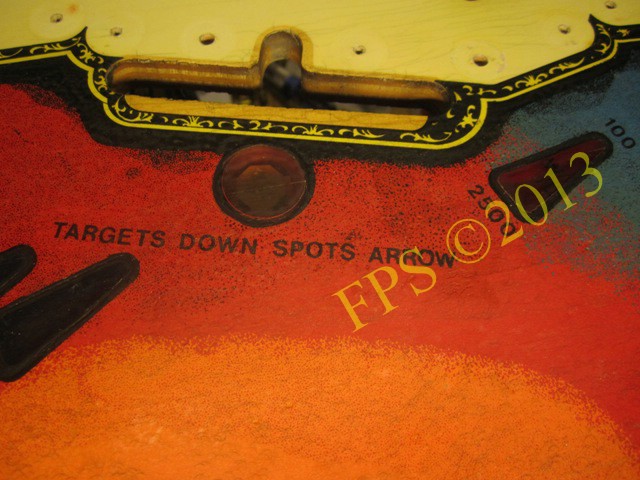
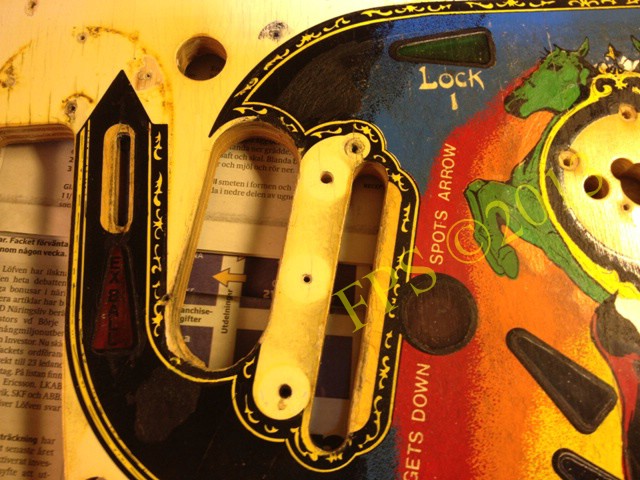
Surfaces with wear on the playfield before chemical wood are added to the surfaces.
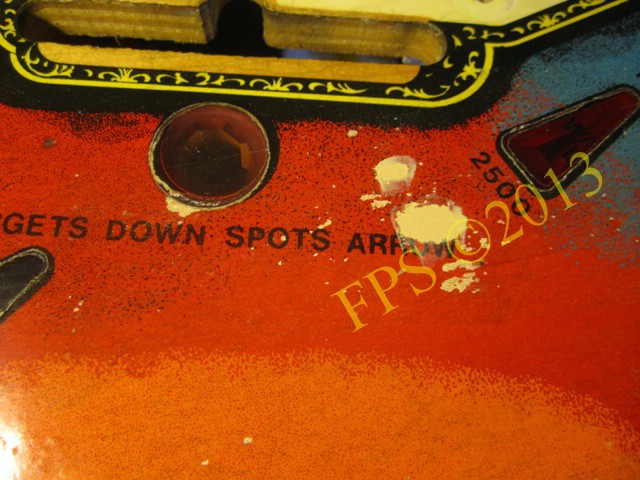
After filling with chemical wood.


Inserts situated above the surface of the playfield are knocked down with a round wood stick, felt tape fitted, by using a hammer.
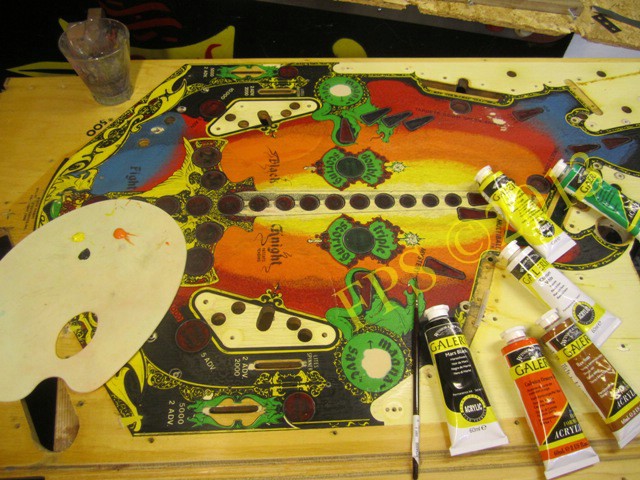
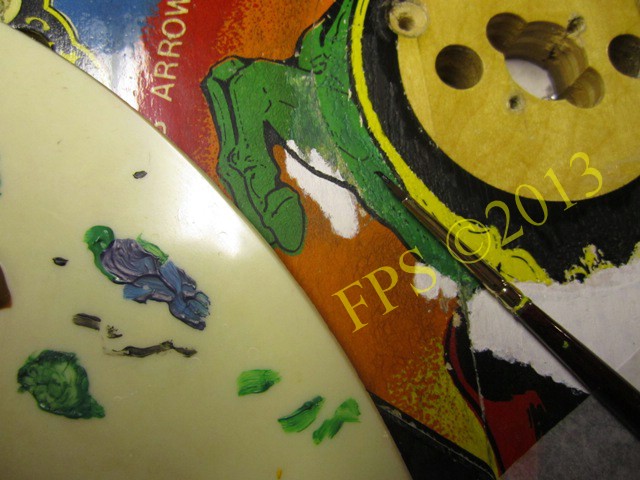
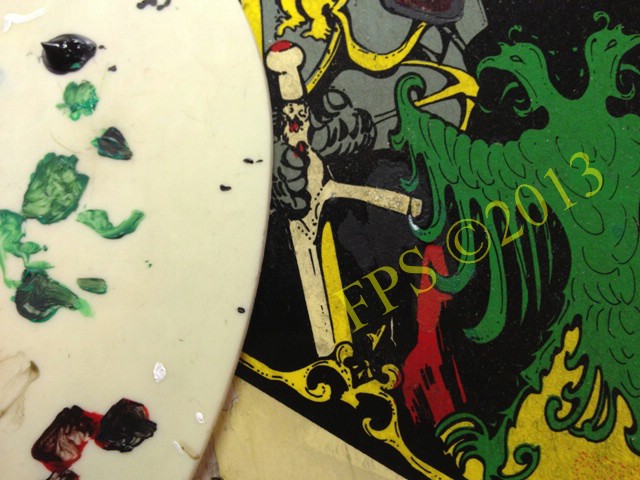
Now I can start with paint touch-ups, acrylic paint is easy to apply, if it not will be the right color match the first time acrylic paint is opaque and a new colour can be applied over the first attempt, acrylic colors are mixed on a paint palette to the right color tint.
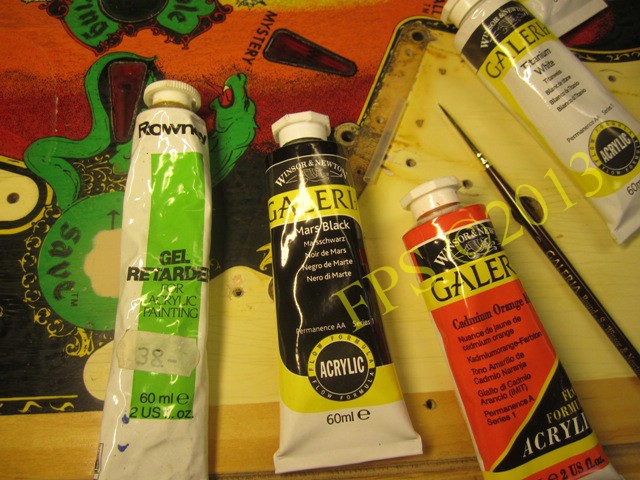
Gel retarder is used to mix the acrylic paint so that you get a lasure, (a transparent color layer of black, gray or brown), this transparent color (lasure) can be laid over a dried paint.
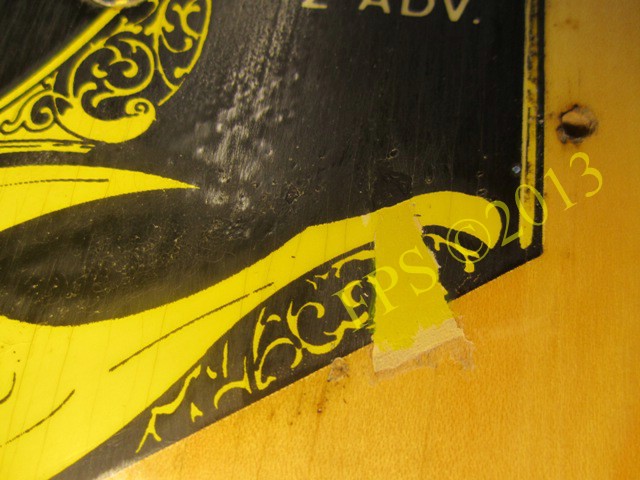
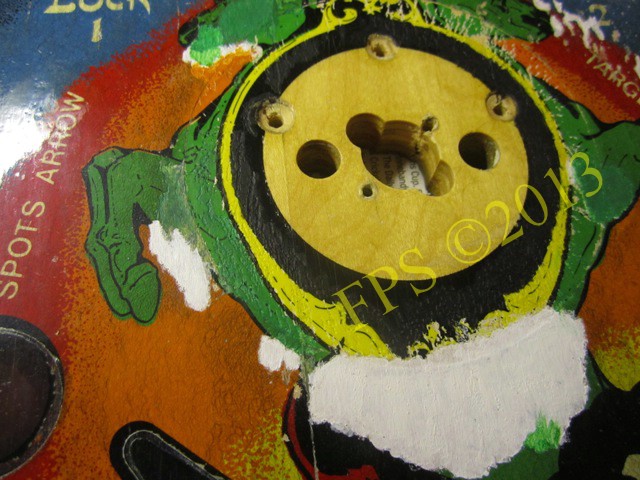
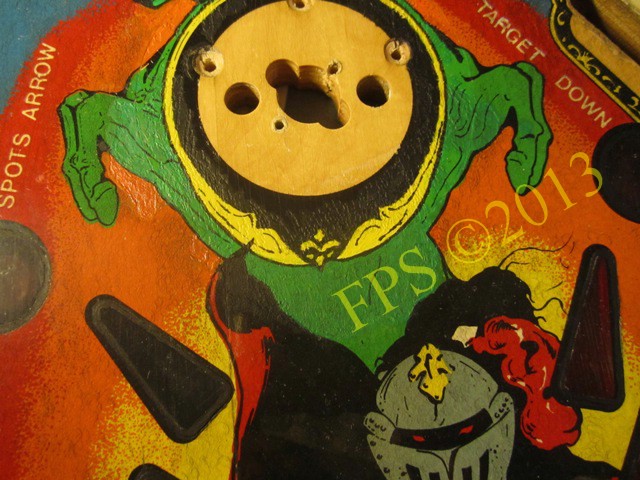
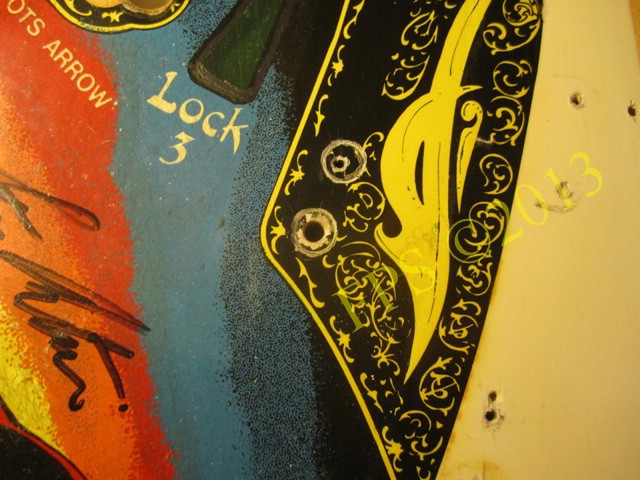
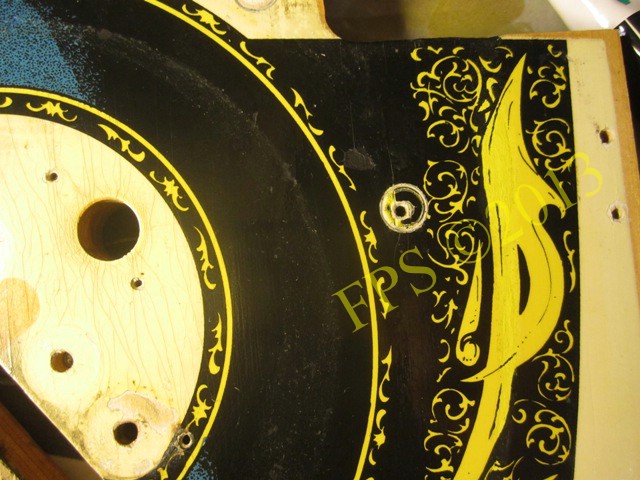
First step is to apply a layer of yellow color tint.
Then the contour line is painted by freehand with black acrylic paint.

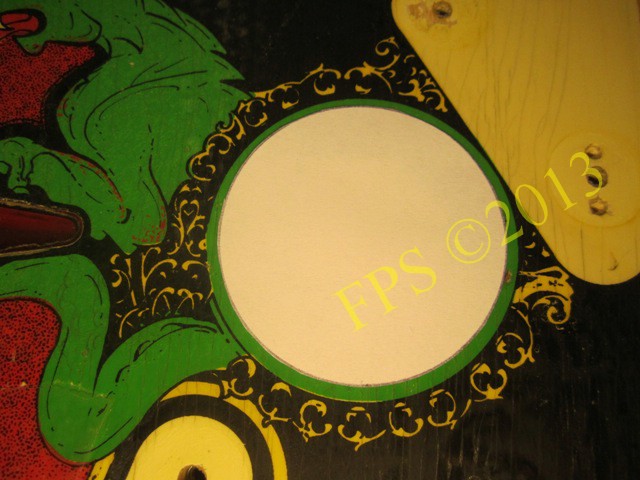
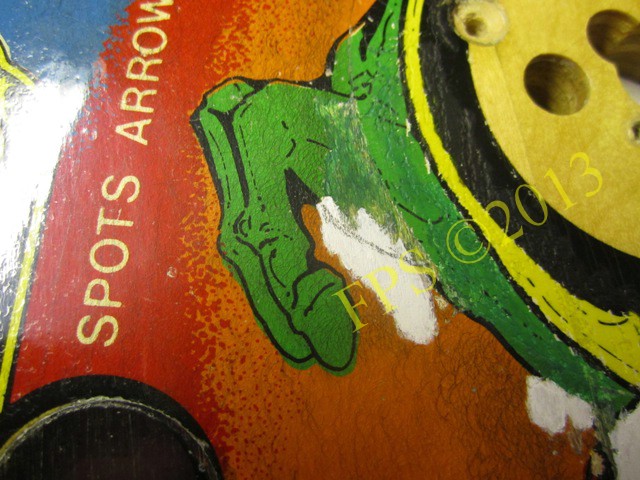
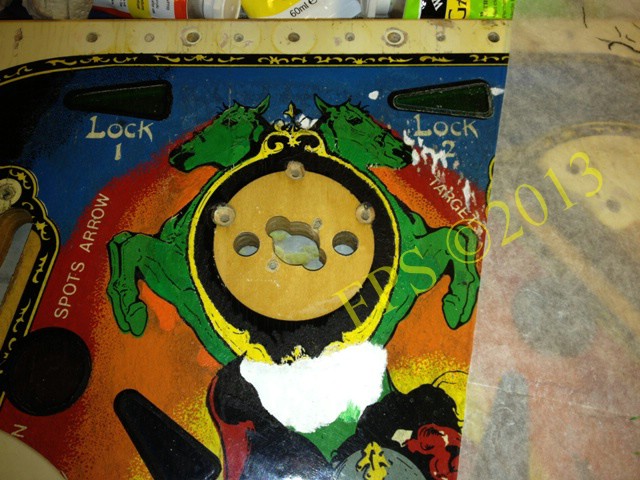
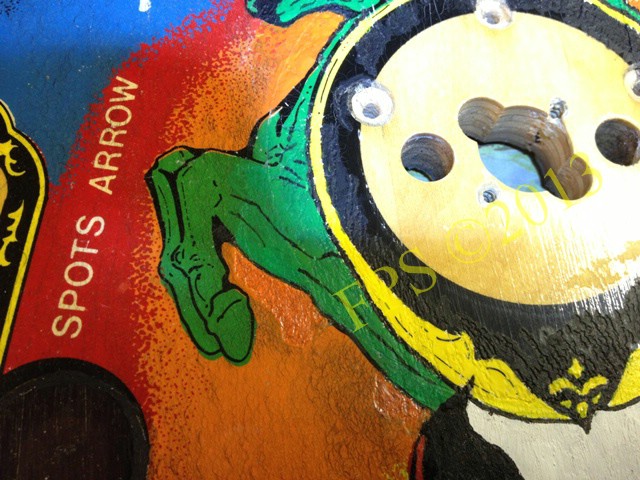
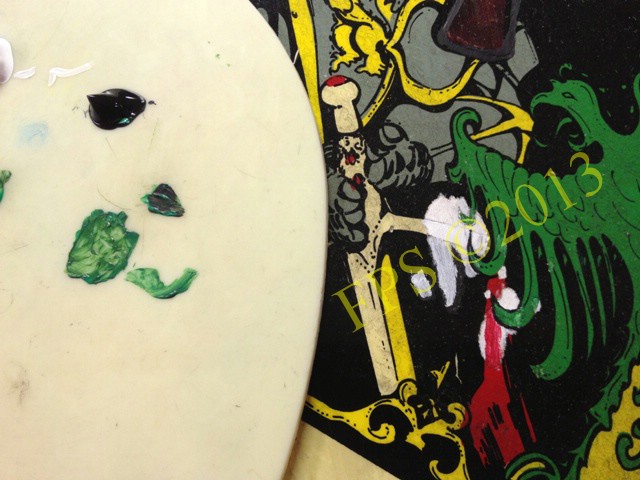
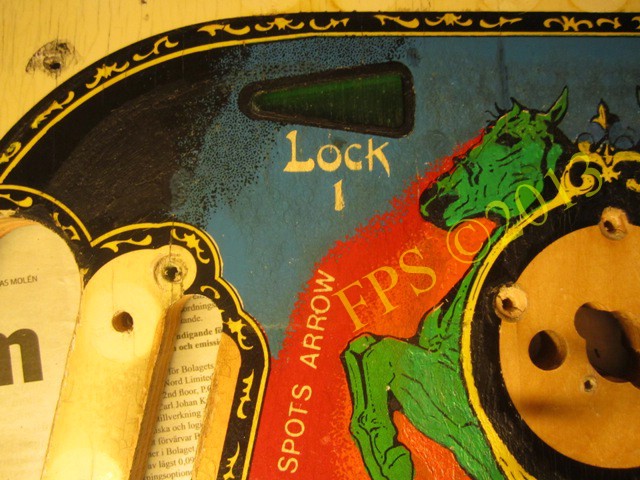
To see how much of the green surface who is covered by the new MAGNA-SAVE decal I made a template in paper, all green surface outside the paper template need to be paint touch-uped with green acrylic paint.
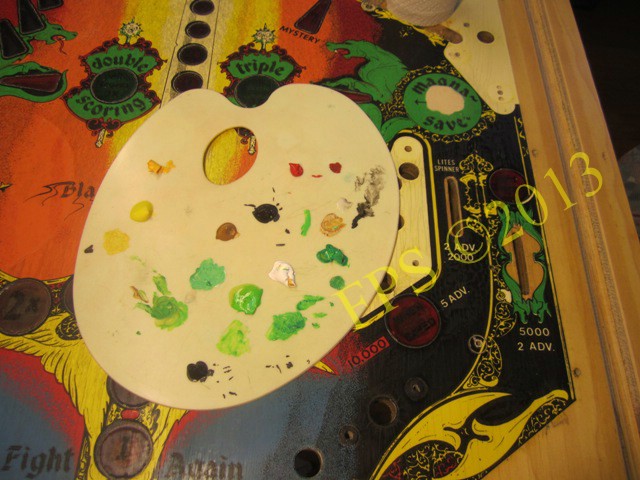
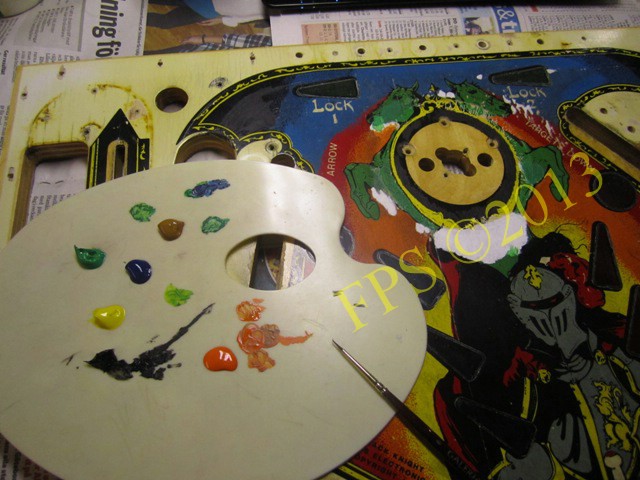
This is how the palette can look after numerous attempts of color match.
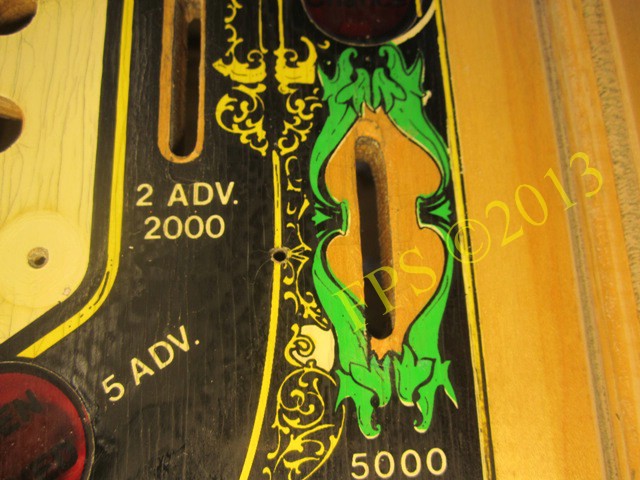

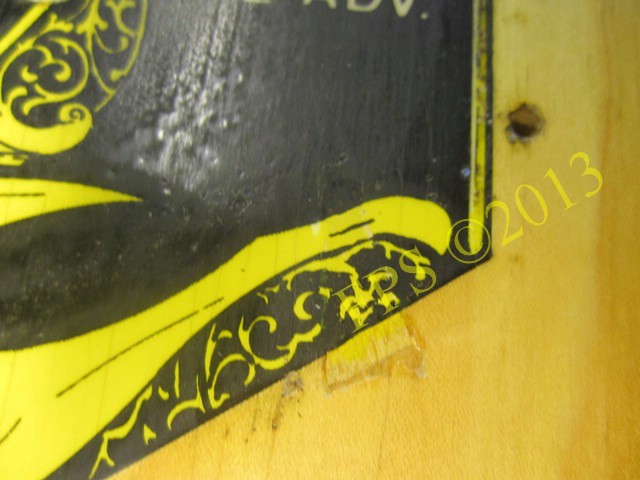
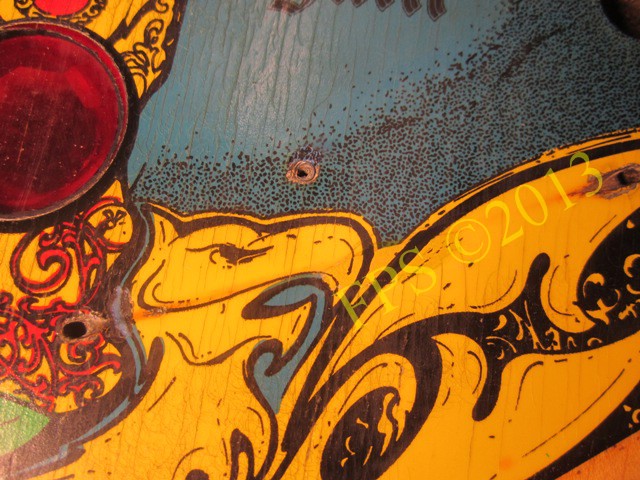
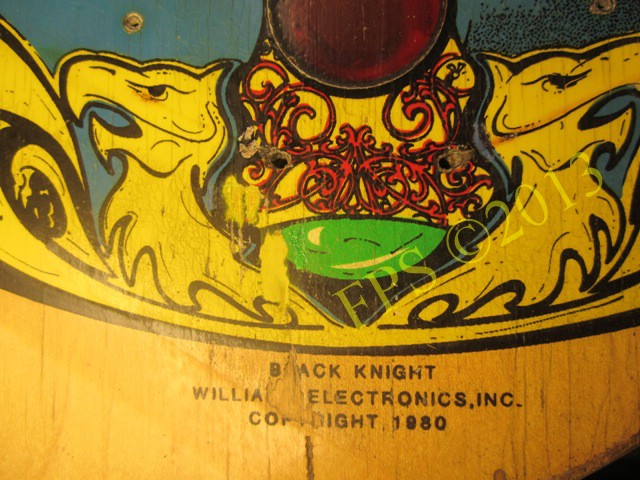
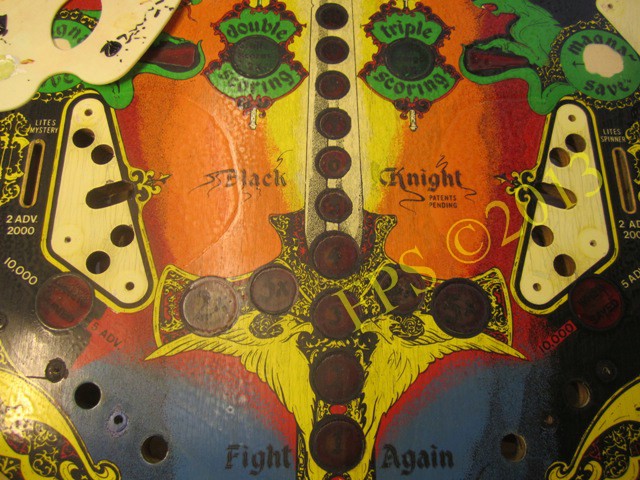
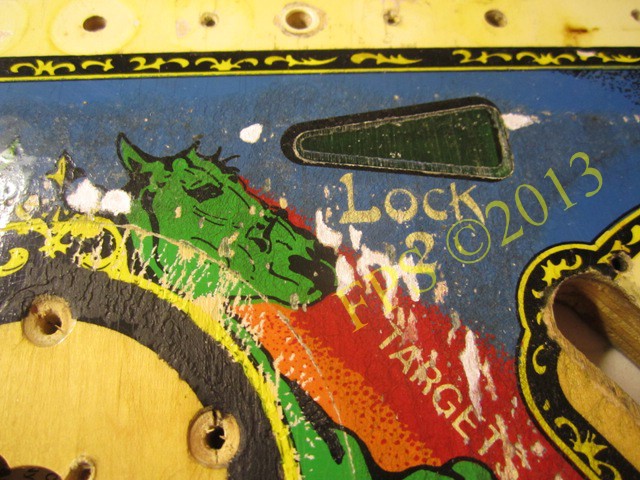
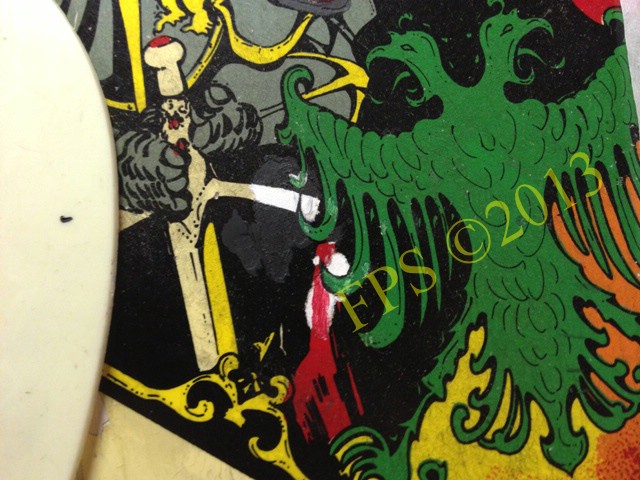
Before paint touch-ups.
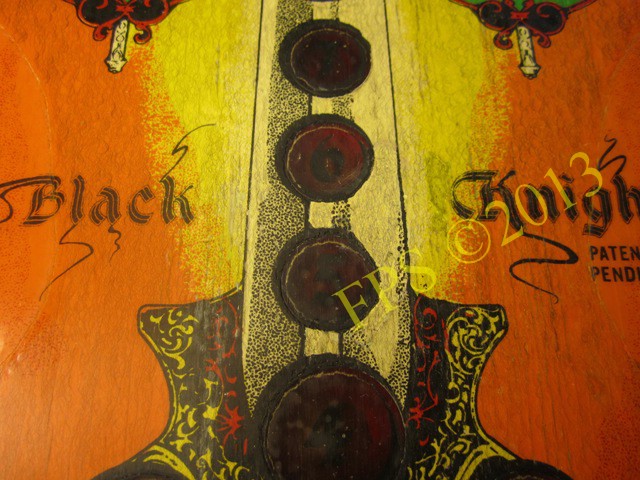
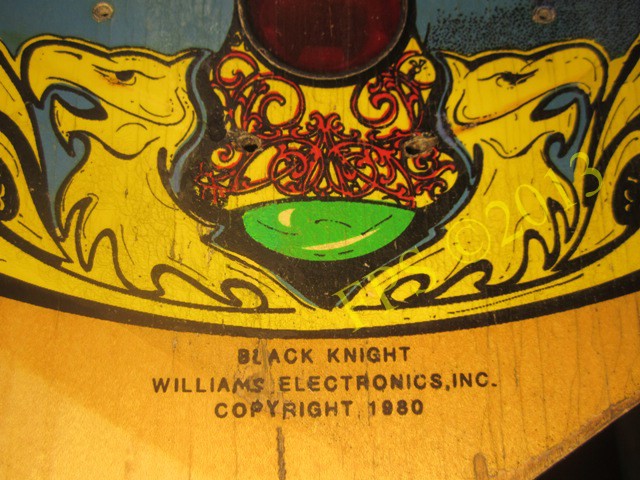
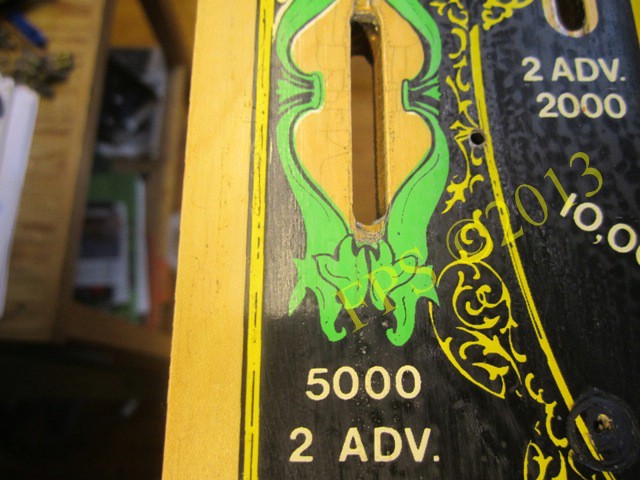
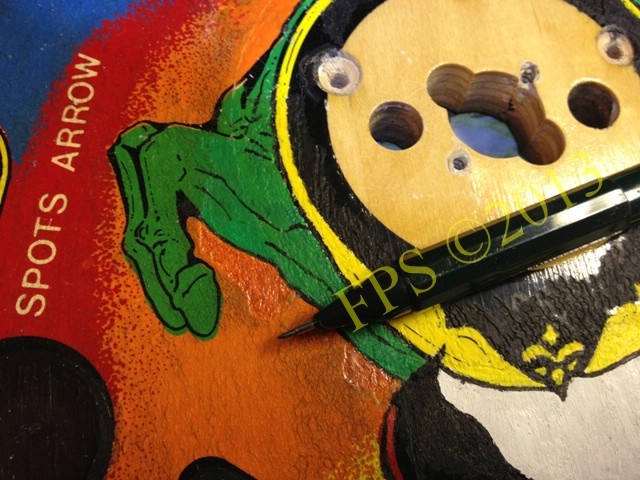
After paint touch-ups.
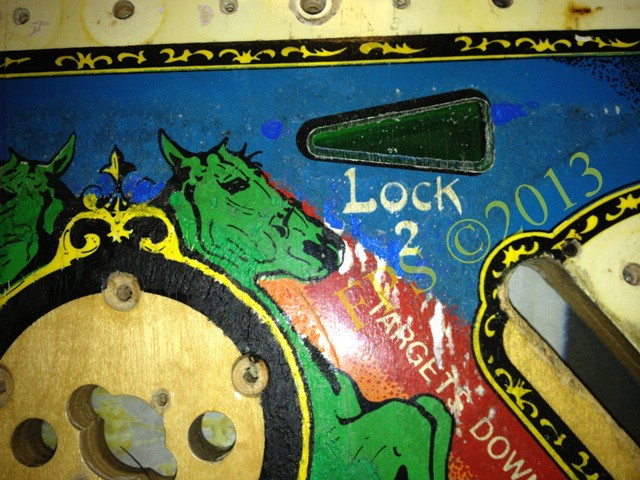
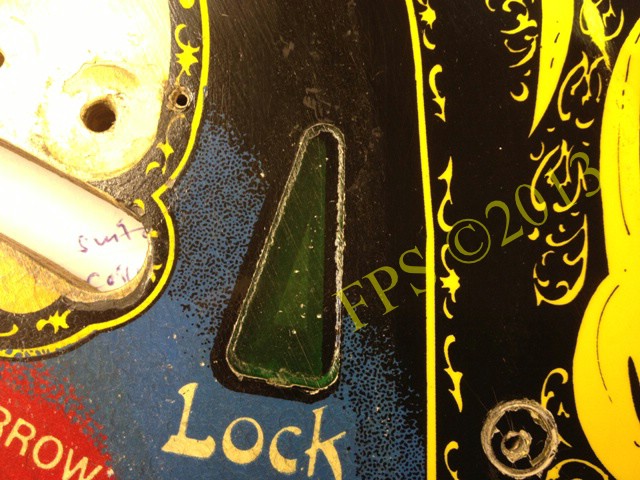
Before paint touch-ups.
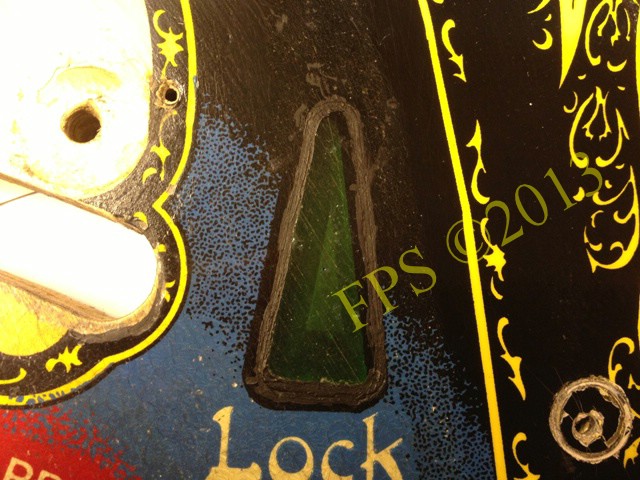
After paint touch-ups.

Do not disturb, paint touch-ups in progress!
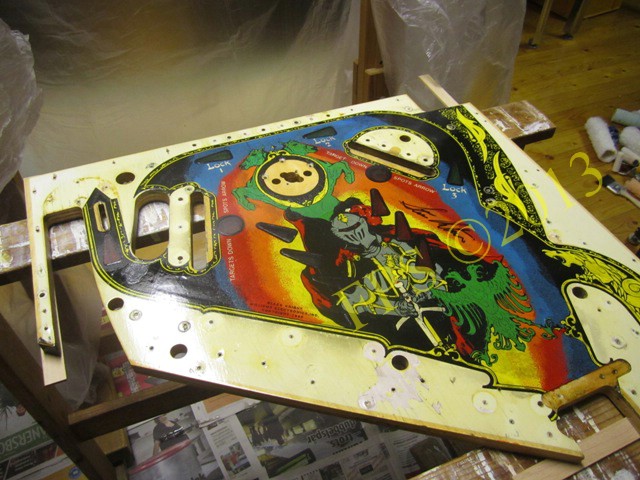
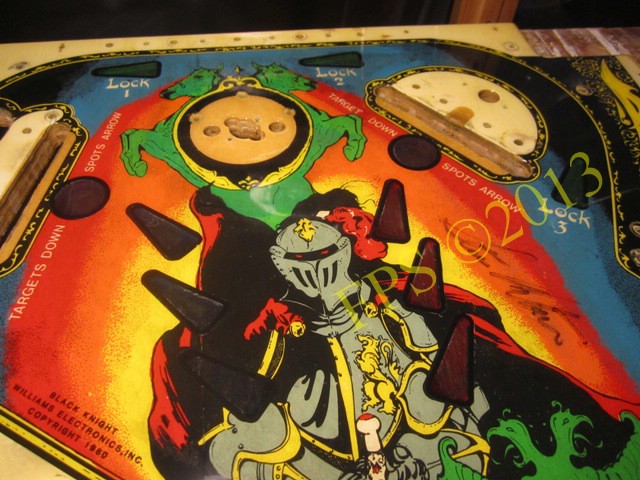
PAINT TOUCH-UP UPPER PLAYFIELD
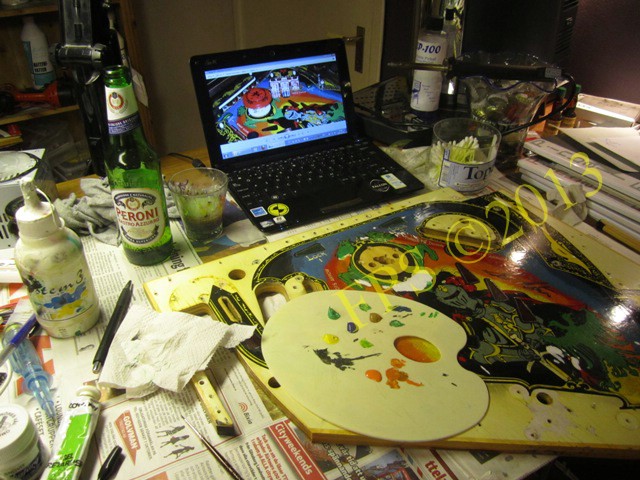
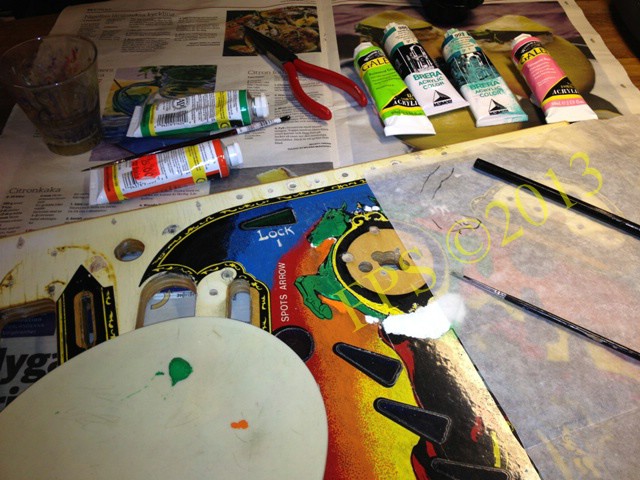
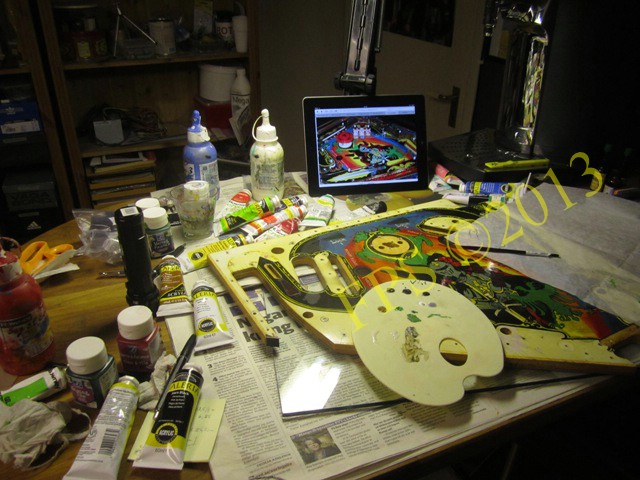
Viewing images on ipdb.org to restore the areas that are free from color.

Some of the acrylic colors used for color touch-ups of the playfield.
White base color is painted on the surfaces to be color touch-uped.
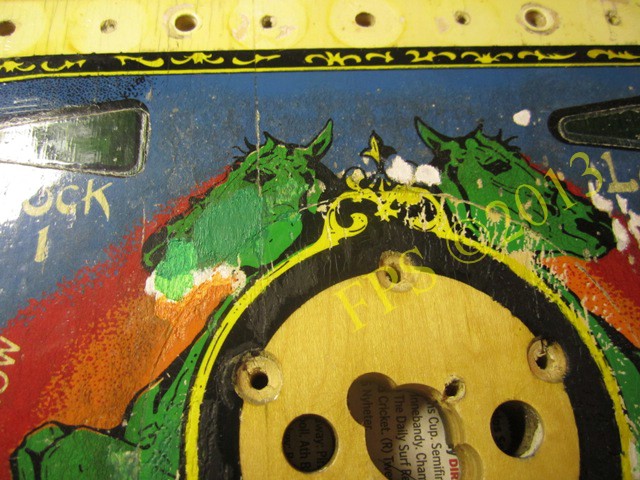
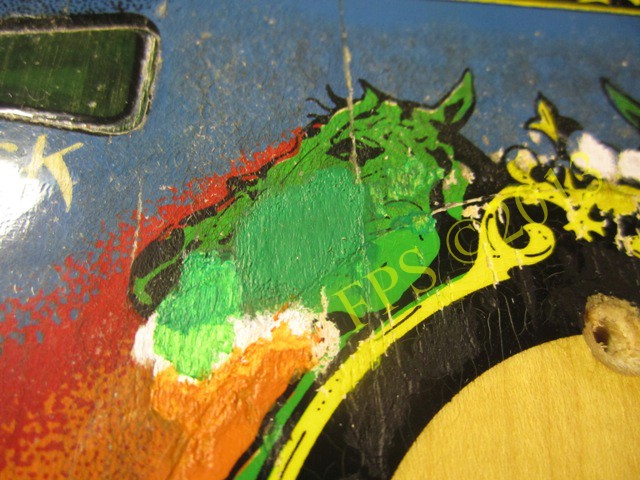
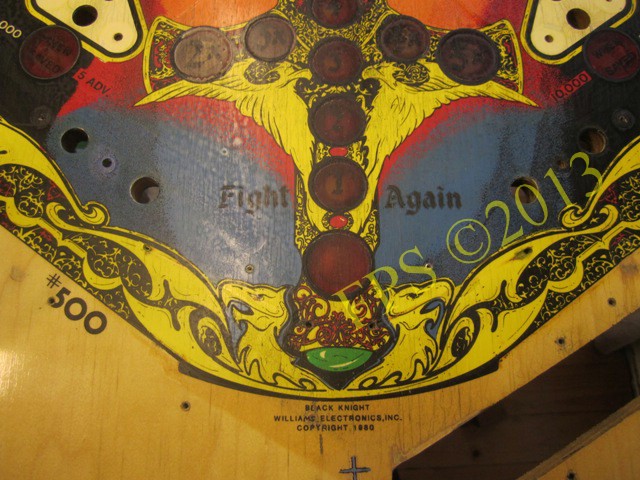
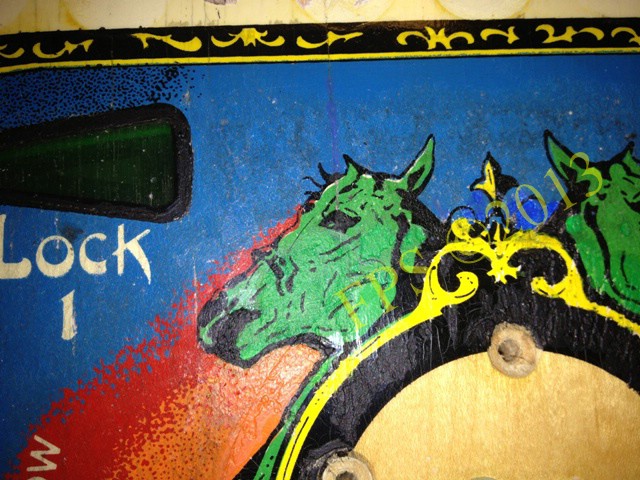
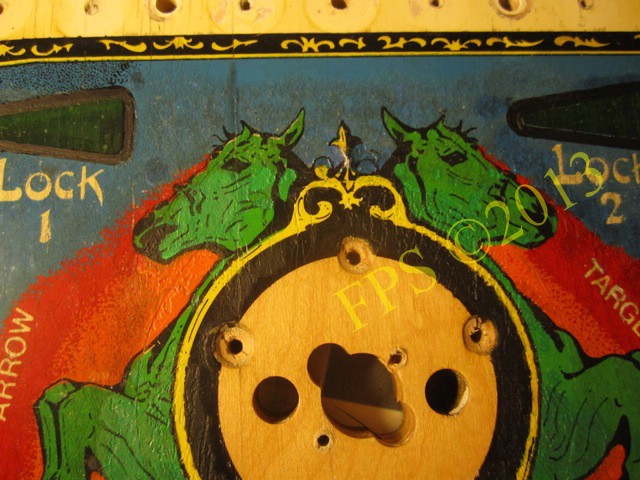
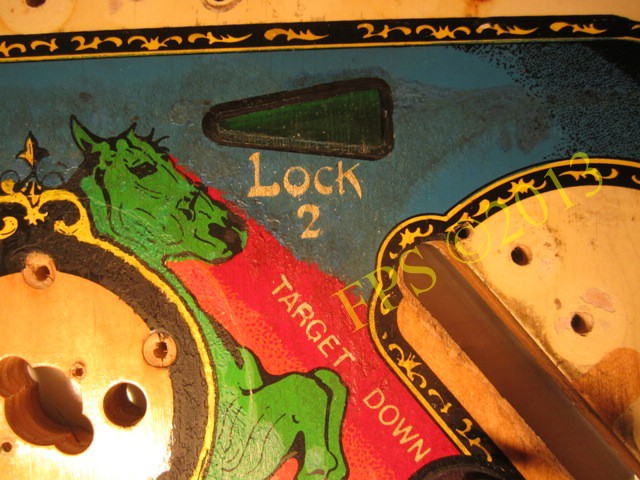
Horse heads color touch-up.

Result after color touch-up.
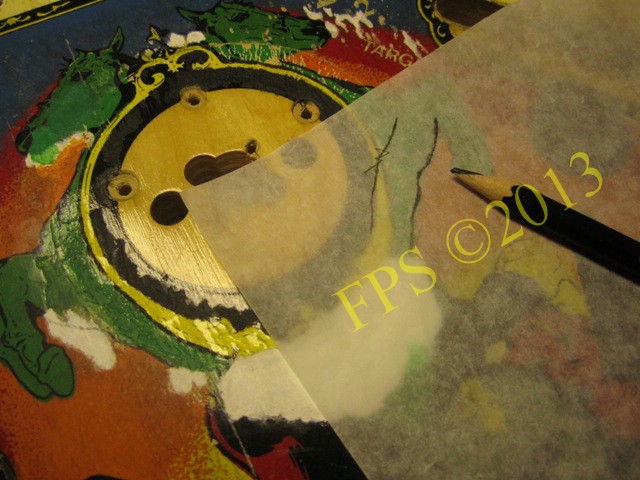
The contour line is drawed on a "butter paper" and is mirrored to the other side by turning the paper and then draw on the contour line again, an print is created in the white base color.
Here we see the contour line as an print from the lead pencil.
The contour line is painted with black acrylic paint.


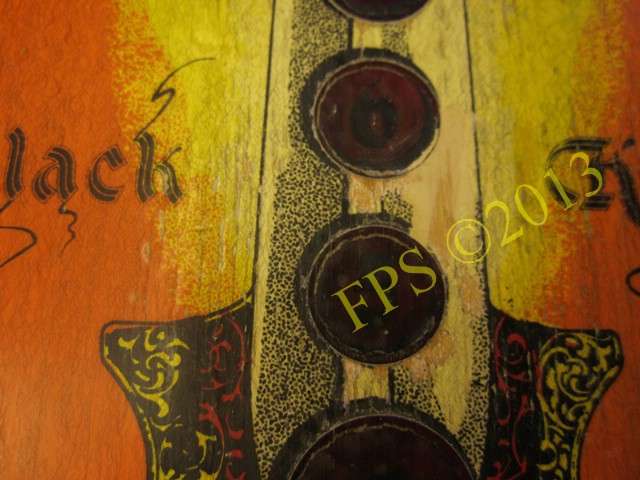
To recreate the ball swirls in the playfield a pointed lead pencil is used, where curved short thin lead pencil lines are drawn on the acrylic paint.

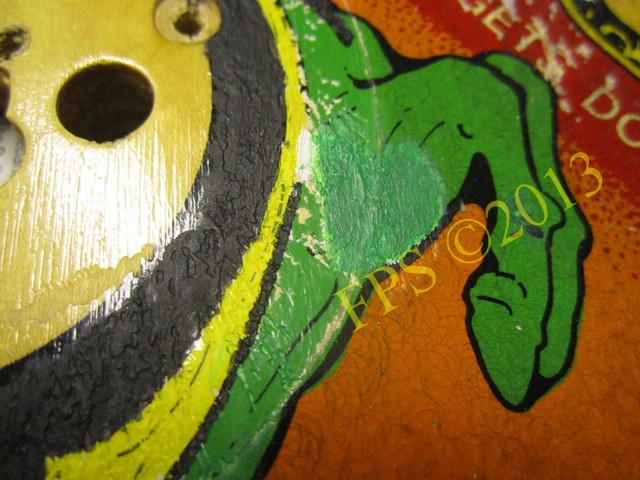
Colour touch-up is in progress, the colors match are not quite right yet, continue to mix and match paint and paint over again to the right color tint.

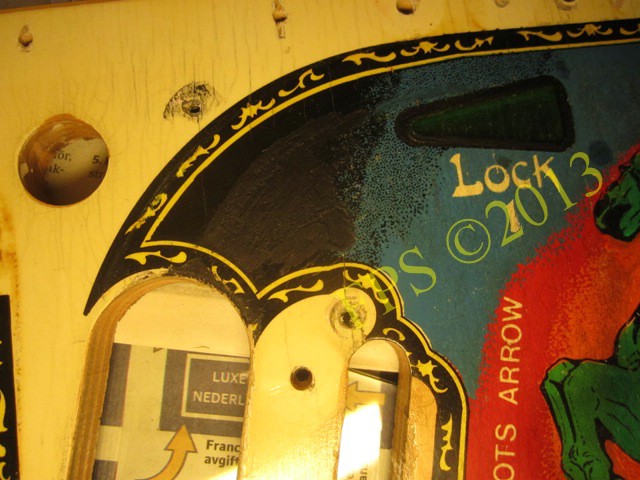
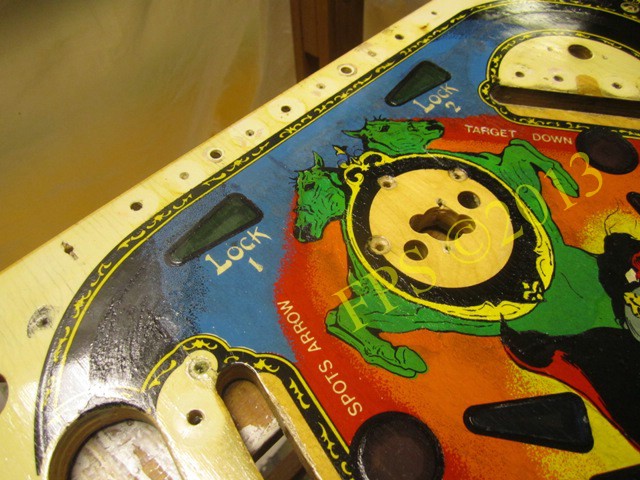
Hard to get to the blue tint with wear, a lot of ball swirls in this area, feels like it's good enough to fool the eye from believing that there has been a color touch-up in the area.
Color touch-up of black contour line around the inserts.

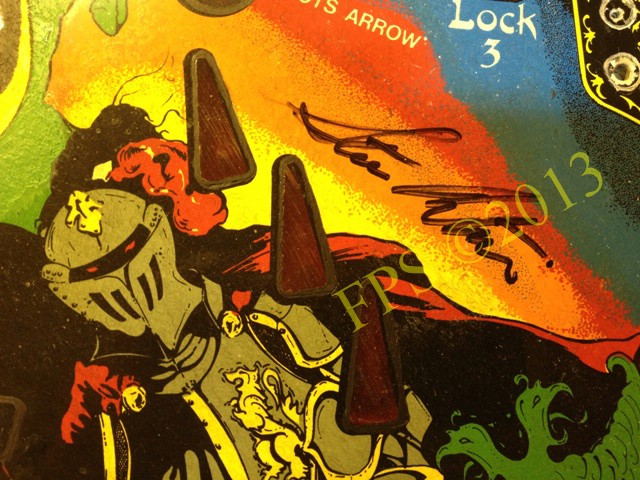
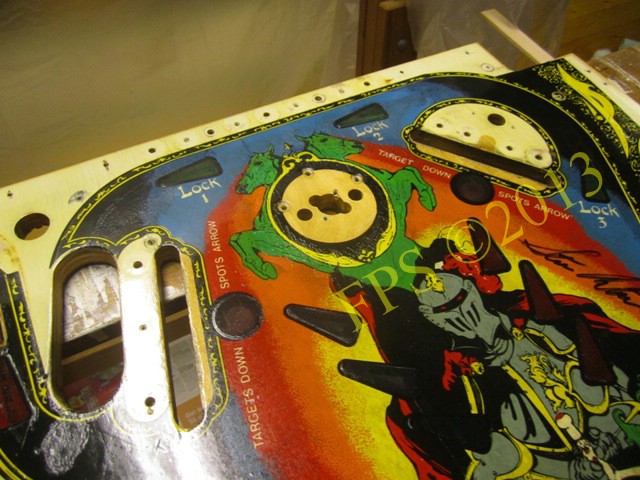
Upper playfield signed by Steve Ritchie on Pinball Workshop in Norway.


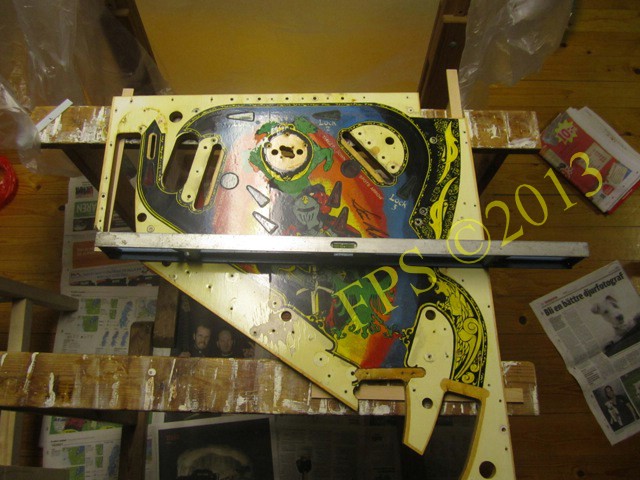
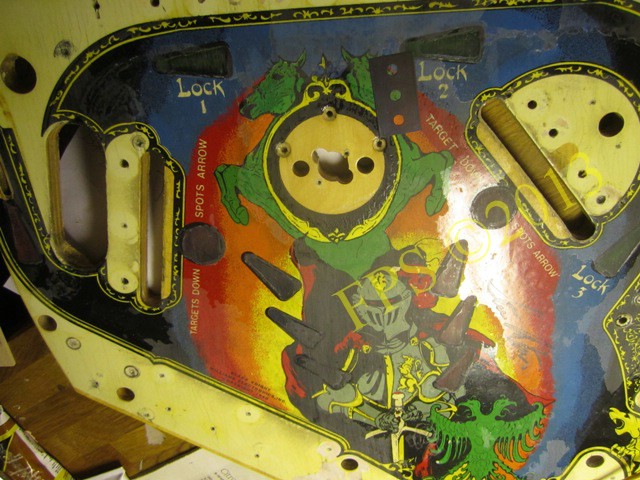
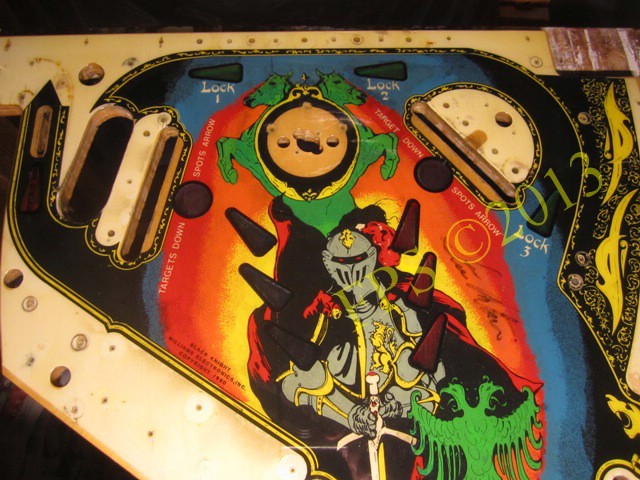
UPPER PLAYFIELD AFTER PAINT TOUCH-UP


VARNISH - THE NIGHTMARE
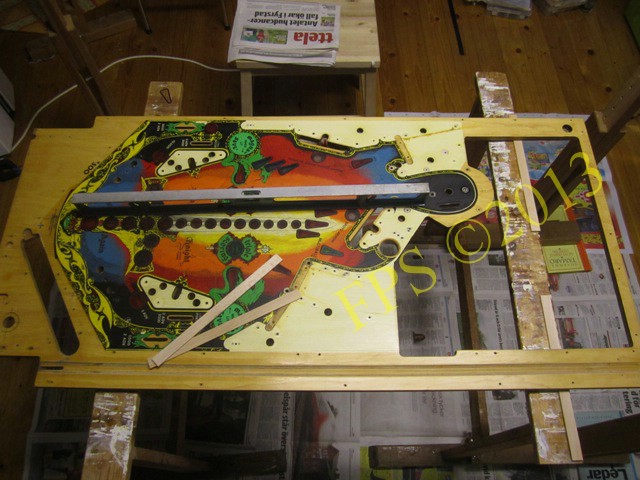
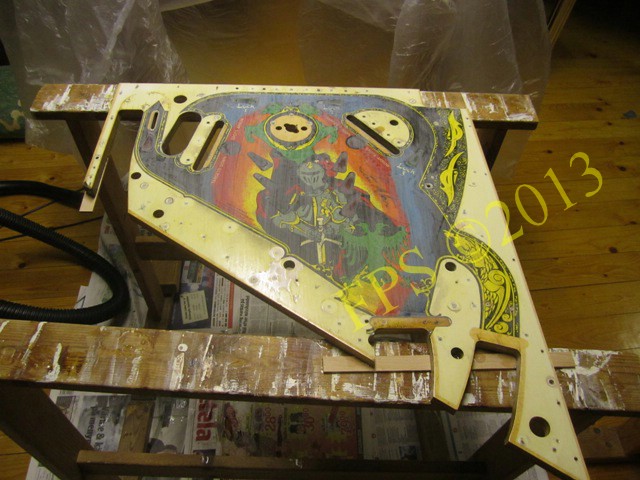
Before varnish (clearcoat) the playfield needs to be in level. By using thin wooden sticks placed between the stands and the playfield it is possible to get the playfield in level.
,
Upper playfield is leveled before varnishing.
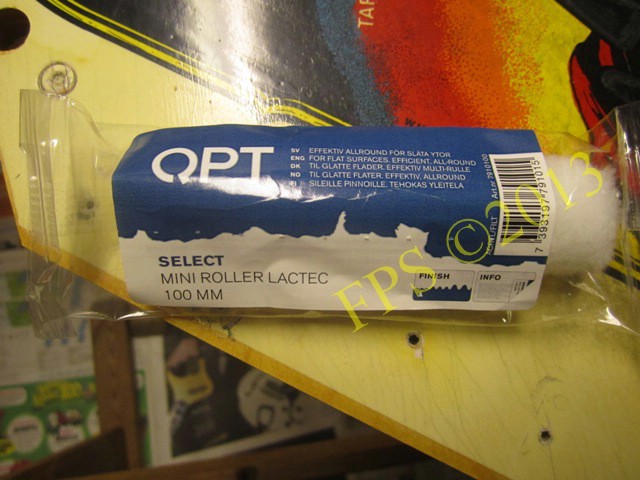
A paint roller is used to apply varnish on the playfield.
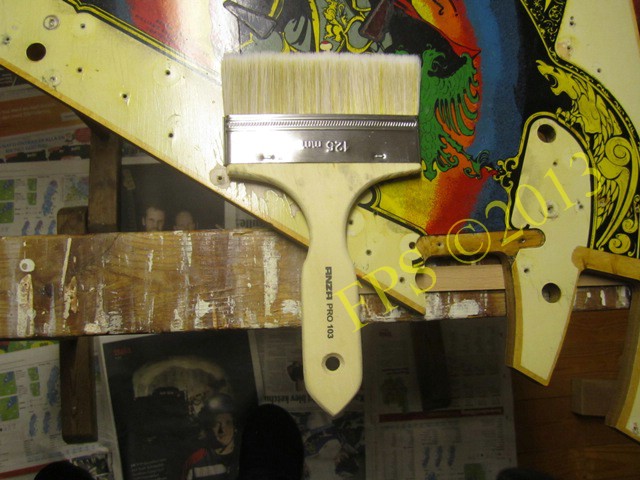
A thin and broad brush, "moddlare" 125 mm is used to distribute the varnish evenly across the playfield to get a smooth surface.
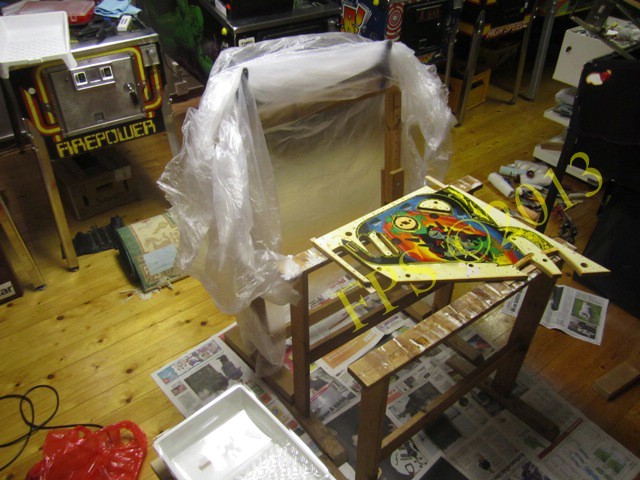
All set to apply first coat of varnish.
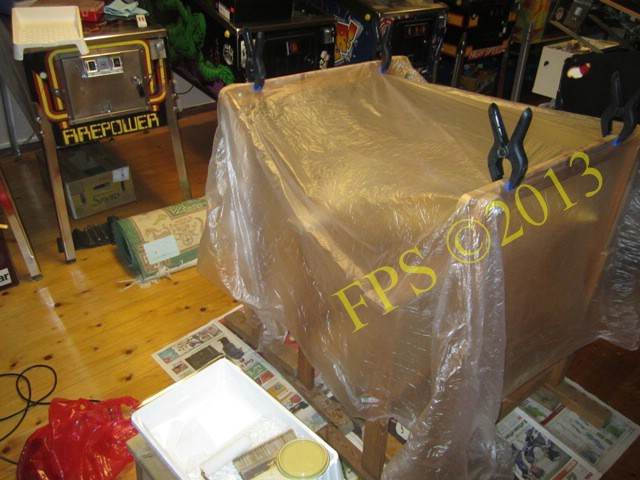
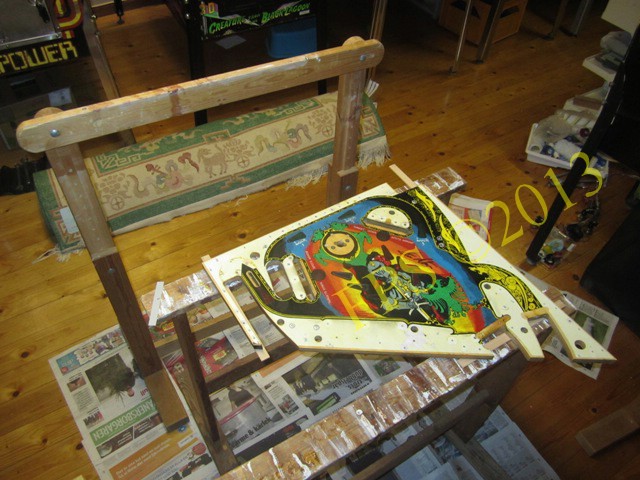
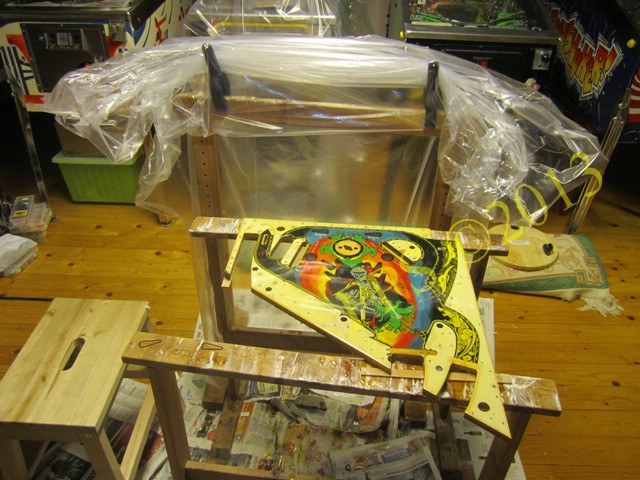
To avoid dust in the varnish before it becomes dry, playfield is covered with plastic.
Williams Black Knight playfield after the first coat of varnish.
 |
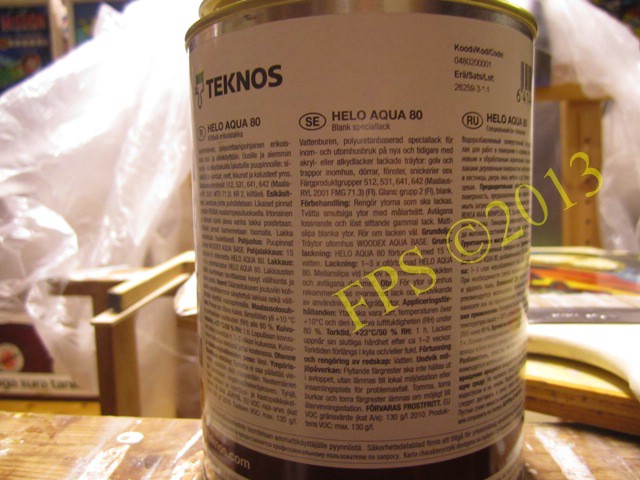 |
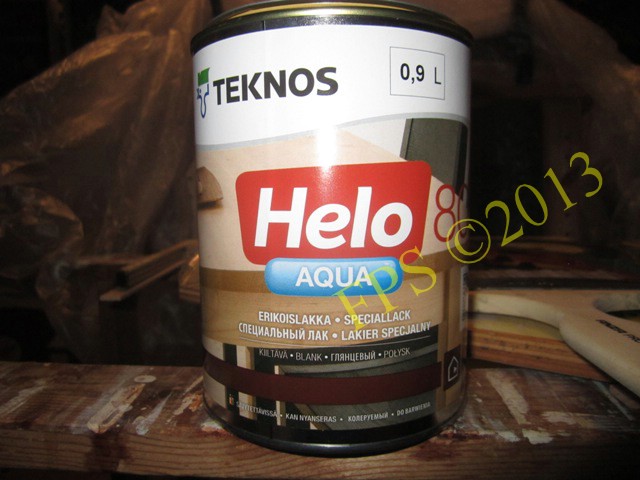
The varnish that I was recommended by the paint store to use was of the brand TEKNOS, in their view this varnish would be better than the varnish I used on the playfield for Gottlieb Genie project. It turned out that this varnish was very poor and detached from the playfield.
Unfortunately, this varnish went bubbly and released from the surface when sanding the playfield. There was a major job to sand away all varnish without damage the paint on the playfield. With a razor blade pieces of the dried varnish could be pulled from the playfield. After that I got to make new color touch-ups.
ANOTHER BAD VARNISH
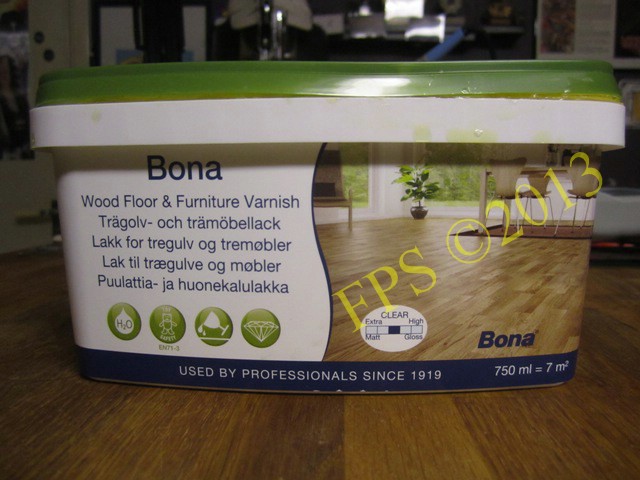
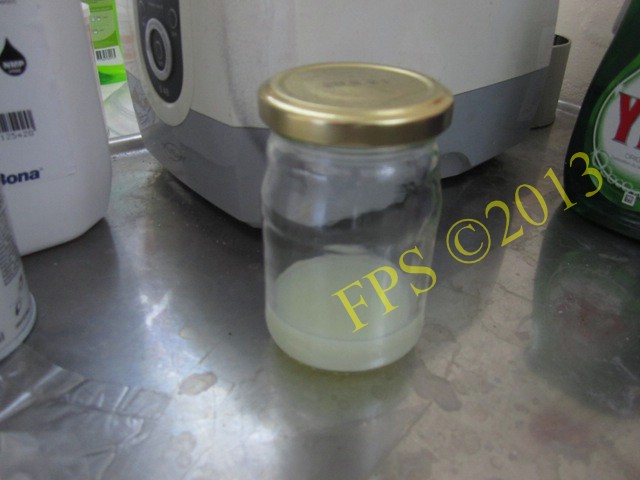
Instead I bought the varnish (BONA) which I used to Gottlieb Genie project. After each layer of varnish had dried small air bubbles appear in the surface. Did not really know why these air bubbles occure, I continued to sand and varnish layer after layer until the varnish was finsihed. I experienced this phenomenon of air bubbles at Gottlieb Genie project when the varnish did not dry long enough before the next coat of varnish was applied, but such was not the case now. When I was at the paint store to buy more varnish, it turned out that they had problems with this varnish. The lids of the jars is leaking so oxygen degrade the varnish and when the varnish dries small air bubbles occur in surface. THAAAANKS - just to sand away all the layers of varnish again!
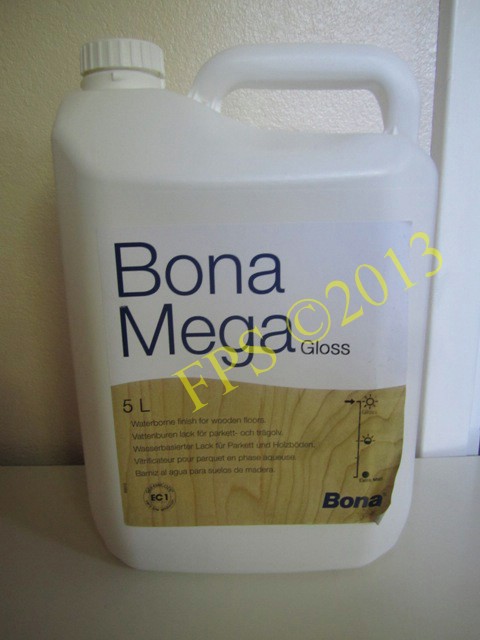
The retailer promised to contact the manufacturer to ascertain the problem with the varnish. It ended up that I called the manufacturer and was compensated with 5 liters of varnish (BONA MEGA) which eventually turned out to be the one that I used to Gottlieb Genie project. I will never use any other varnish then Bona Mega, highly recommended if you want to use a water-based varnish. Very easy to work with and gives a nice and clear finish!
FINALL CALL
New final attempt to varnish the upper playfield. Now I use the varnish used to Gottlieb Genie project, Bona Mega.
Instead of using the roller to apply the varnish on the playfield I pour it right out of a glass jar on the playfield to reduce the risk of getting dust into the varnish. After the varnish has been poured on the playfield it is distributed out with a brush, flat brush "moddlare" 125 mm wide.
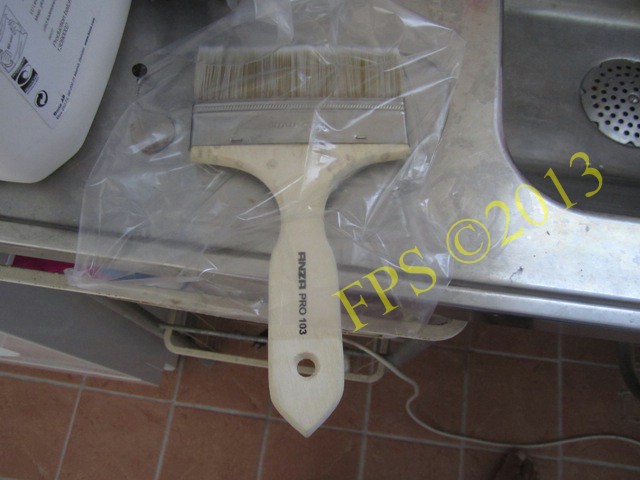
Brush stored in a plastic bag between varnishing sessions in order to avoid the contamination of dust particles.

Between layers of varnish playfield is sanded with dry P120 grit.
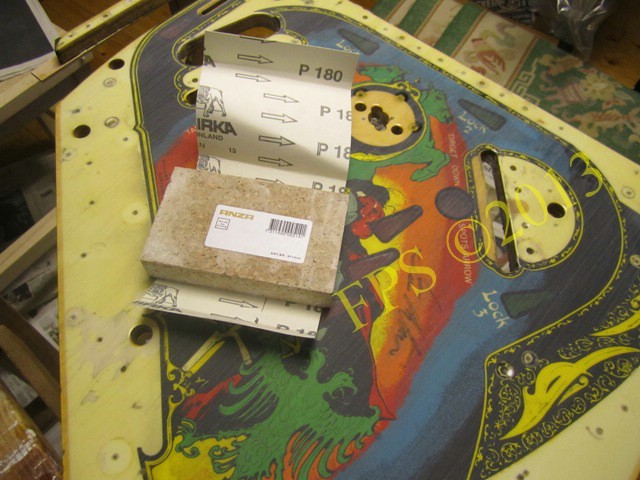
Then with dry P180 grit.
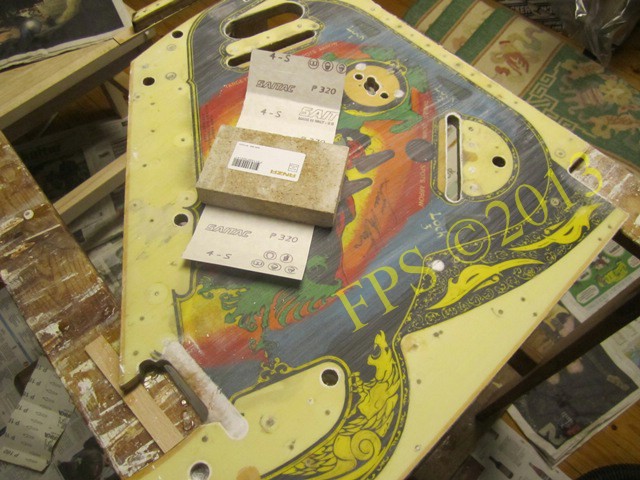
Finally with dry P320 grit.
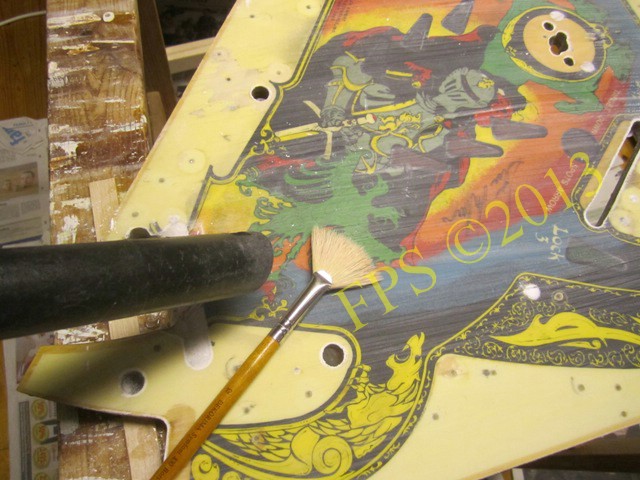
To bring up all sanding dust from playfield a vacuum cleaner is used and a broad brush to brush with. Wipe afterwards with a damp cloth.
Eventually it became a surface with a cruel nice finsih, 8-10 layers of varnish Bona Mega.
The table below show how incredibly many times upper playfield was varnished due to poor varnishes.
| Varnish upper playfield |
||
| Date | Time | Description |
| 2013-01-05 | 17.00-18.00 (1,0h) | Varnishing upper playfield. |
| 2013-01-06 | 20.00-21.00 (1,0h) | Varnishing upper playfield. |
| 2013-01-07 | 18.00-19.00 (1,0h) | Varnishing upper playfield. |
| 2013-01-08 | 17.00-18.00 (1,0h) | Varnishing upper playfield. |
| 2013-02-21 | 17.00-18.00 (1,0h) | Varnishing upper playfield. |
| 2013-02-22 | 19.00-20.00 (1,0h) | Varnishing upper playfield. |
| 2013-02-15 | 17.00-19.00 (2,0h) | Sanding upper playfield. |
| 2013-02-24 | 18.00-20.00 (3,5h) | Varnishing upper playfield. |
| 2013-03-16 | 18.00-20.00 (2,0h) | Sanding and varnishing upper playfield. |
| 2013-03-18 | 18.00-19.00 (1,0h) | Varnishing upper playfield. |
| 2013-03-21 | 18.00-19.00 (1,0h) | Varnishing upper playfield. |
| 2013-03-24 | 17.00-18.00 (1,0h) | Varnishing upper playfield. |
| 2013-03-27 | 18.00-19.00 (1,0h) | Varnishing upper playfield. |
| 2013-04-17 | 20.00-21.00 (1,0h) | Sanding and varnishing upper playfield. |
| 2013-04-19 | 20.00-21.00 (1,0h) | Sanding and varnishing upper playfield. |
| 2013-04-20 | 20.00-21.00 (1,0h) | Sanding and varnishing upper playfield. |
| 2013-04-26 | 15.00-16.00 (1,0h) | Sanding and varnishing upper playfield. |
| 2013-04-27 | 19.00-20.00 (1,0h) | Sanding and varnishing upper playfield. |
| 2013-04-28 | 18.00-19.00 (1,0h) |
Sanding and varnishing upper playfield. |
| 2013-05-07 | 16.00-17.00 (1,0h) | Sanding upper playfield. |
| 2013-05-17 | 18.00-19.00 (1,0h) | Varnishing upper playfield with Bona Mega. |
| 2013-05-18 | 15.00-16.00 (1,0h) | Varnishing upper playfield with Bona Mega. |
| 2013-05-19 | 20.00-21.00 (1,0h) | Varnishing upper playfield with Bona Mega. |
| 2013-05-21 | 20.00-21.00 (1,0h) | Sanding and varnishing upper playfield with Bona Mega. |
| 2013-05-22 | 21.00-2.00 (1,0h) | Varnishing upper playfield with Bona Mega. |
Pleasure and Pinball
© FPS. All right reserved. |
Page Last updated:
2013-08-18 |