Gottlieb Genie SS Refurbishing project - Part I!
GENIE (SS) 1979 - PLAYFIELD REFURBISHING
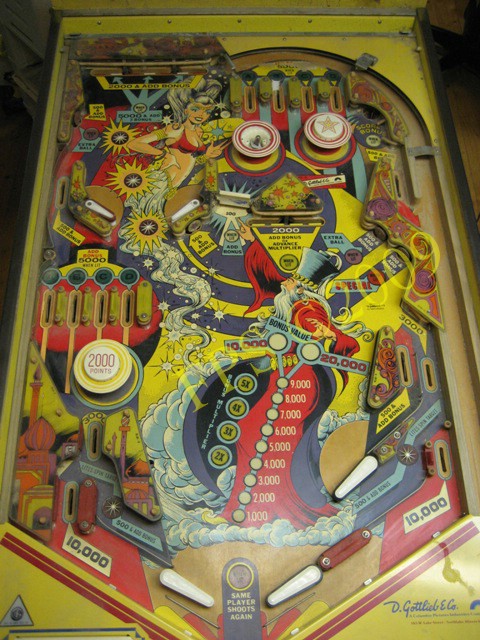
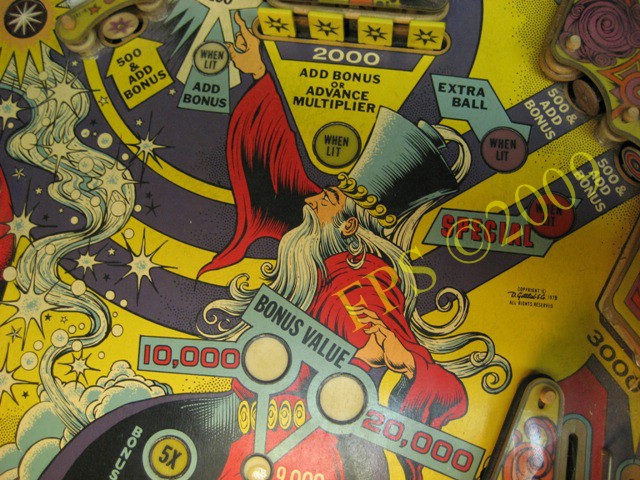
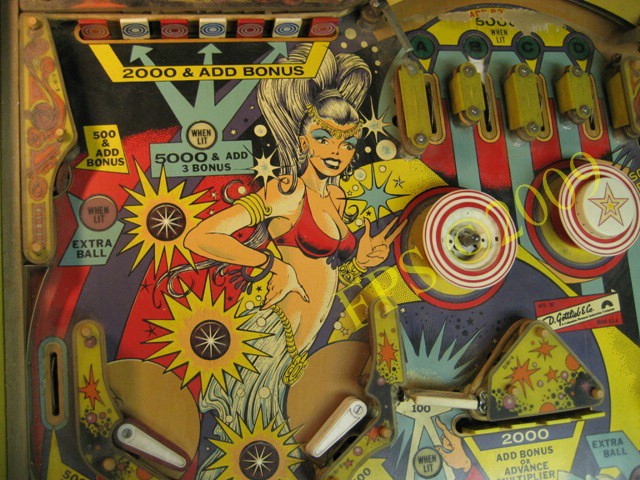
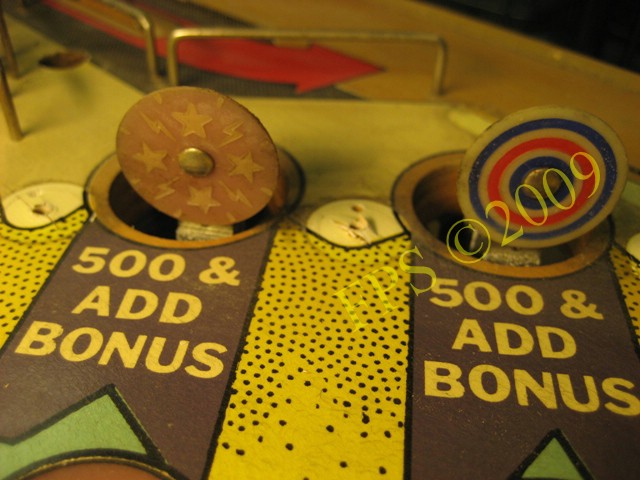
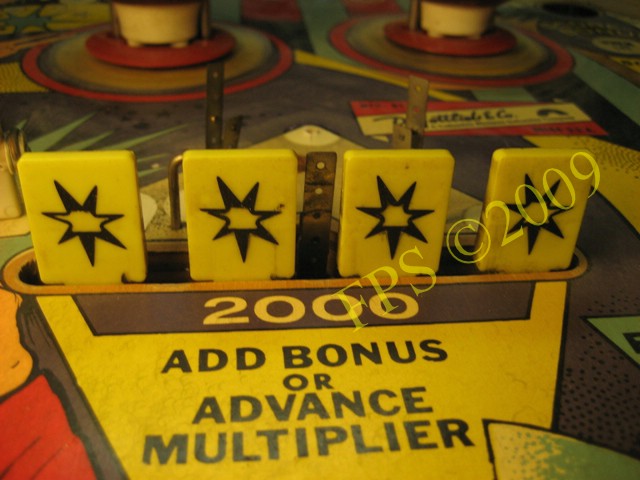
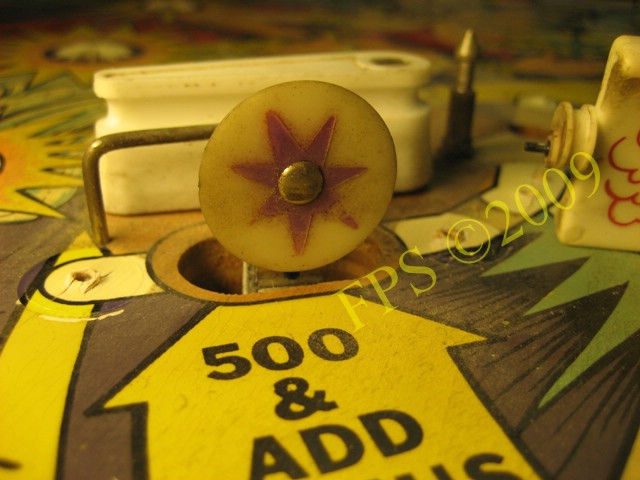
Below, a variety of pictues show the playfield before the refurbishing.

Damage in the color of the Apron, which probably will be difficult to mend.
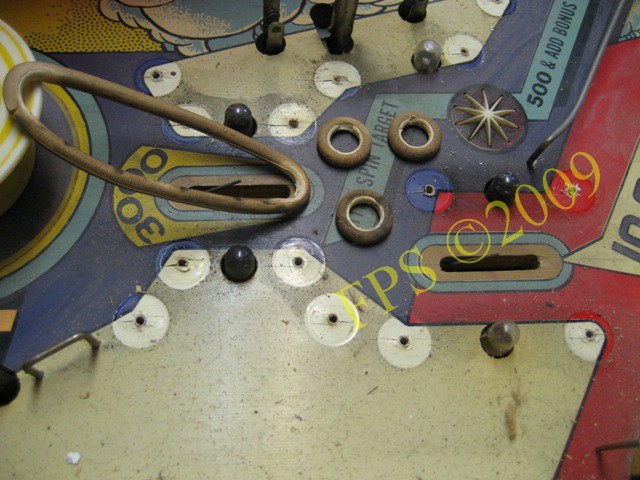
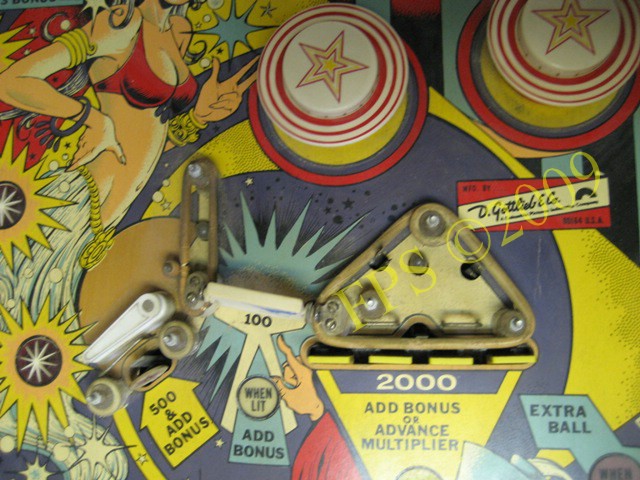
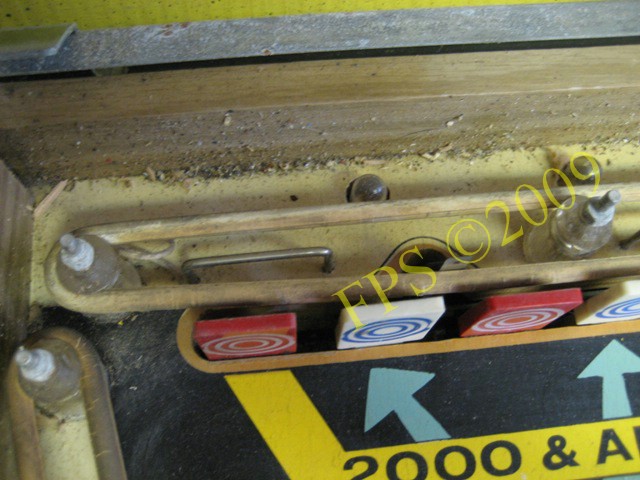
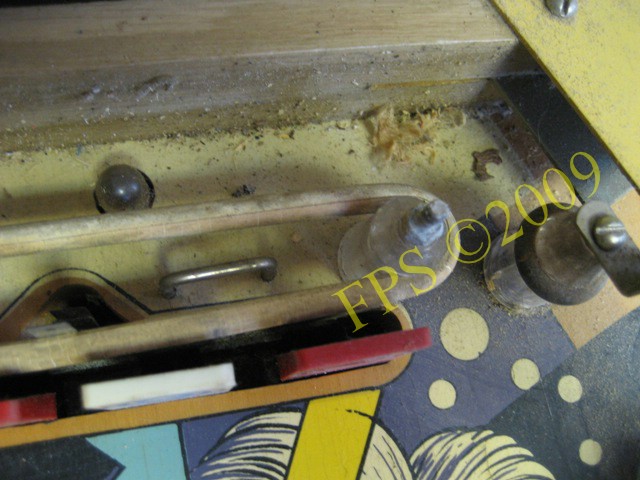
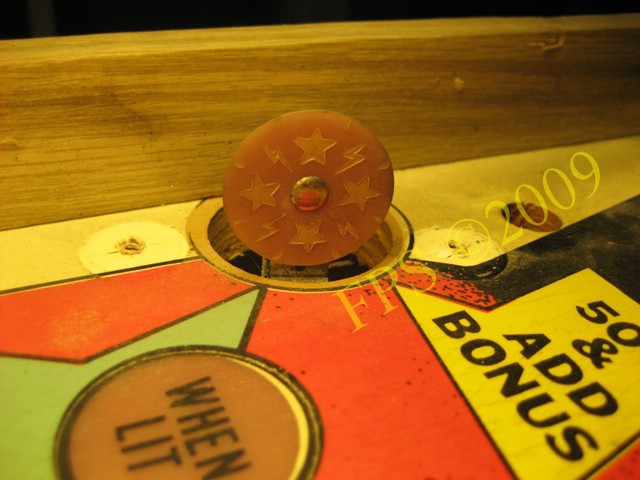
LOWER AREA OF PLAYFIELD
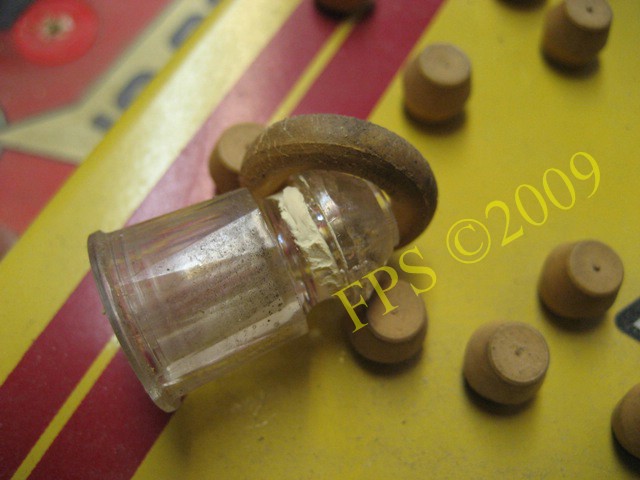
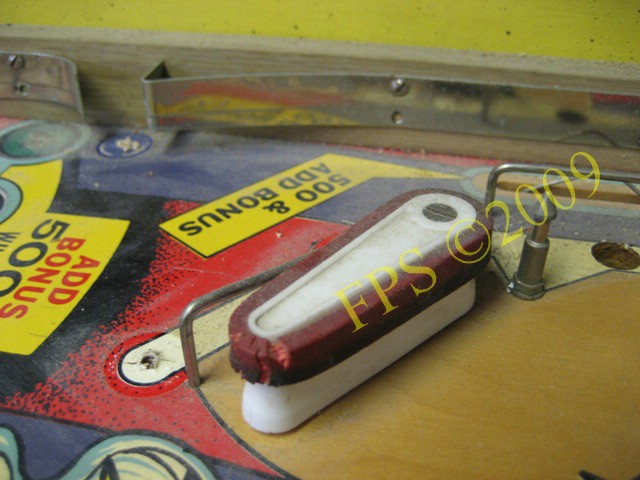
The rubber rings were so dehydrated that they not become detached from the plastic posts, the residue left over, I had to gently
remove by scrape it off with a knife.
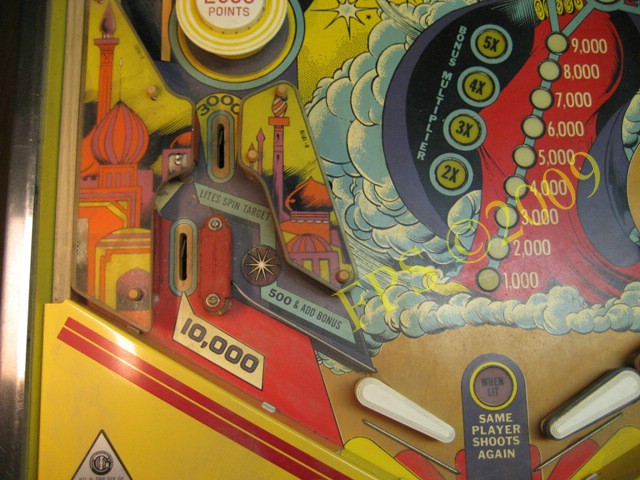
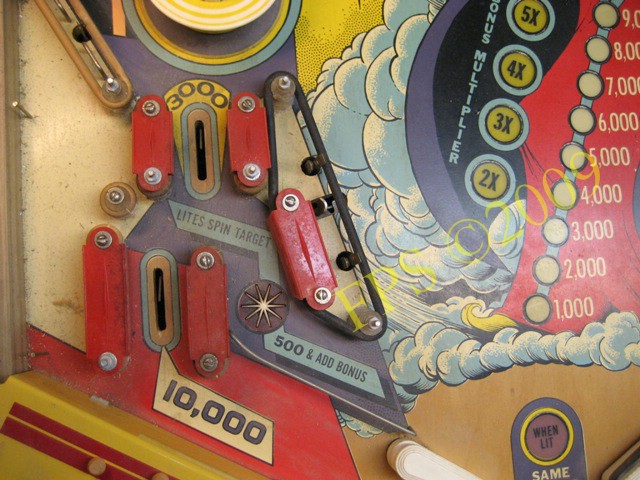
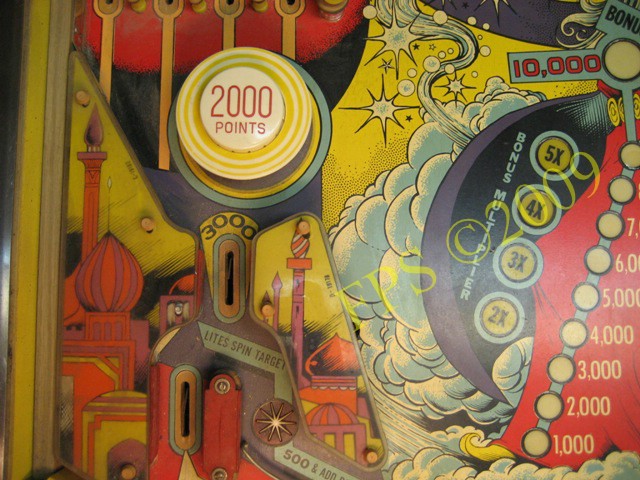
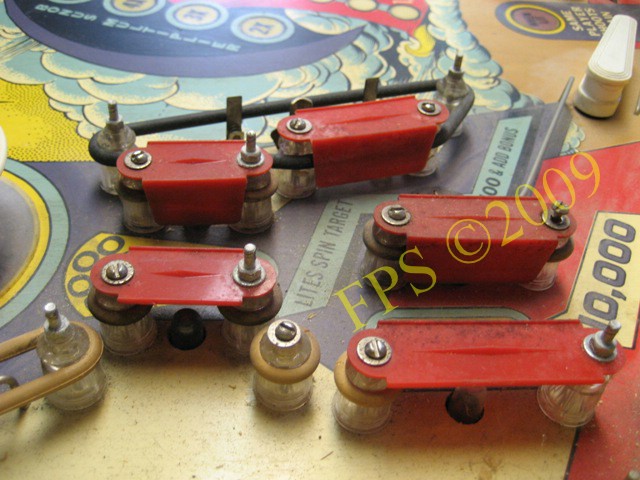
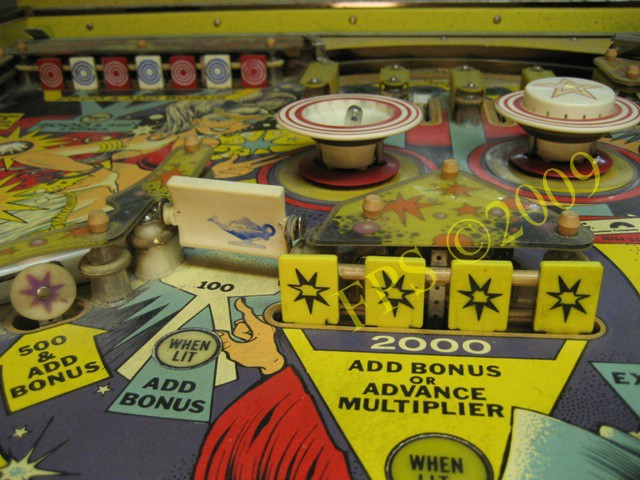
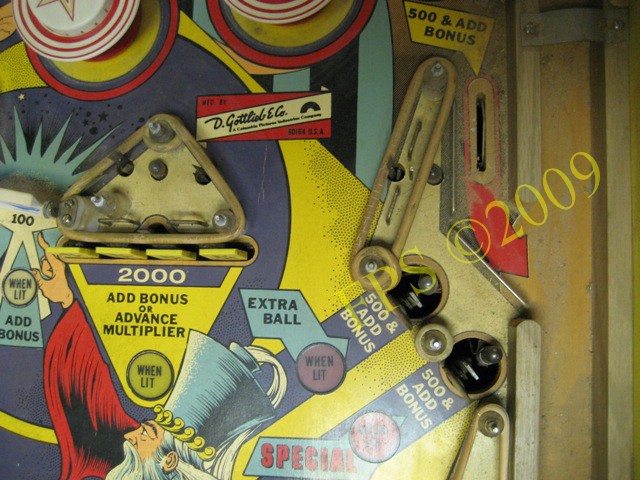
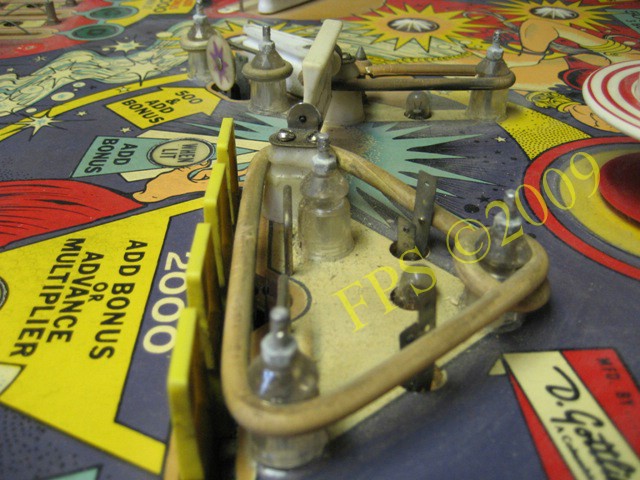
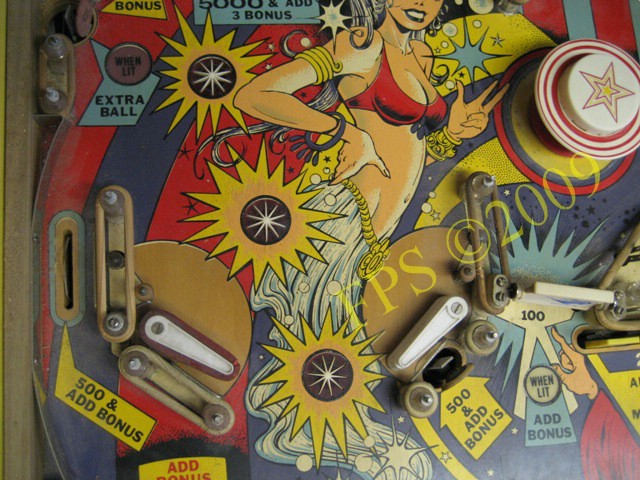
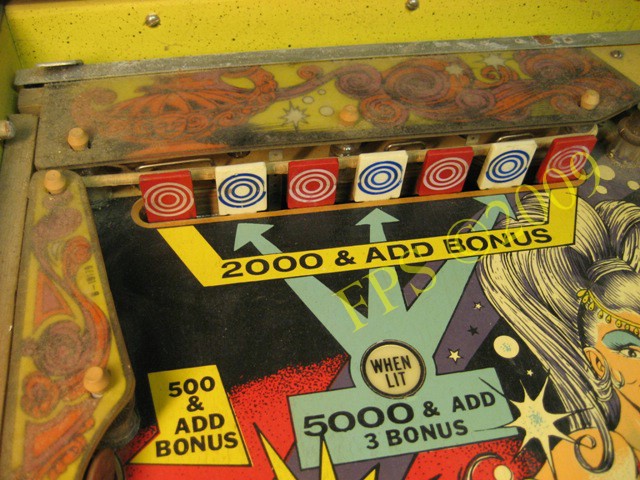
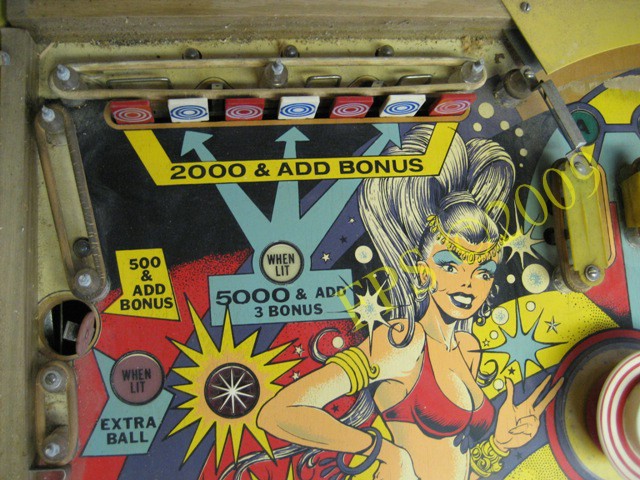
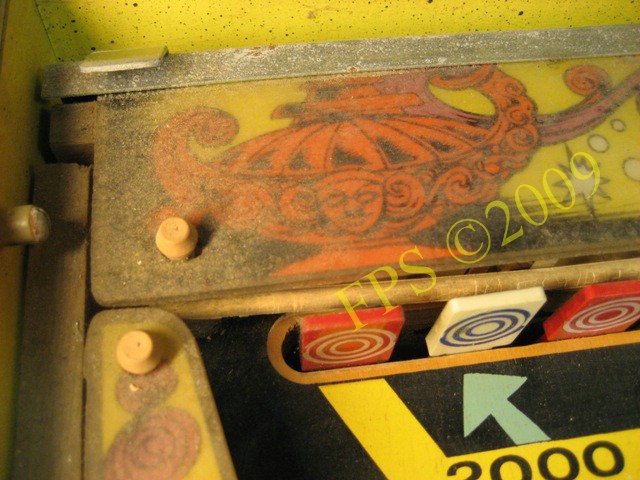
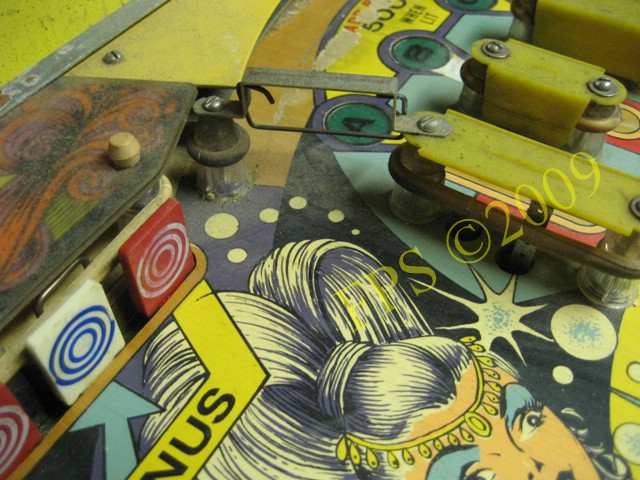
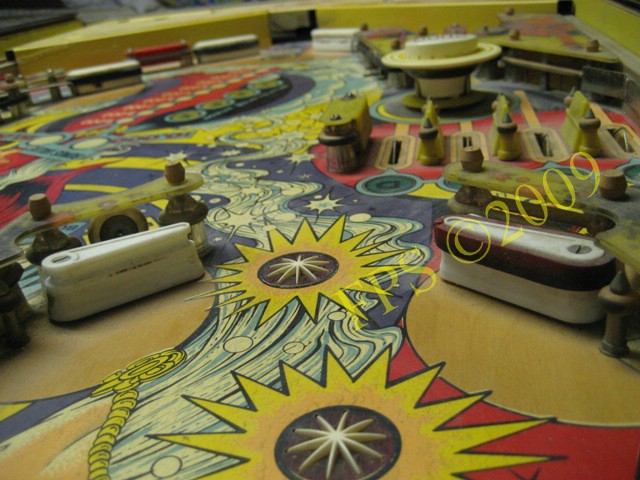
MIDDLE AREA OF PLAYFIELD
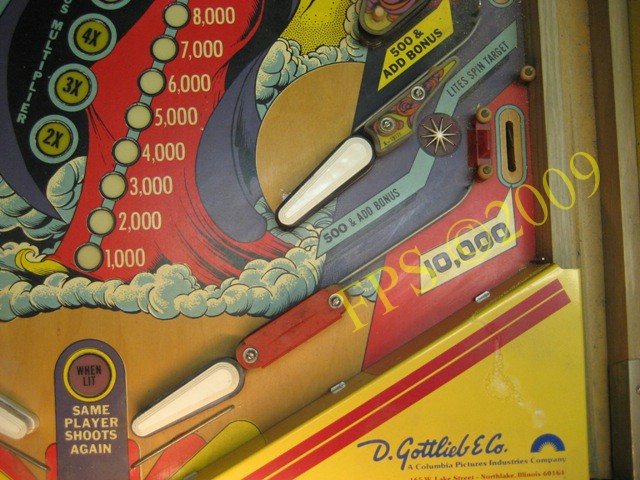
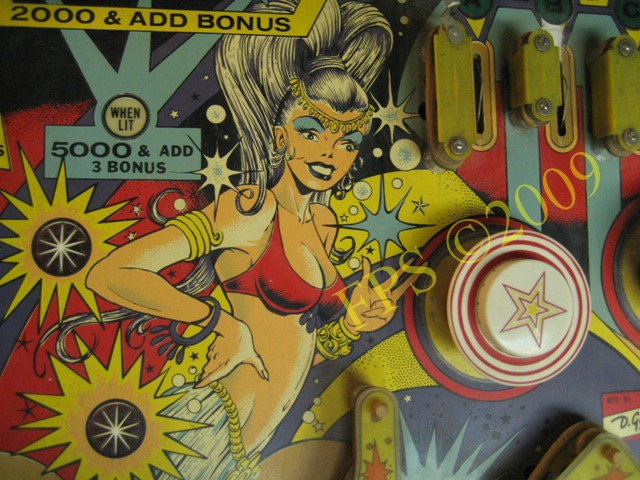
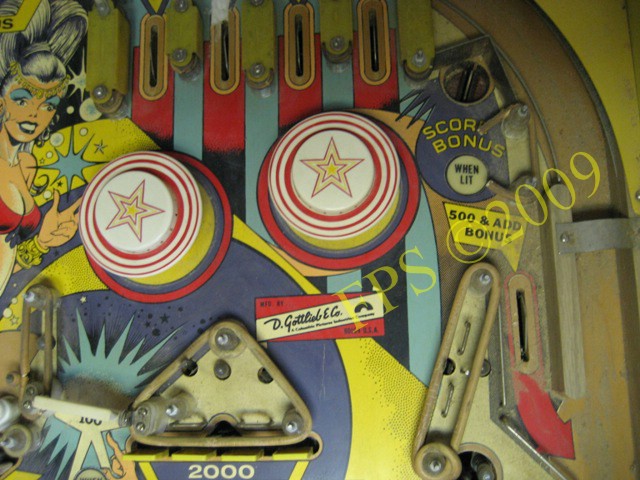
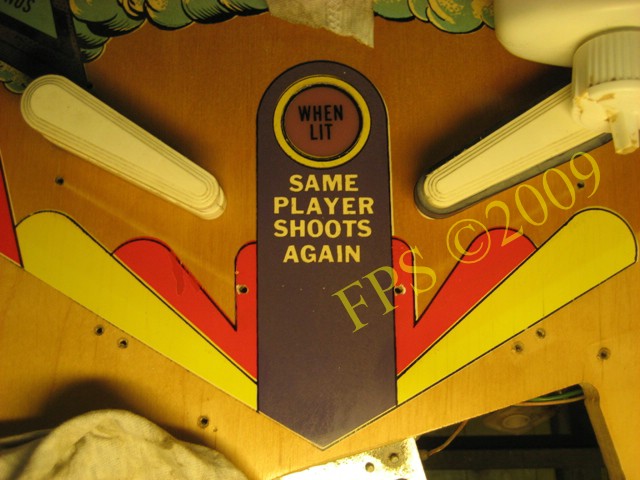
UPPER AREA OF PLAYFIELD
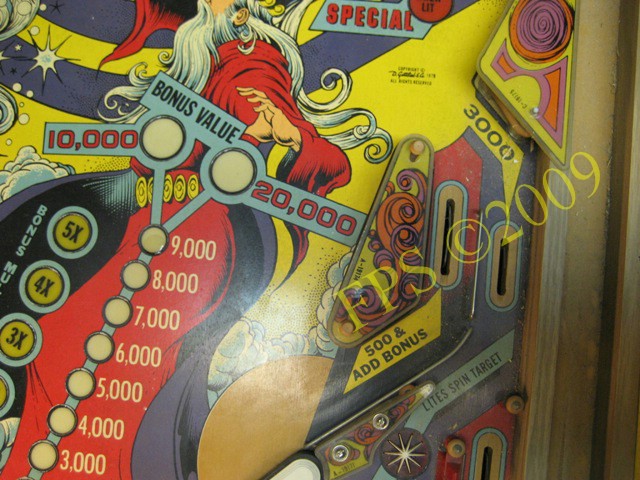
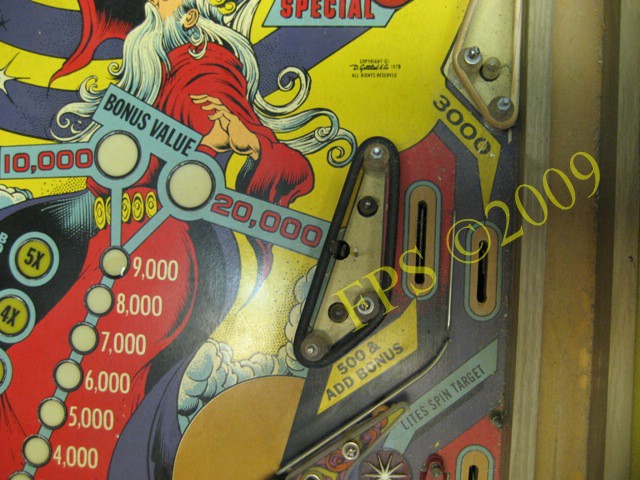
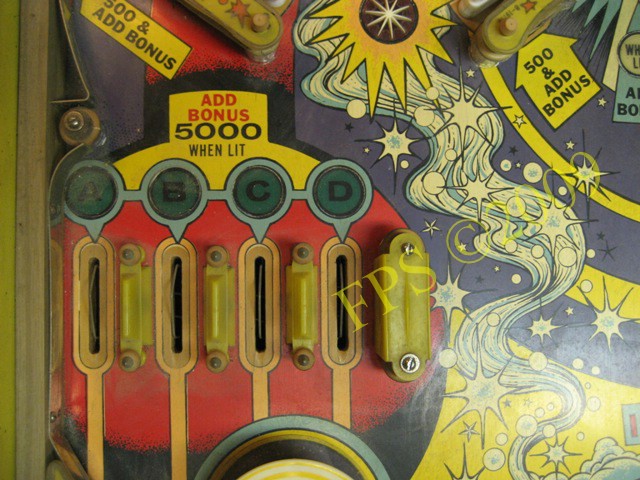
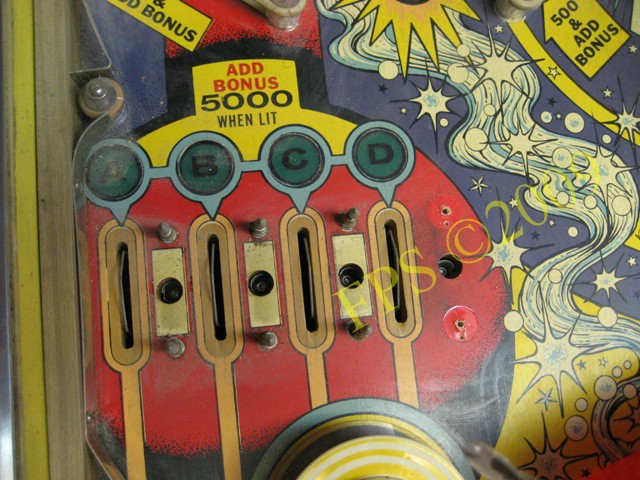
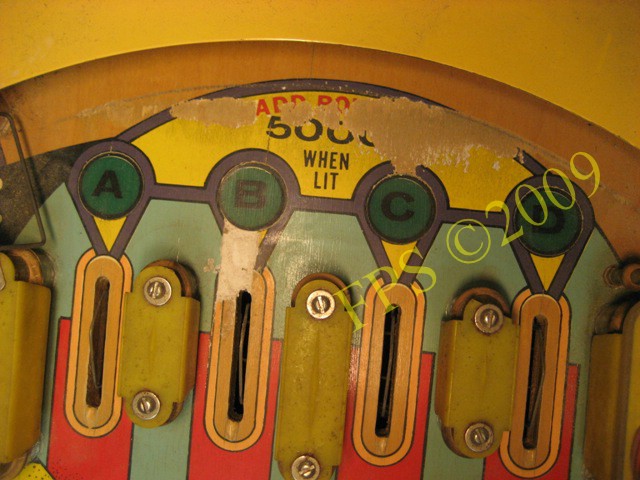
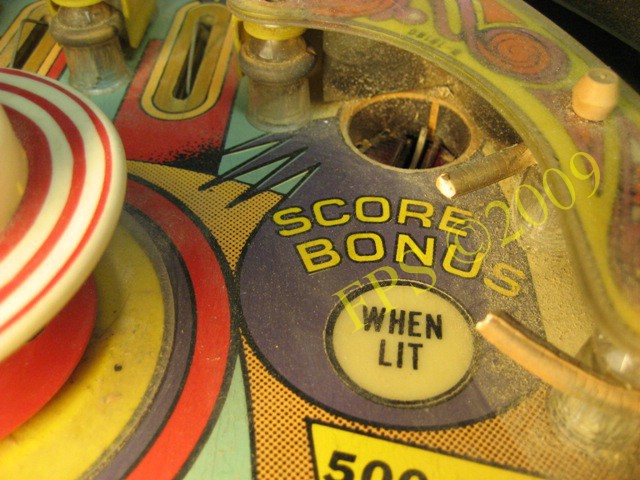
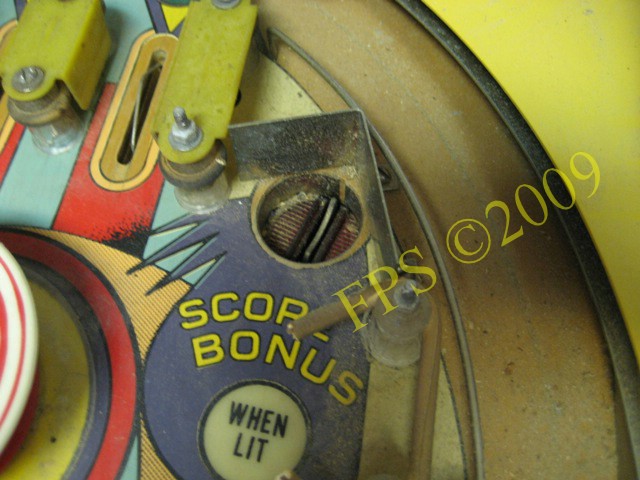
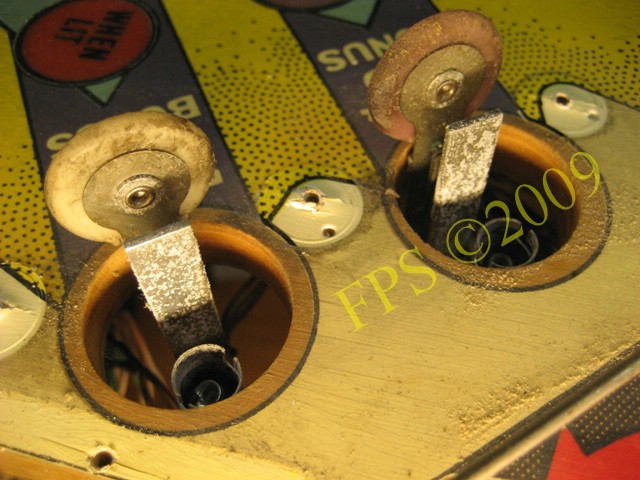
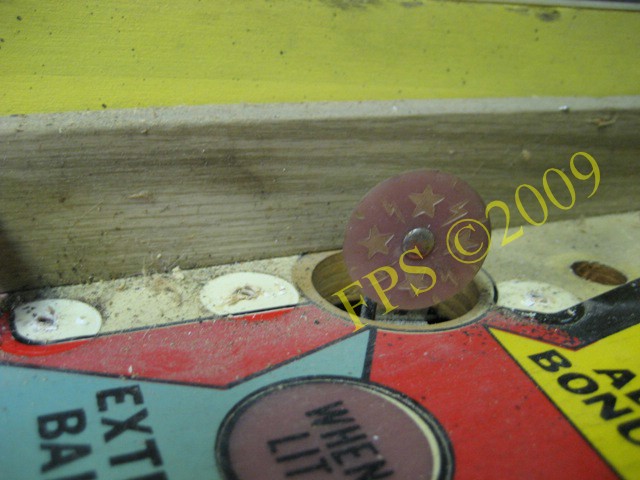
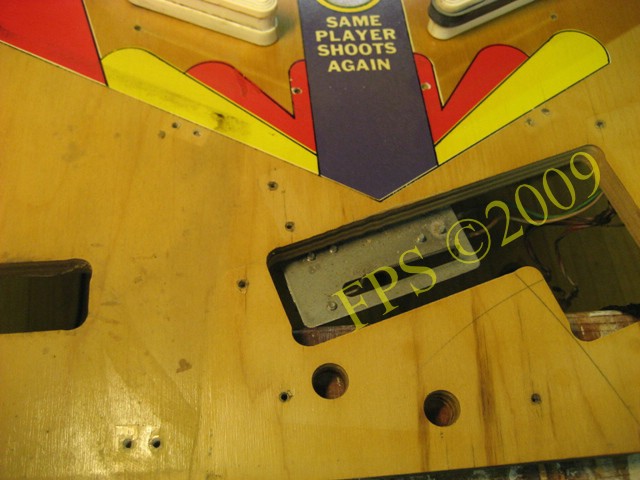
The playfield is in good condition except for the two damages in the pictures above. In the picture to the left,
we see that there is a substantial damage in the playfield below insert "B" and above the inserts "A-D" color has come loose.
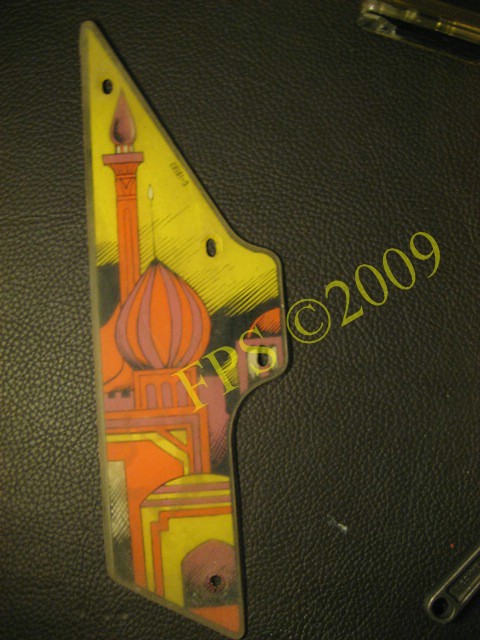
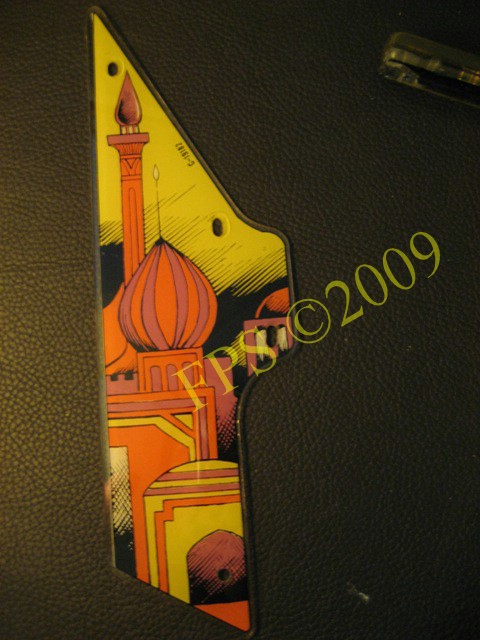
PLASTICS
Playfield plastics were thoroughly dirty and needed a cleaning with soap and water. I am glad that all the plastics on the playfield
is complete and that none are missing.
CLEANING PLAYFIELD
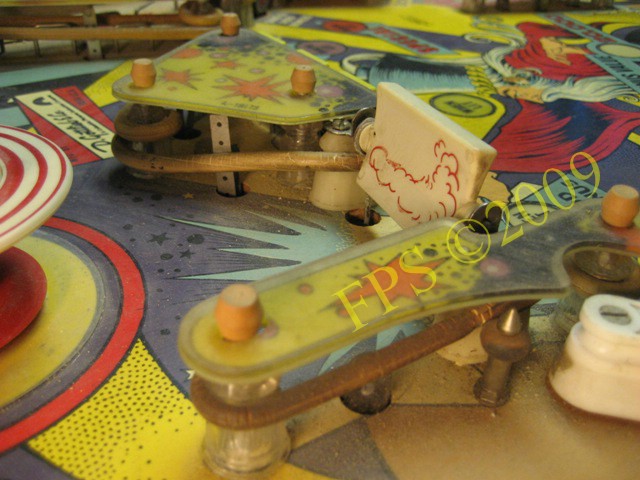
To facilitate cleaning of the playfield, I pick out all the details attached to its top. Here I show how I remove the
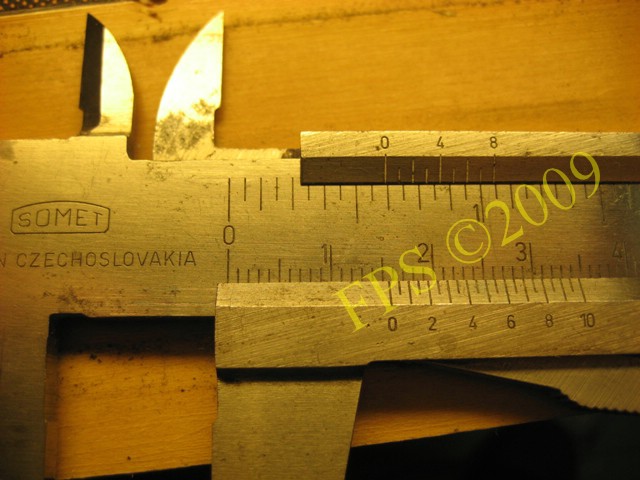
"wire forms" wire railings on the playfield. First I measure the height of a few to know how much they shall be pressed into
the board at reassembly. They should have a height of about 15-16 mm.
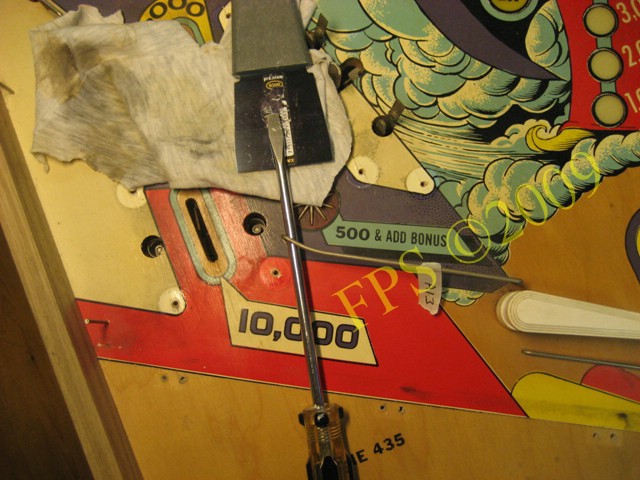
To remove the wire form from the board I use a spatula and a screwdriver. I put the spatula on the playfield with a cloth undernetah
in order to protect the playfield when I gently push wire form upwards with a screwdriver. I push a little at a time out of each end
of the wire form to get the wire form to loosen from the playfield. In order to easily know where each wire form was situated
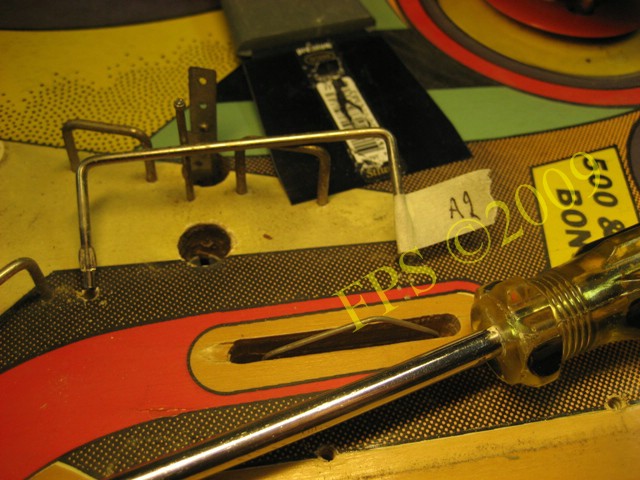
during reassembly I mark them with a tape and a number and takes a photo of them, in these cases, A13 and A2.
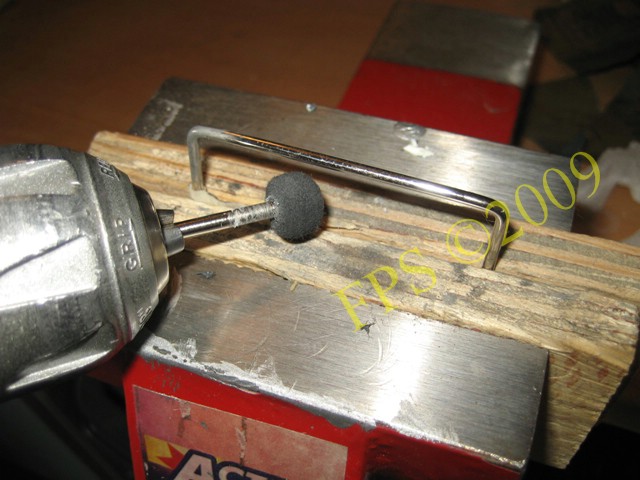
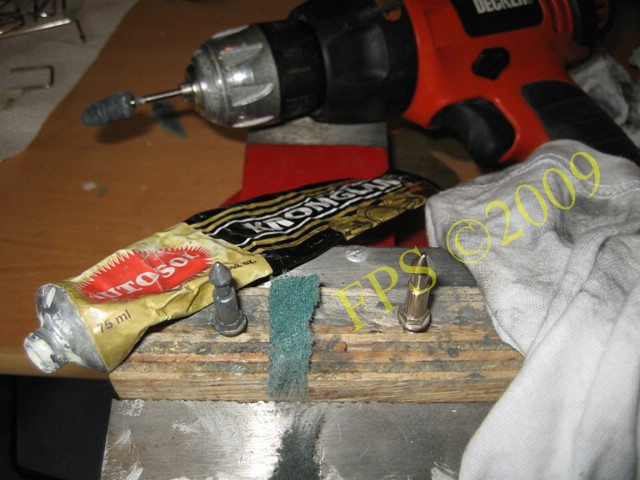
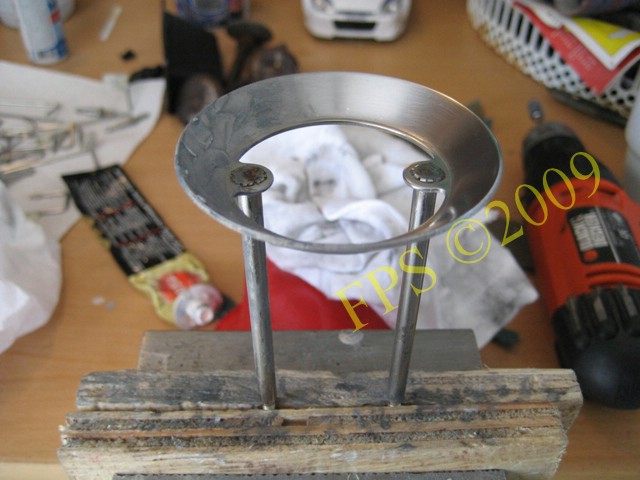
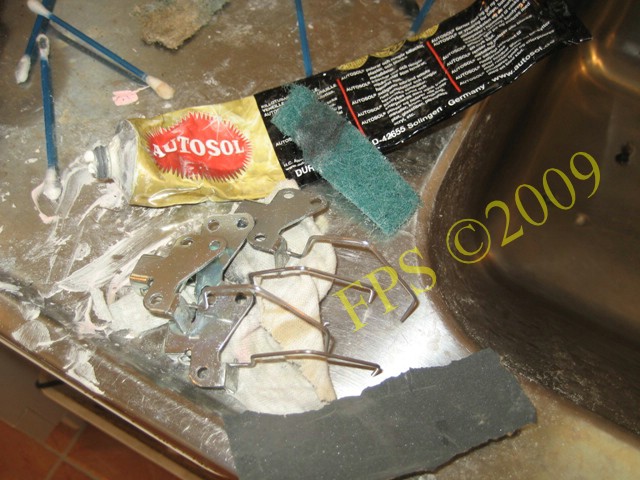
Wireforms is polished with Autosol and to get true luster I use a felt pad with mandrel.
In a similary way is metal posts and Bumper rings polished.
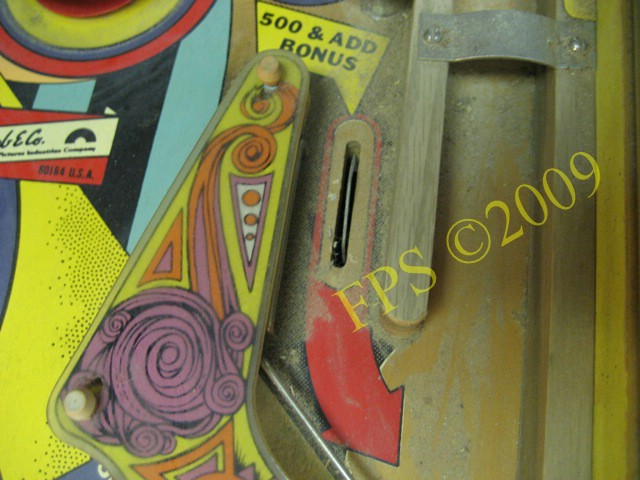
UNDERNEATH APRON
Something that I have mentioned in my other pinball projects is that the area underneath Apron attract a lot of dirt
and operators/exhibitors rarely clean there.
I removed all the ball tray parts and clean it with Mr Muscle, then I polish them with Autosol. Keeping the ball tray
clean prevents the ball from pulling dirt up on the playfield in the future with risk of wear on the playfield. I clean
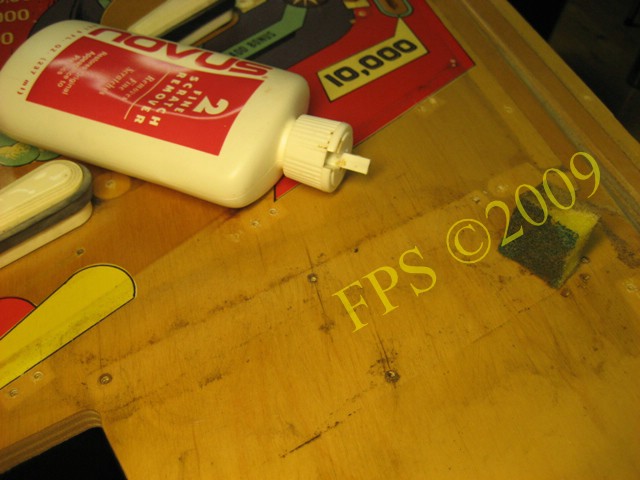
the playfield with Novus 2, which I work in with a sponge and then wipe off with a cloth.
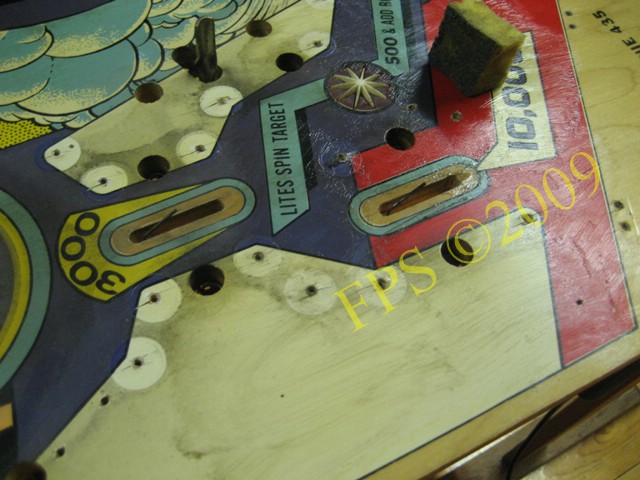
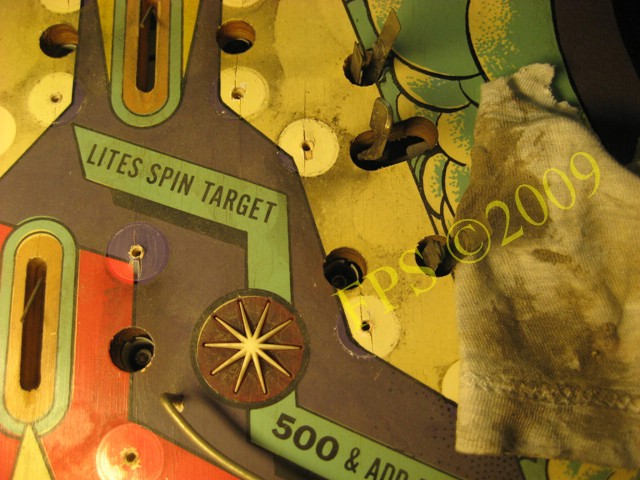
The area to the right in the picture is first cleaned with Novus 2 and CP-100. We can see how dirty the area to the left in
the picture is before cleaning.
The entire surface after cleaning.
We can see how much dirt that stick to the cloth.
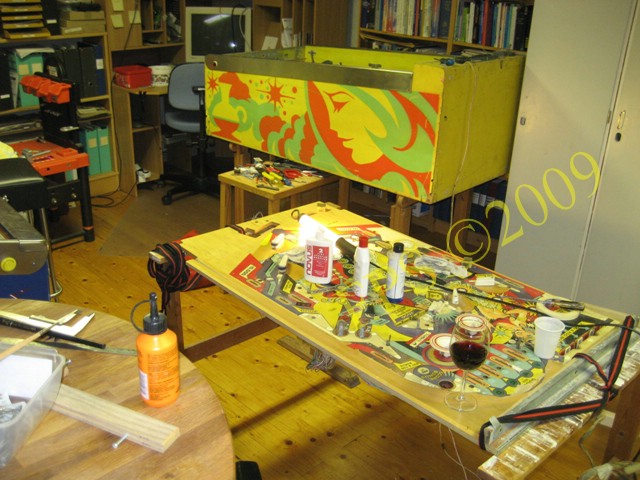
Here I am working with the cleaning of the playfield, a glass of wine is never wrong to get the right feeling!
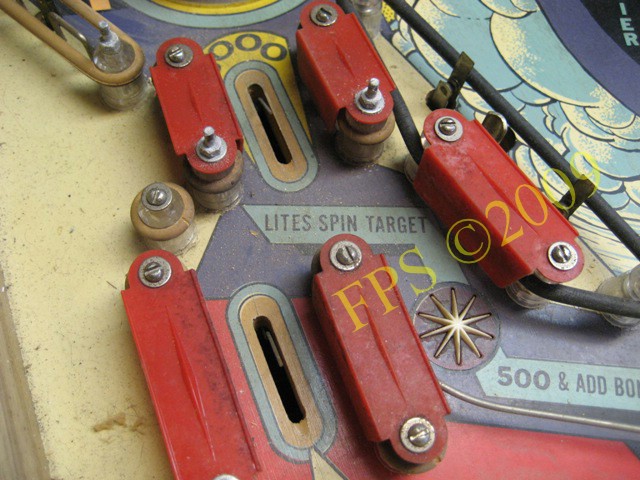
TARGETS
Targets before cleaning, these are screwed off underneath and folds down undernetah the playfield. All targets are whole but
some look a bit sun bleached out. There is much dirt on the targets and these are cleaned with Novus 2 and CP-100 so that
they can regain its luster.
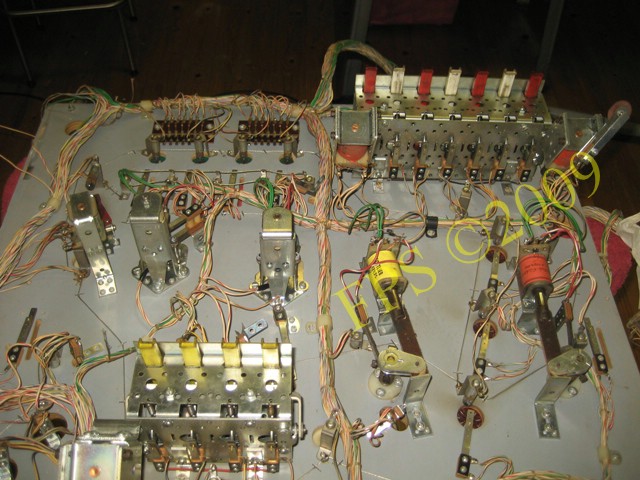
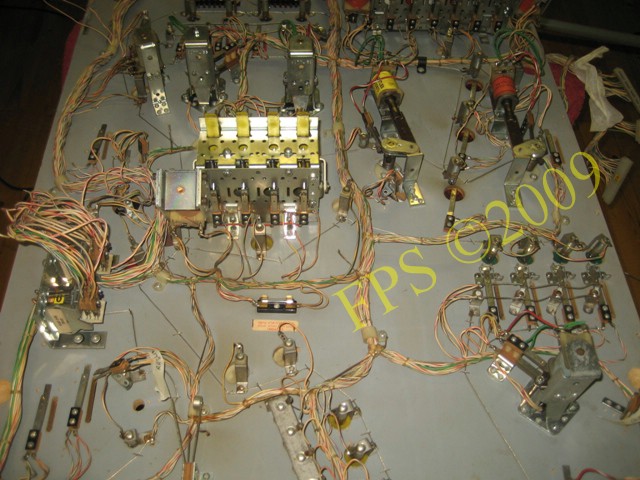
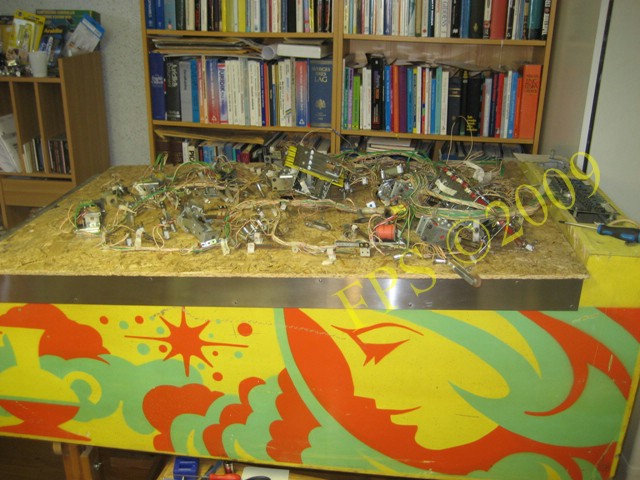
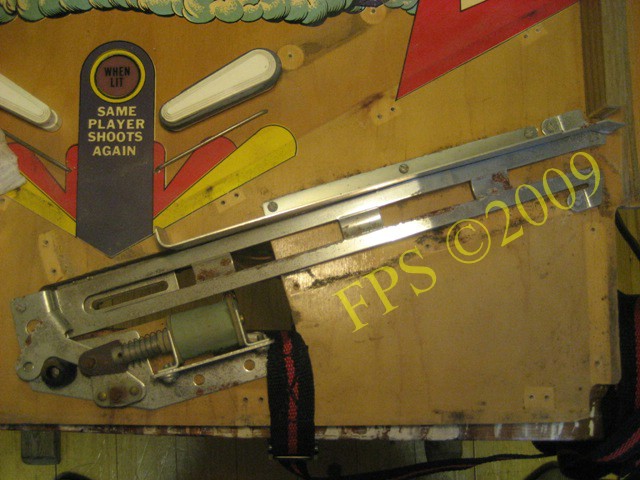
UNDERNEATH PLAYFIELD
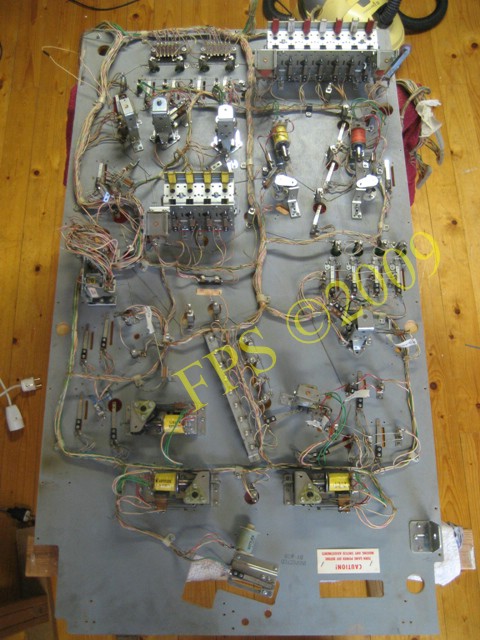
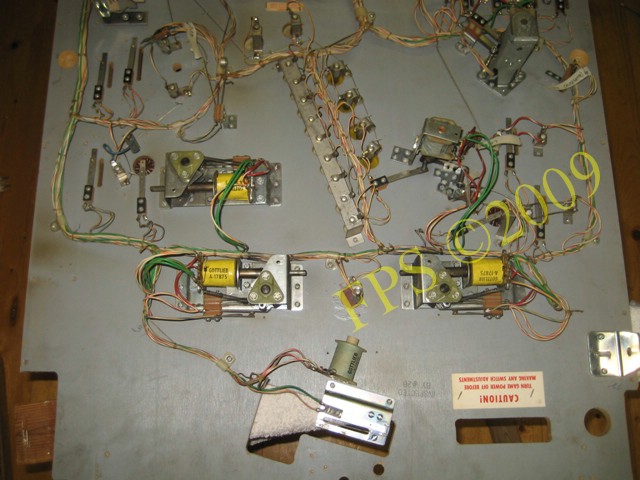
The underside of the playfield with all units/devices and switches.
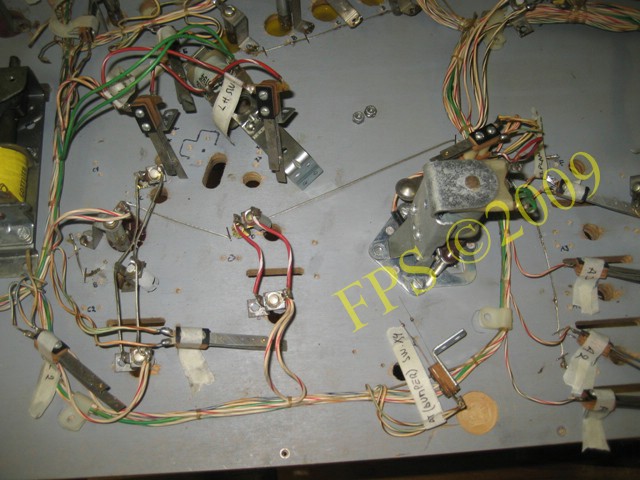
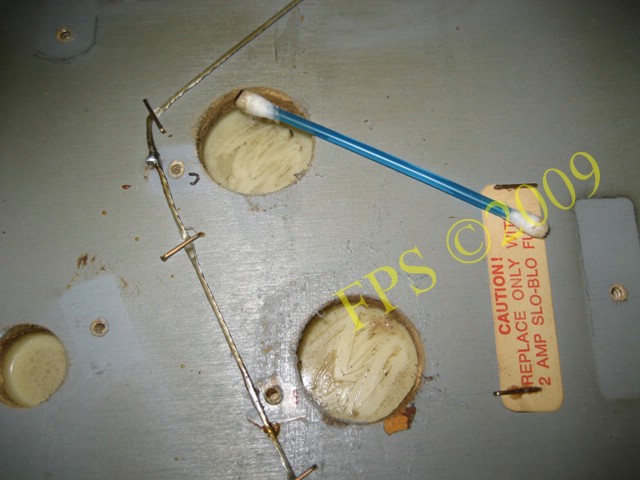
I mark all the light bulb sockets and switches with a letter and on the playfield I mark with the same letter to
easily find the right place at the reassembly, and all the units/devices is marked up in a similar way. REMEMBER to
take many pictures before dismounting to facilitate reassembly.
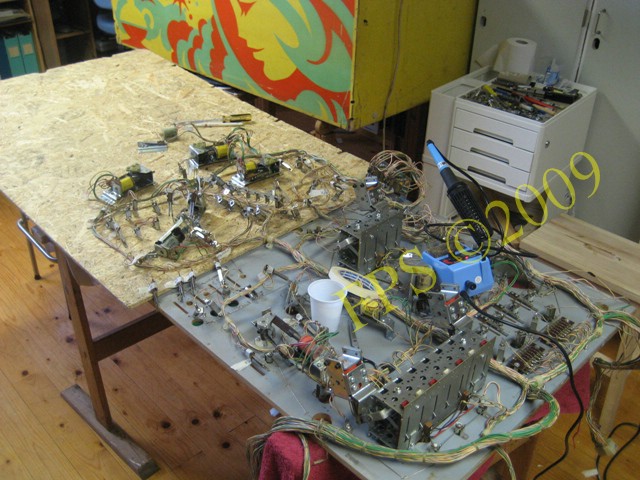
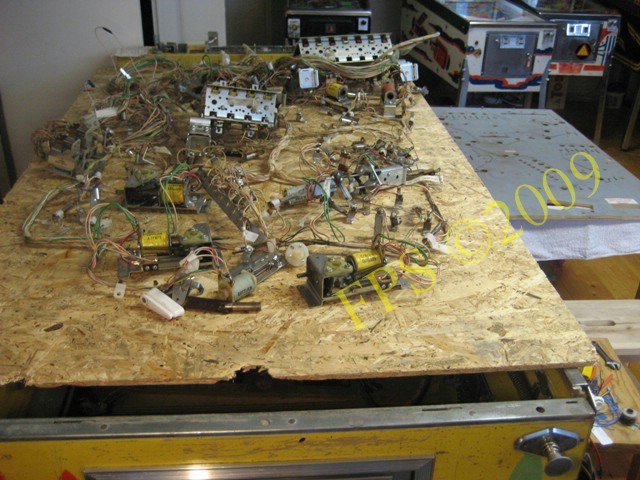
During the progress with dismounting of the wire and units/devices on the underside of the playfield I lift it on a wooden board.
This will allow me to place it on the playfield in the same order during reassembly.
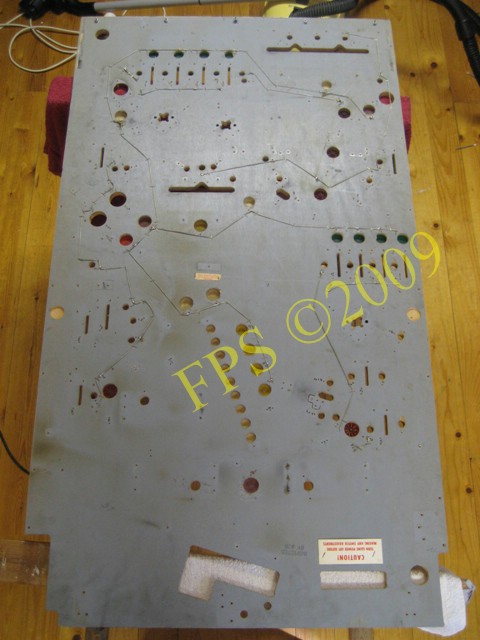
The entire underside of the playfield empty from units/devices. I keep everything stored on the cabinet and
it allow me to have a good height to stand and work with all units/devices.
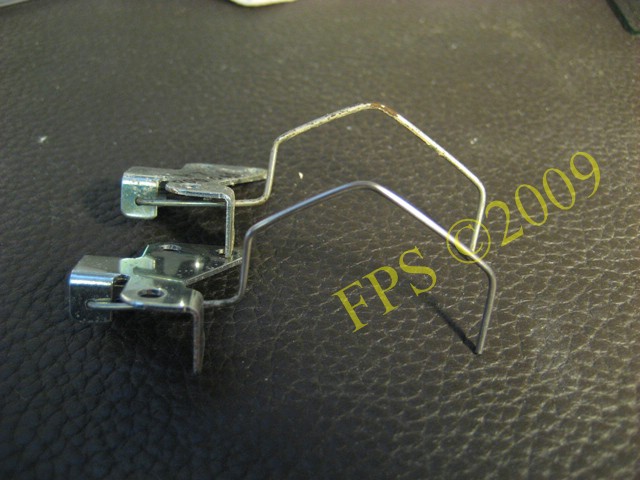
ROLL OVER WIRE ASSEMBLY
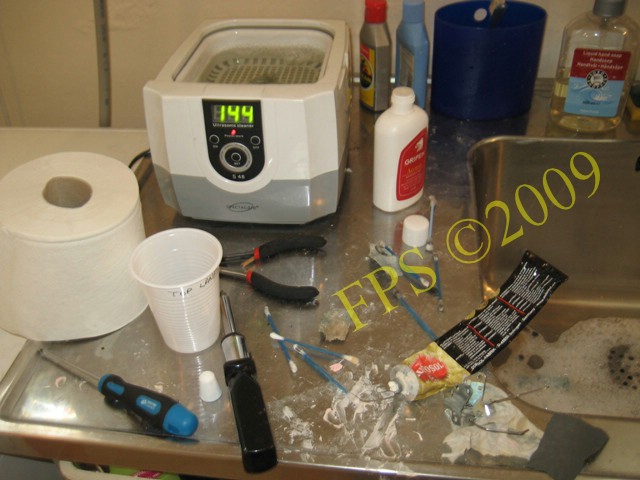
Wire forms for rollover switch on the lanes were heavily oxidized and had some rust. To remove all the
oxidation, I used wet grinding paper P1000 grit and then Autosol to get them shiny again. First it was
cleaned in the ultrasonic washer.
Here we see that the rollover wire assembly is shiny and fine again, in the background, we see one that not yet
are cleaned and polished.
INSERTS
All inserts was cleaned with with Novus 2 and CP-100 on the underside of the board. A lot of dirt and soot is collected here!

Pleasure and Pinball