- Home Old school pinball<1985
- Grand Prix (EM) 1976
- Firepower (SS) 1980
- Space Mission (EM)1976
- Genie (SS) 1979
- Magic Castle (SS) 1984
- Black Knight (SS) 1980 New school pinball >1985
- High Speed (Sys11) 1986
- Earthshaker (Sys11) 1989
- CFTBL (WPC) 1992 Arcade Project
- JK-Cabinet with MAME Contents Genie
- Playfield Refurbishing
- Playfield Painting
- Cabinet Refurbishing
- Electronics
- Before-After Pictures
- Refurbishing Diary
- Finished project
- Dokument - Flyer
|
Language |
|
|
Gottlieb Genie SS Refurbishing project - Part III!
GENIE (SS) 1979 - CABINET REFURBISHING
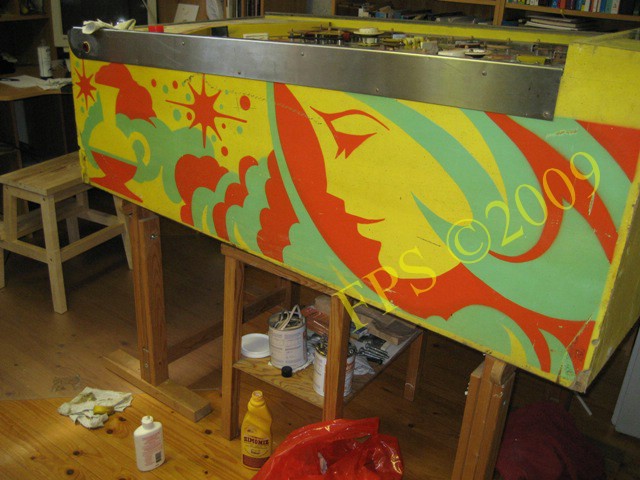
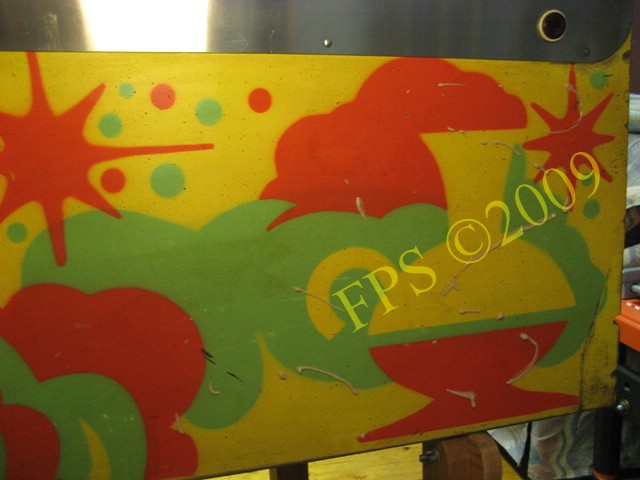
The cabinet had some scratches and was covered with dirt that needed to be removed to get some new lustre.
 |
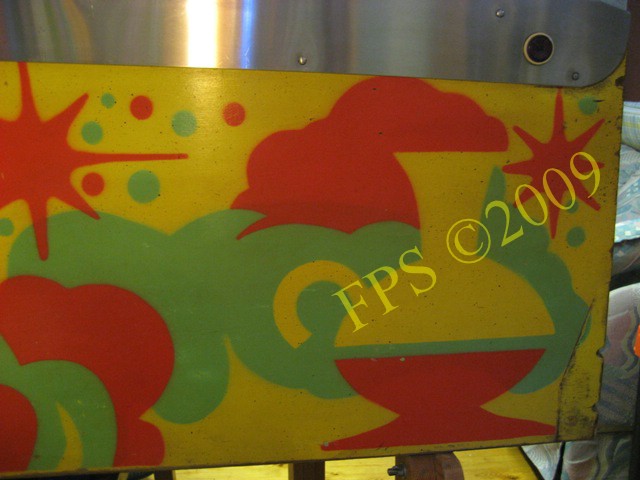 |
First I use Novus 2 to clean the cabinet which I work in with a sponge and afterwards I wipe off the cabinet with a cloth soaked in with CP-100. Finally, a layer of wax (Carnauba) is added on the surface to get some new lustre.
 |
 |
Some rags where consumed to clean the surface.

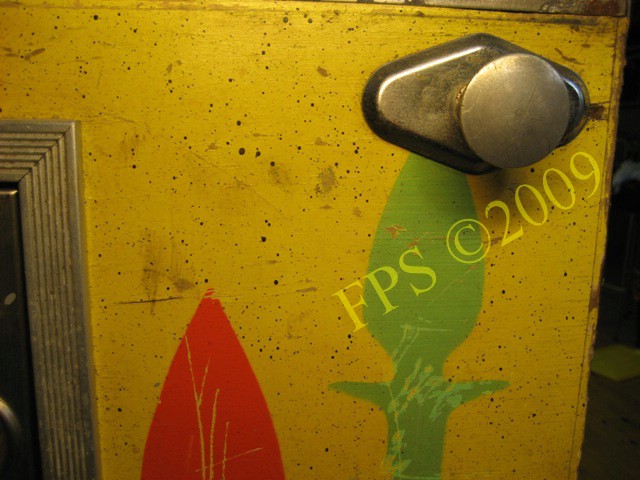
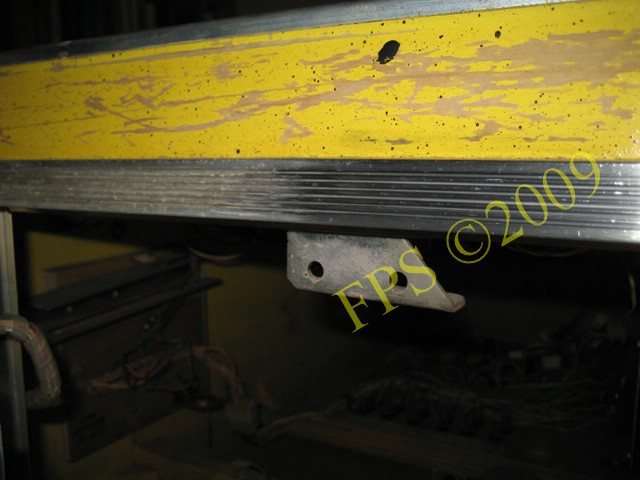
Side rails on the cabinet had some spray paint dots and dirt that was difficult to get away with Autosol, I had to use a ice scraper of plastic normally used for car window to avoid making scratches.
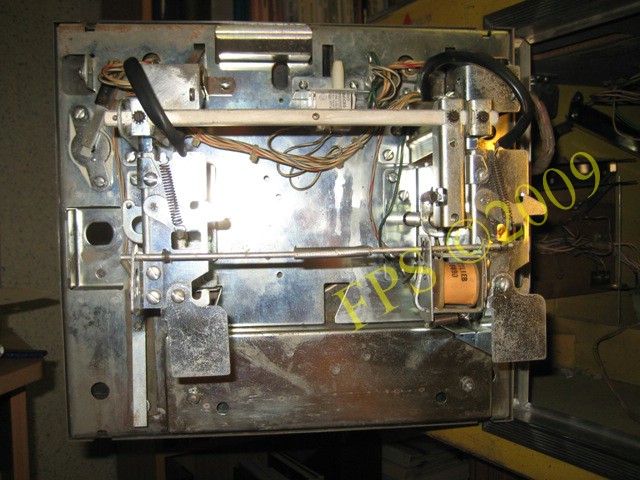
COIN DOOR WAS SAD

The coin door looked very sad and needed some polish and there was also some rust present. The tray with lid for coin return was missing.
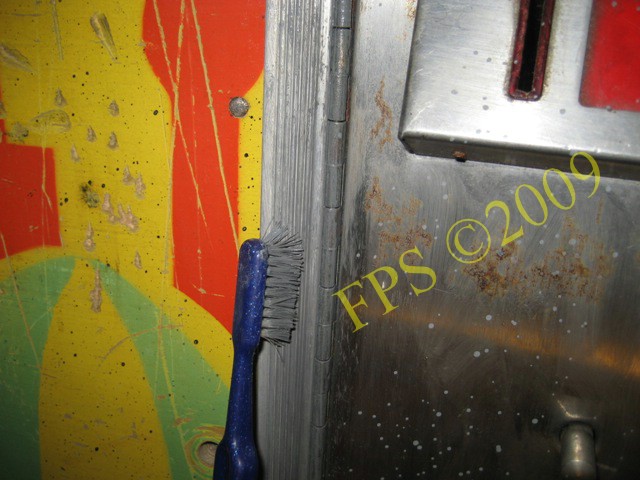
The frame around the coin door has traces and was more difficult to polish, but with the help of a toothbrush I get Autosol into all traces.
Here we see the difference between a piece of the frame that is polished and not polished.
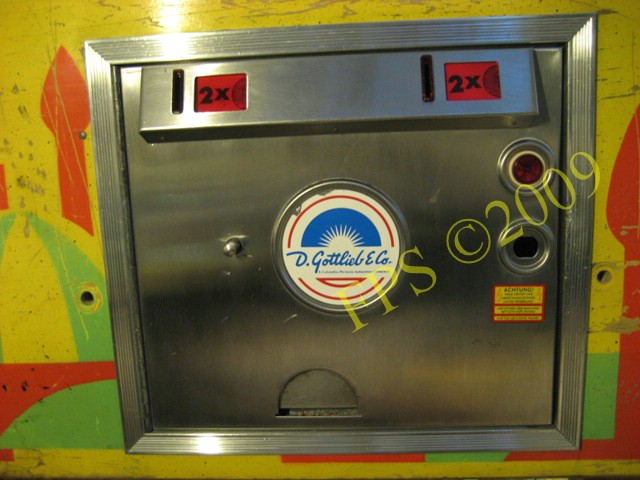
Coin door after polishing with Autosol.
 |
 |
 |
 |
On the picture to the right, I have mounted the tray with lid for the coin return that was missing from the beginning.
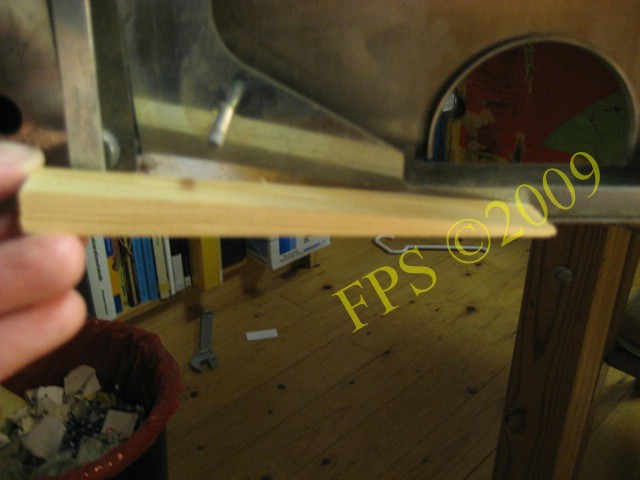
In order to have returned coins to fall to the hatch I install a wooden wedge on each side of the coin door hatch.
 |
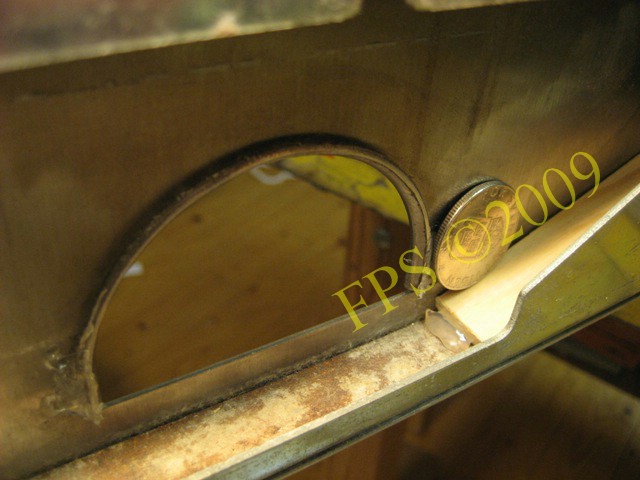 |
The left picture shows the wooden wedge in place and the right shows the location of where the coin like to stick at the edge around the hatch. I filled a bit of the edge with hot glue to avoid the coin to stuck there.
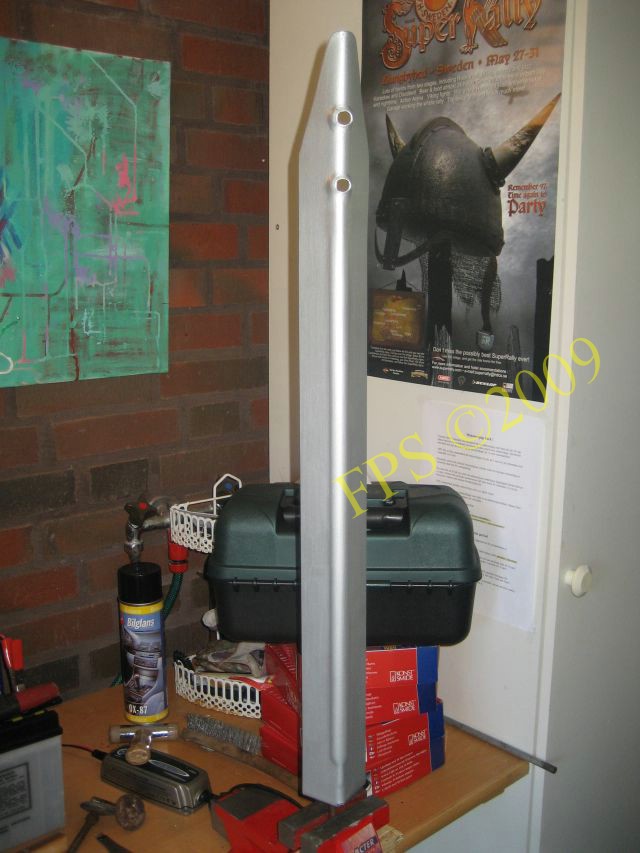
PINBALL LEGS

Pinball legs was in a bad shape with a lot of scratches and wear in the surface and where the color is gone you can see rust. To get those legs look better, I thought to paint them with a silver color.
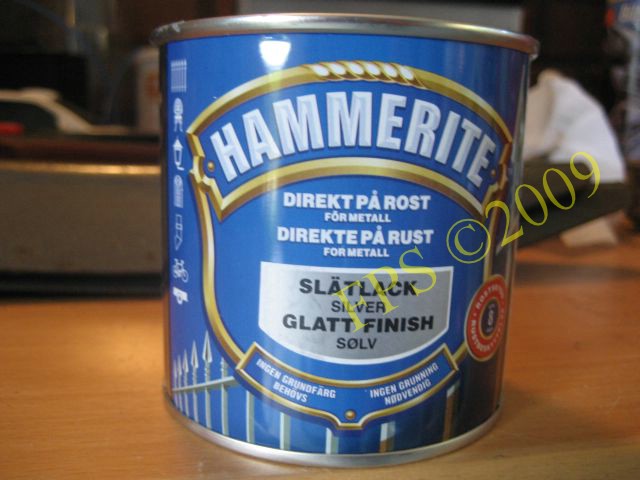
The choice fell on Hammarite a smooth metal based varnish which provide a hard and smooth surface.
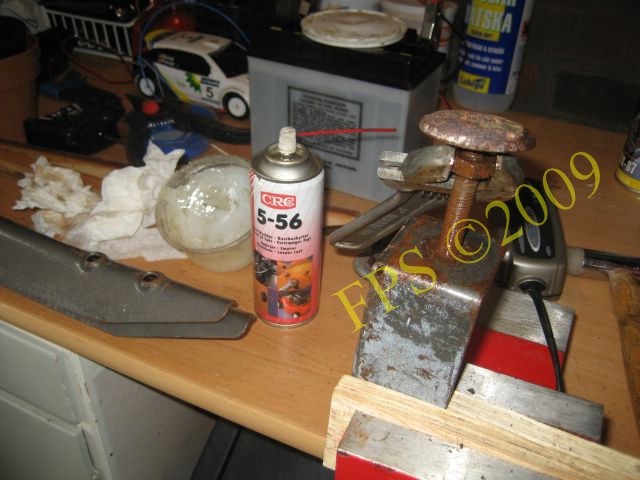
Before painting, I took off the leg leverer, they was hard to remove due to rust so I had to use a rust-solver 5-56 to dissolve the rust and a little petroleum jelly for lubrication.
Here we see the leg after cleaning with sandpaper and industrial alcohol before painting. To get the leg to stand up during the painting I use a leg leverer which is attached to the screw vice.
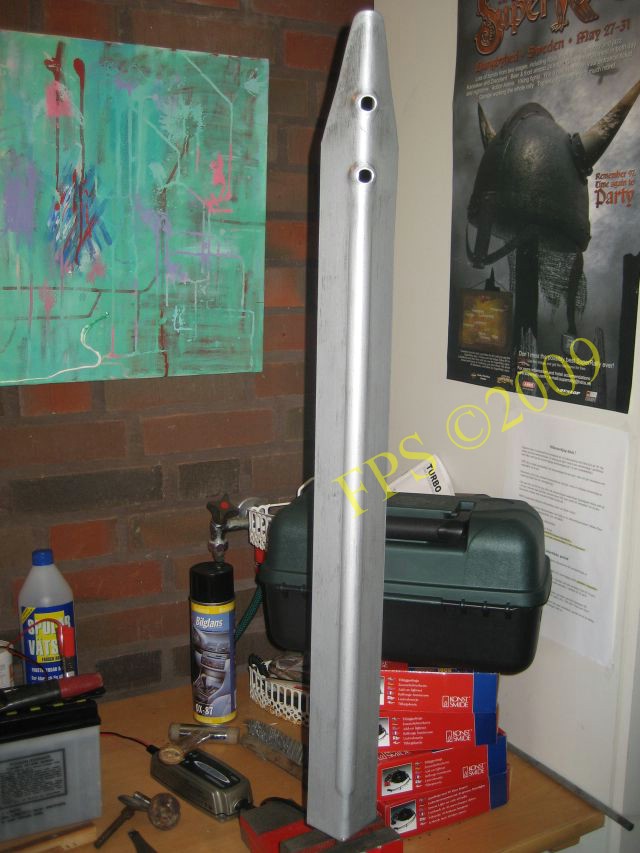
First coat of paint, a sponge was used to obtain a smooth and fine surface without any brush strokes.
Here we see the final result after the second coat of paint.
LEG BOLTS
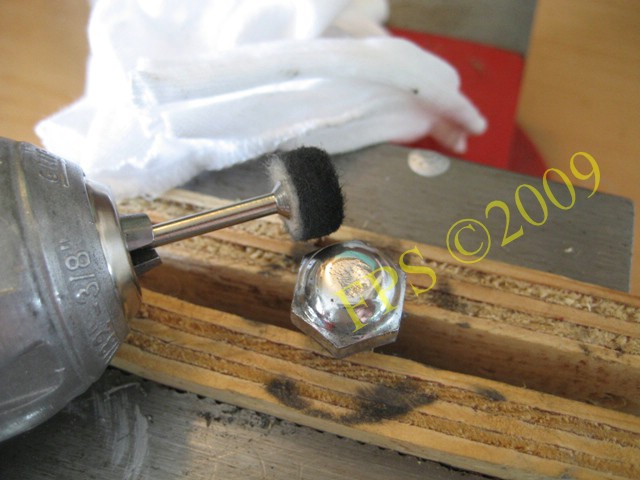
Leg bolt heads is polished with Autosol and to get true luster I use a felt pad with mandrel.
Pleasure and Pinball
© FPS. All right reserved. |
Page Last updated:
2009-11-12 |