- Home Old school pinball <1985
- Grand Prix (EM) 1976
- Firepower (SS) 1980
- Space Mission (EM)1976
- Genie (SS) 1979
- Magic Castle (SS) 1984
- Black Knight (SS) 1980 New school pinball >1985
- High Speed (Sys11) 1986
- Earthshaker (Sys11) 1989
- CFTBL (WPC) 1992 Arcade Project
- JK-Cabinet with MAME Contents Earthshaker
- Playfield Refurbishing
- Playfield Painting
- Playfield Parts
- Playfield Re-build
- Before-After Pictures
- Refurbishing Diary
- Finished project
- Documents - Flyer
|
Languages |
|
|
WMS Eartshaker Playfield Touch Up - Part II
PLAYFIELD PAINT TOUCH UPS
 |
 |
The pictures above is from when I made paint touch-ups on the playfield.
I use mostly acrylic paint and I try to mix them to match the original colors shade. The advantage with acrylic paint is that water can be added to get more flow in the paint and that it is possible to remove if a mistake is made. The disadvantage is that acrylic paint do not have the same shine as the original paint but this is before the varnish is applied over the acrylic paint. Then the acrylic paint shine and gloss for the area which has been paint touch-up match the rest of the playfield. For contour lines I sometimes use a enamel based very glossy paint.
The reason I believe that one should do paint touch ups of a damage or wear on the playfield even if they result are not entirely perfect is that it is better than to leave the areas on the playfield with clean wood. If the paint touch ups are not quite perfect this will usually not be detected by a viewer or player, but a damage or wear in the playfield where there are no motives or colors will be far more conspicuous and in some cases also affect the play negative.
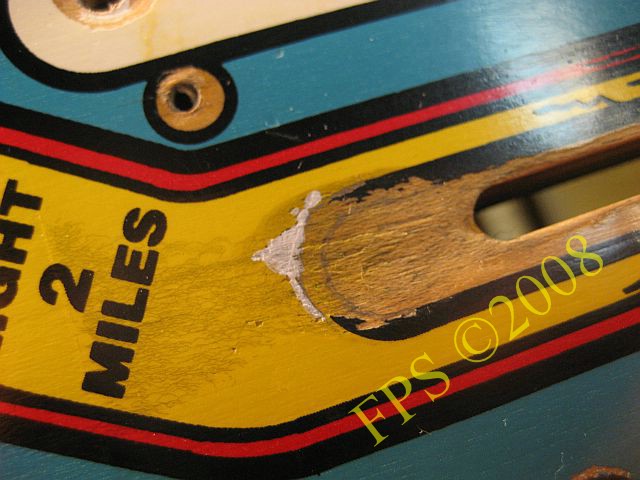
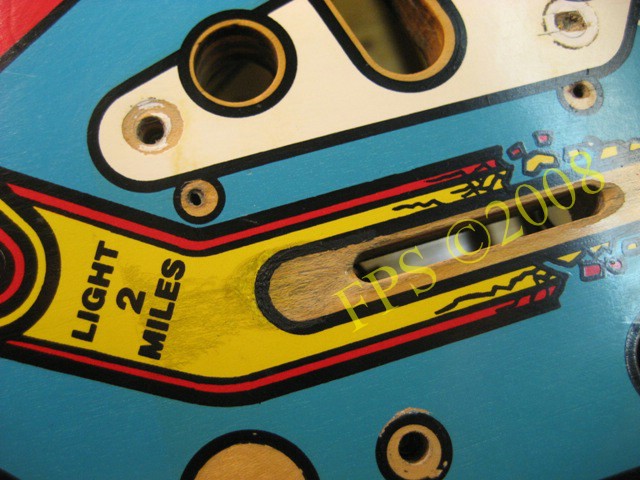
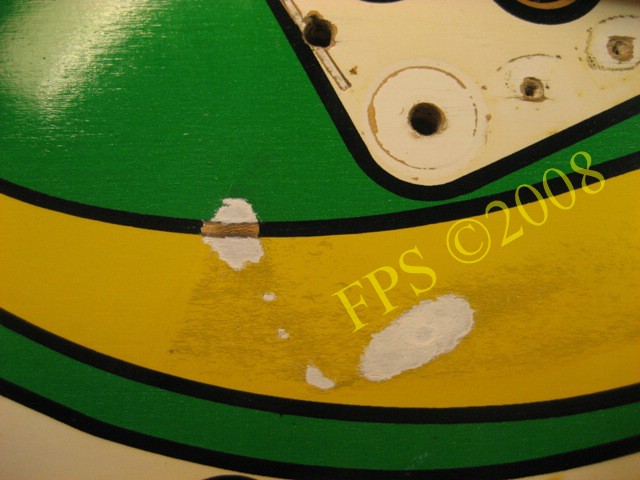
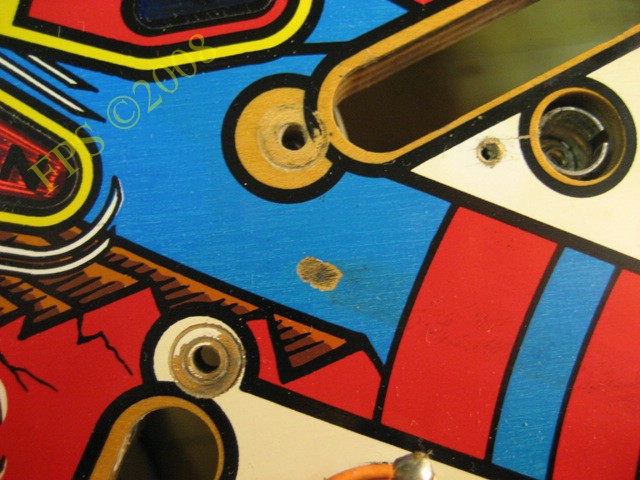
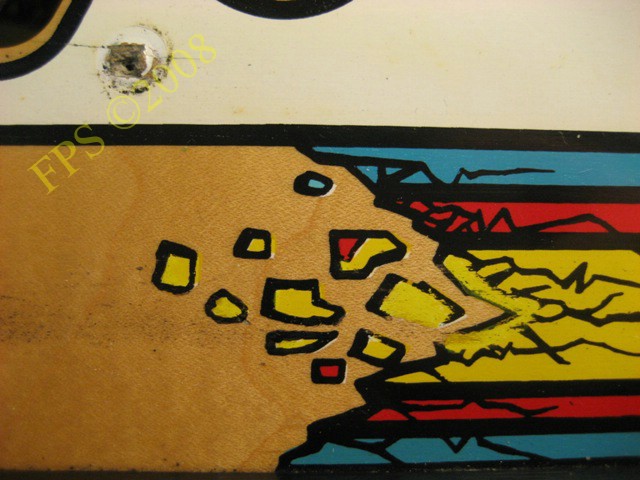
On the picture we can see how the paint has been worn of down to the wood. This is the left inlane where the ball is falling down from the center ramp. First I start to draw the contour of the black with a graphite pen. Secondly I paint a base with white acryl paint, 1-2 layer depending how deep the wear and tear is from the original paint around the area which shall be painted.
Then I try to mix the correct shade of yellow, in this case I do not need to match the yellow shade 100% correct because there is these famous ball-swirls in the yellow color and they are light black. If the yellow shade not will be perfect I can mask this by applying a layer of thin black paint. I mix black acrylic paint with transparent acrylic medium which I apply above the yellow paint with an sponge I try to recreate the ball swirls. This because there is ball swirls in the paint around the are which shall be repainted. This will not make my paint touch up to appearance. Finally I paint the black contour line with a fine brush size "0" of good quality. Fortunately lines from the brush can remain in the paint, these can be avoid by adding flow improver in the paint, the time for the paint to dry will increase when adding flow improver. I use a hair dryer to minimize the time for the paint to dry. Often these lines from the brush will not be visible after the varnish is applied. I think this will not be recognized when you see the complete playfield after the refurbishing.

When the layers of floor varnish is applied to a level close to the original level and has dried the lines from the brush has disappeared and the black acrylic paint has been glossy.

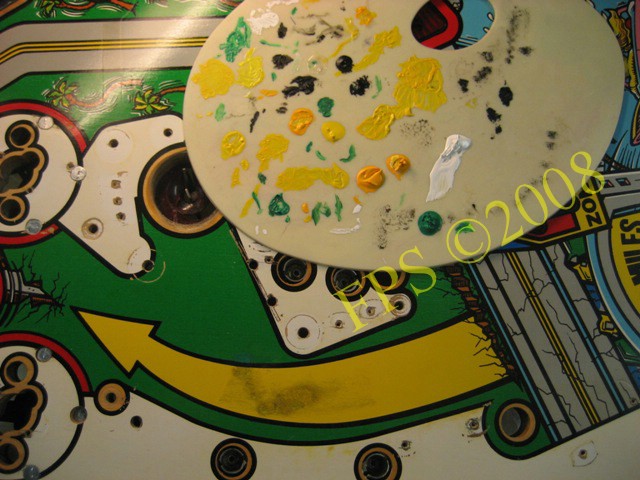
Here we can see how I mix the acrylic paints on a paint palette and try to achieve the correct shade. Yellow is a hard paint to match to the original paint. It can be made lighter by adding white or to be made darker by adding brown paint or a very small amount of black paint. It will easily be grey if to much black is added. Sometimes I paint a test on a plastic stencil and let the paint dry before I put it above the original color to see if the mix of paints match. The acrylic paint will be less glossy when dried.
This is the area with the biggest wear and tear and it is where the ball has hit the playfield after been shoot out of the kick out hole at zone 5. We can see the white base has been applied before mixing and matching of colors.
Here we can see how I mix colors and work with the wear due to ball drop from the kick out hole zone 5.
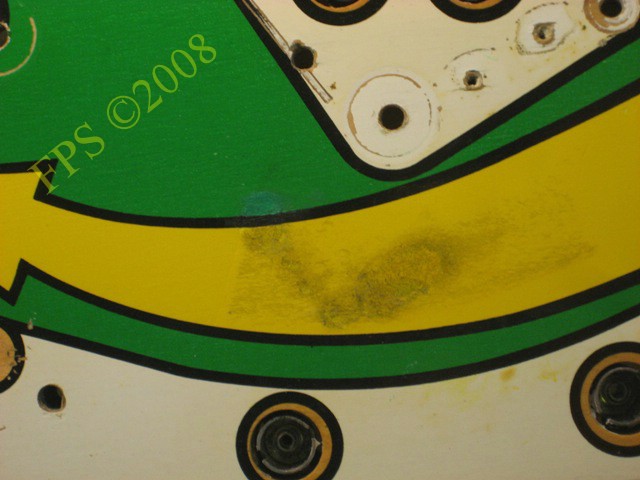
Here is the result of the paint touch-up before floor varnish is applied and I am quite satisfied despite several failures to attempt the ball swirls to match with the original ball swirls. The green color went to light but I think this will not be noticed when all posts and plastics is in place again, this will be a hidden area. The yellow spots in the white paint is not remainders from mine painting, it is more like something has "burnt" in the white color, type a burning mark from a cigarette in the surface of a table!
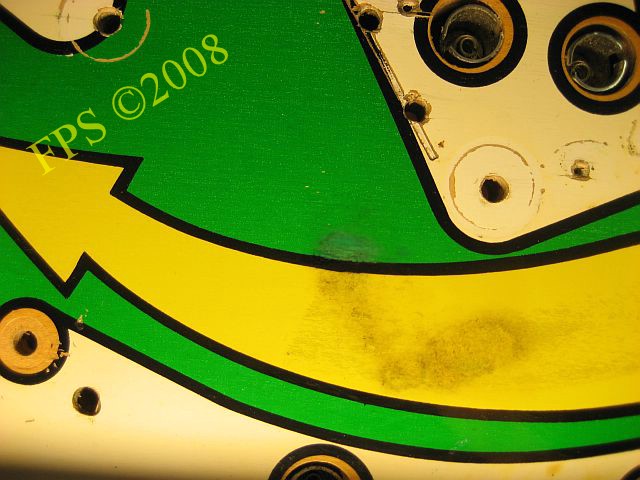
Finally a picture of the end result after 3 layer of floor varnish applied. The black in the paint looks more then it is in reality.
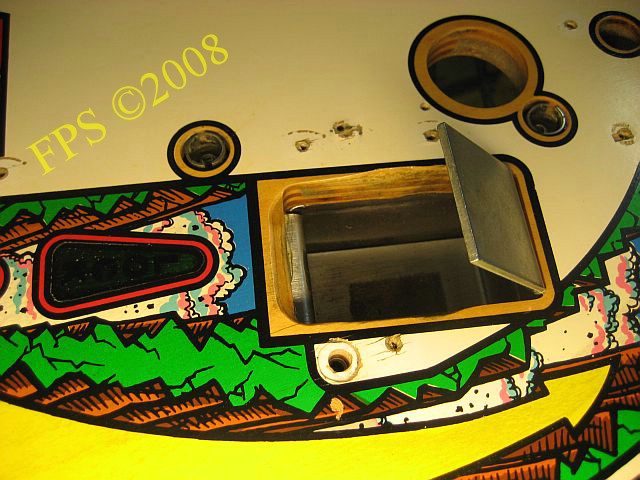
Zone 5 - Eject hole
GRIND AND VARNISH
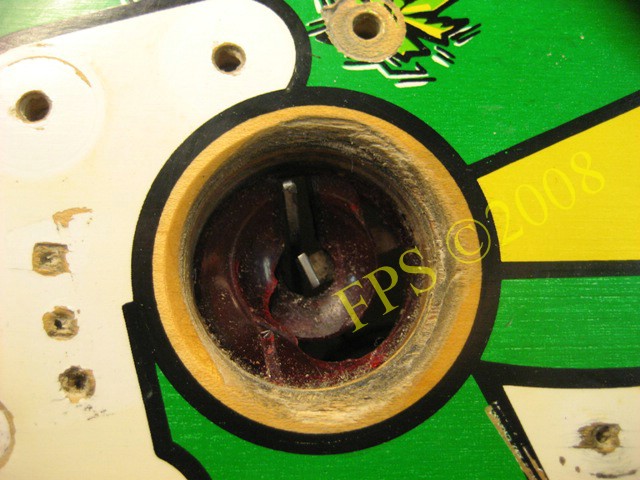
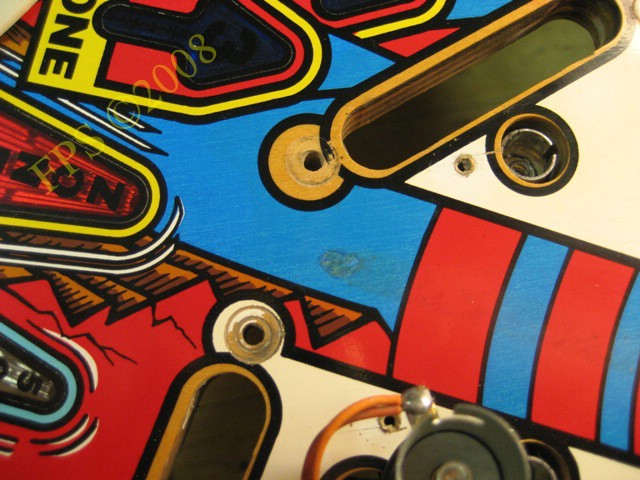
Zone 5, kick-out hole has wear in the edge, which is common on older pinball's which have been played a lot with a worn ball. One example is mine electromechanical pinball Grand Prix 1976 where this wear is very clear on the kick out holes on the side of the playfield for collecting the bonus. This wear can be removed by grinding with a fine sandpaper and then apply 4-5 layer of floor varnish to achieve a shiny and smooth surface. This worked out well when I did playfield touch-ups on mine Firepower and I can not see any wear after 500-1000 played games.
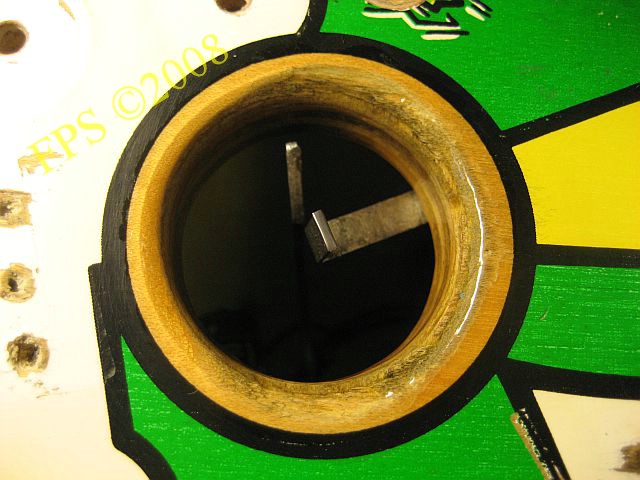
Zone 5 kick-out hole after floor varnish is applied.

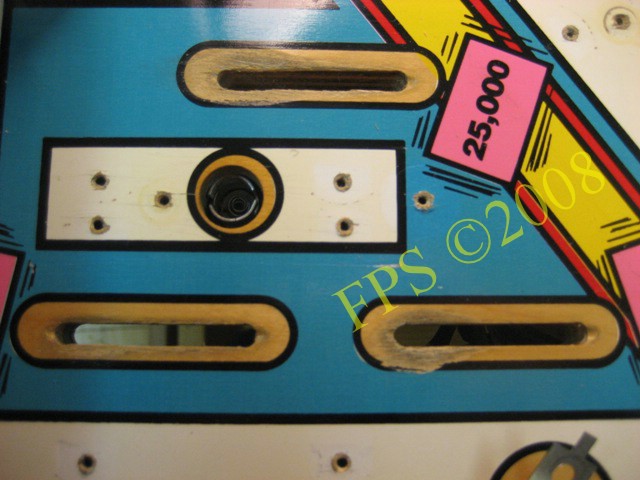
Applying white base for wear in the pop bumper area.

Here I have painted with yellow and will continue with blue, black and red paint.
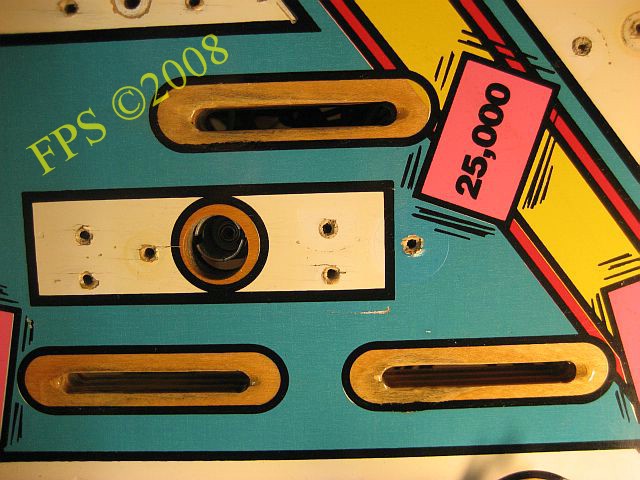
The finished result after varnish has been applied.
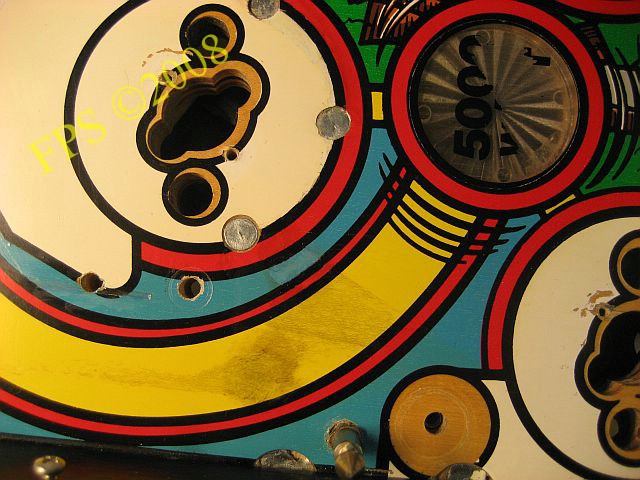
Drop hole
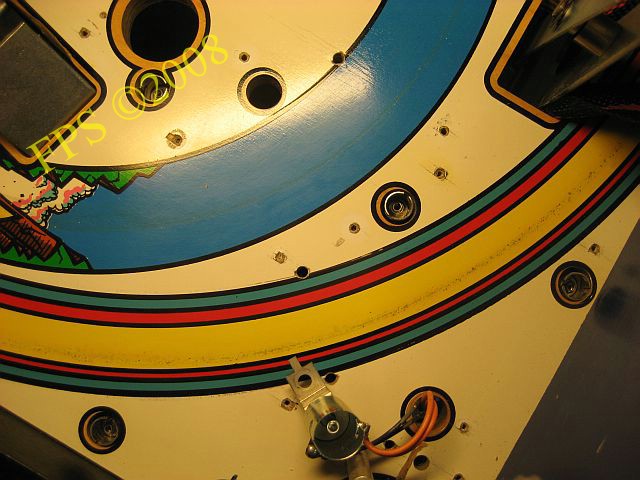
Around the drop hole we can find similar wear as around the eject hole at zone 5. The wear at one side is so strong that it has reached the black contour line. I choose to sand with 120 grit sand paper and applies floor varnish, a lot of layers, since the area will not be visible when all playfield parts is on place again.
Has sanded around the hole edge to get it smooth and applied varnish to achieve a hard surface.
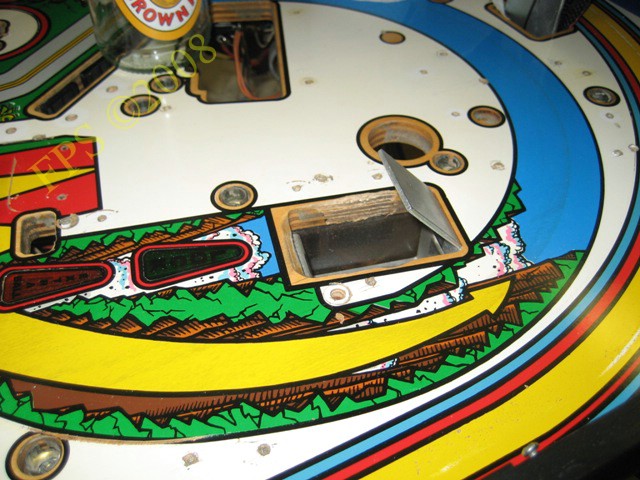
The picture show the wear at lanes for the ball drop from the skill shoot ramp. Again sand with sand paper and floor varnish to protect the surface.
After varnish - a new hard surface is created which should be kept free from wear after ball drops but I will use mylar to increase the protection of the surface. The black contour lines get a uneven shape but this is nothing that will be visible since the area is covered by the skill shoot ramp.
The right side of the playfields wear is more hidden compared to the other wear. The picture show wear before and after where the captive ball is situated.
This area is not visible since it is covered by a plastic.
There is a groove from the ball in the ball arch. I paint with yellow and applies varnish.

After touch-up.
After touch-up of the ball arch - I applies varnish over the groove with a width of approximately 10 mm.
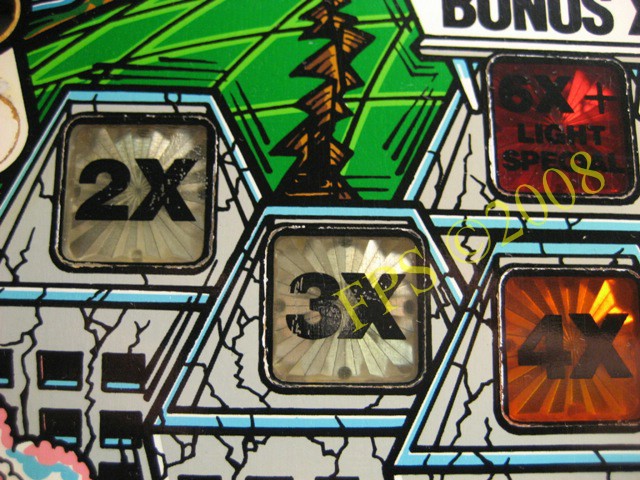
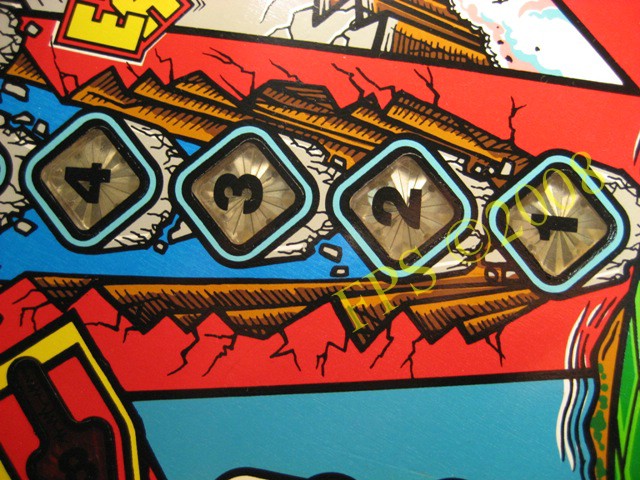
Inserts
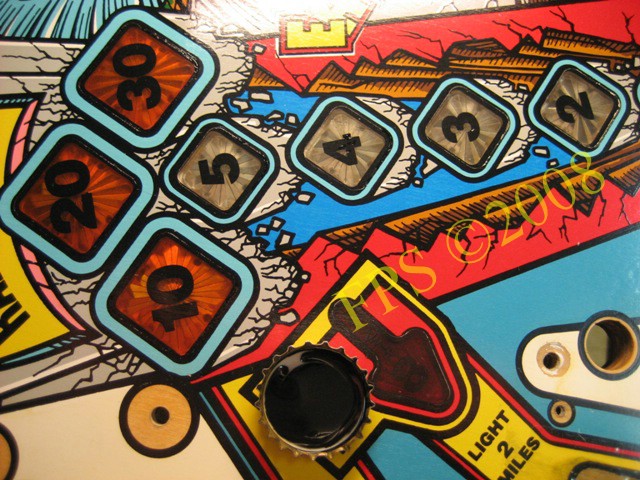
When making paint touch-up of the contour line around inserts I use a enamel paint attenuate with solvent to let it flow well during painting. I use a bottle cap to store the paint during the painting it make it easy for me to hold the paint in one hand and the brush in the other hand. The paint start to dry during painting so I take another bottle cap and prepare more color. This allow me to have a thin paint which will come down in the trace made when the mylar was lifted. My expectation is that the paint will be in the trace and not be worn of in the future. I have not planned to varnish around the inserts as I did on the Firepower.
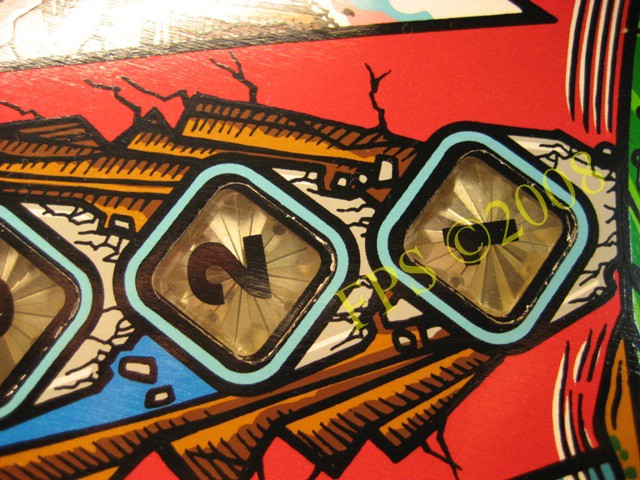
Here we can see the paint lift off around insert 2 and 1.
Here has a lot of the black paint come loose you need to be steady on your hand and paint around the insert.
The insert contour line after painting.
The paint has lifted off more here so I needed to applies two layer of thin paint.
After painting first time we can see the need of another layer of paint, can best be seen in the top right side of the picture.
 |
 |
The left picture show paint touch-up of the contour line before and the right picture after.
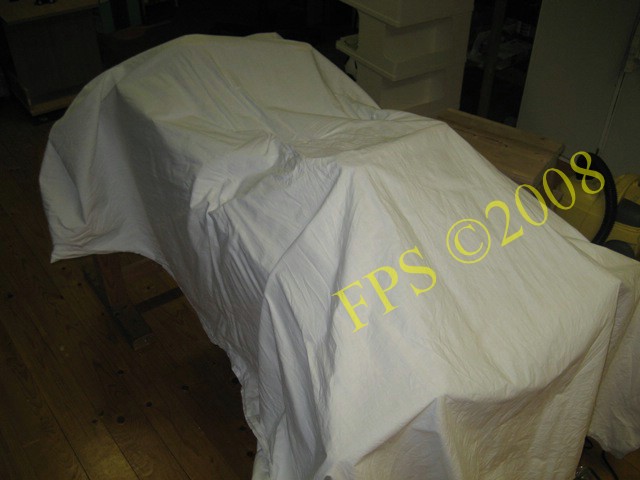
I cover the complete playfield with a blanket during the time the paint is dried to avoid dust.
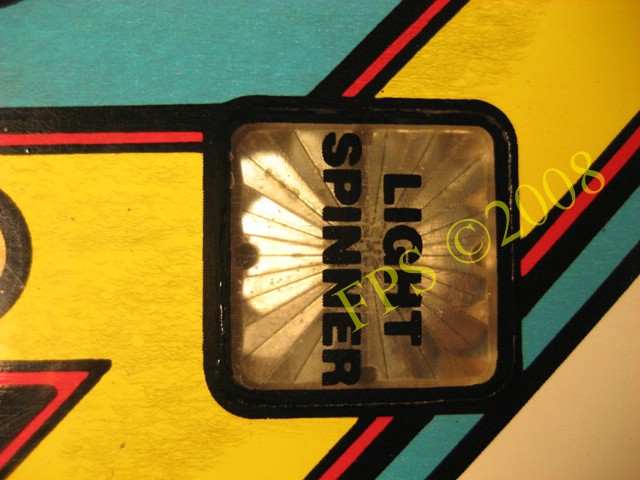
Text 25K+SPOT
PAINTING ON FAULT RAMP PLASTIC

The plastic on the fault ramp had some wear on the text 25K+SPOT.
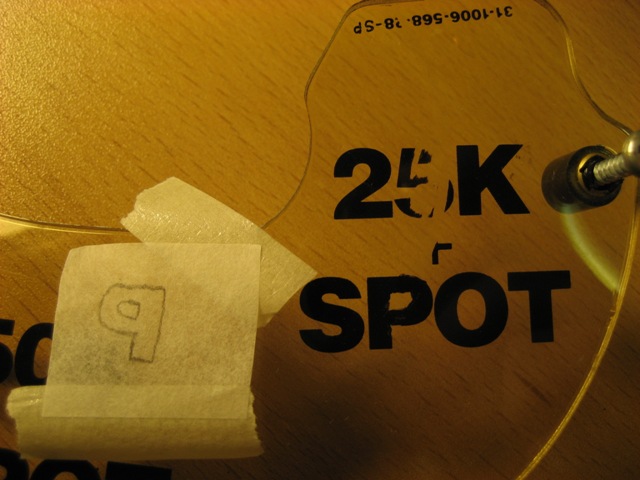
I made a attempt to repair the wear on the text by making a template of the letters using greaseproof paper. I cut out the letter P in the grease proof paper and use it underneath the plastic mirror wise as an template. I used acrylic paint and a fine brush when painting.
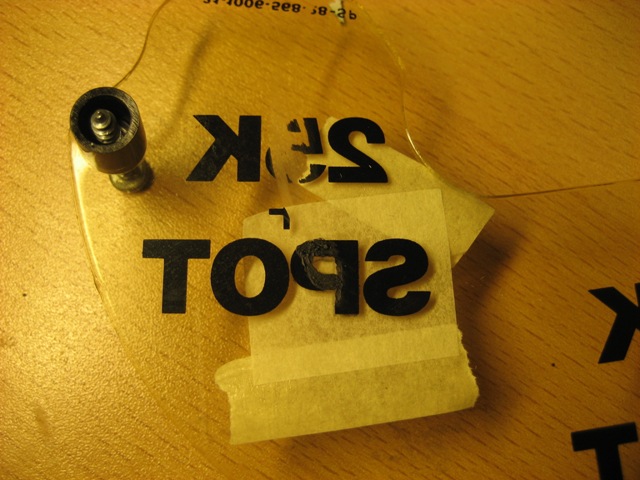
The template is underneath the plastic as a guide when painting the letter P.

The finished result. To prevent that the wear will appear again I cover the text 25K+SPOT with a piece of mylar. This will not be visible since the ramp is placed in top of the playfield.
Pleasure and Pinball
© FPS. All right reserved. |
Page Last updated:
2008-08-03 |