- Home Old school pinball <1985
- Grand Prix (EM) 1976
- Firepower (SS) 1980
- Space Mission (EM)1976
- Genie (SS) 1979
- Magic Castle (SS) 1984
- Black Knight (SS) 1980 New school pinball >1985
- High Speed (Sys11) 1986
- Earthshaker (Sys11) 1989
- CFTBL (WPC) 1992 Arcade Project
- JK-Cabinet with MAME Contents Earthshaker
- Playfield Refurbishing
- Playfield Painting
- Playfield Parts
- Playfield Re-build
- Before-After Pictures
- Refurbishing Diary
- Finished project
- Documents - Flyer
|
Languages |
|
|
WMS Eartshaker Playfield Refurbishing - Part I
PLAYFIELD "MYLAR GLUE"
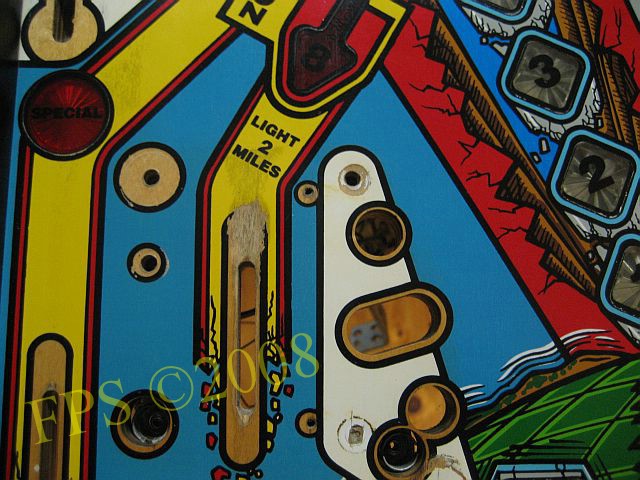
After a first review of the playfield I consider it to be in a good shape but in need of some minor paint touch ups. The previous owner of Eartshaker had chosen to remove the mylar which covered the open surface of the playfield since it was a lot of dirt in the edges of the mylar. The paint on the playfield had not lifted when the mylar was removed and the insert decals was in a surprisingly good condition. However was half of the insert decal 5000 W/LIT damaged, it come off when the mylar was removed around the pop bumper area. There is three areas on the playfield with paint loss down to the bare wood. One area close to the kick out hole where the ball hits the playfield and a second area above the pop bumpers and a third area where the ball drops on the playfield from the center ramp. Which can be seen in the circled areas in the picture.
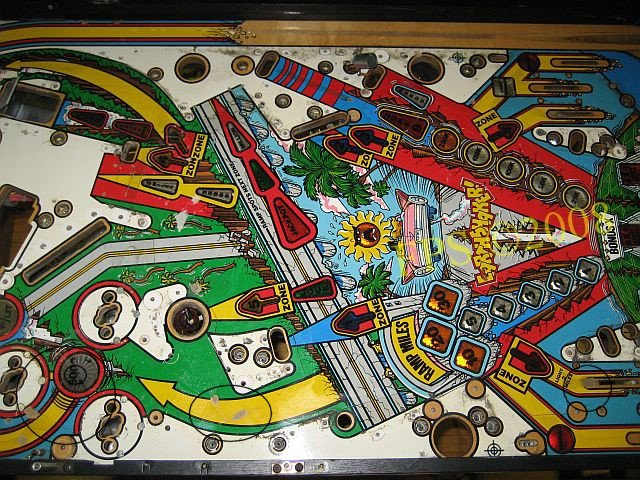
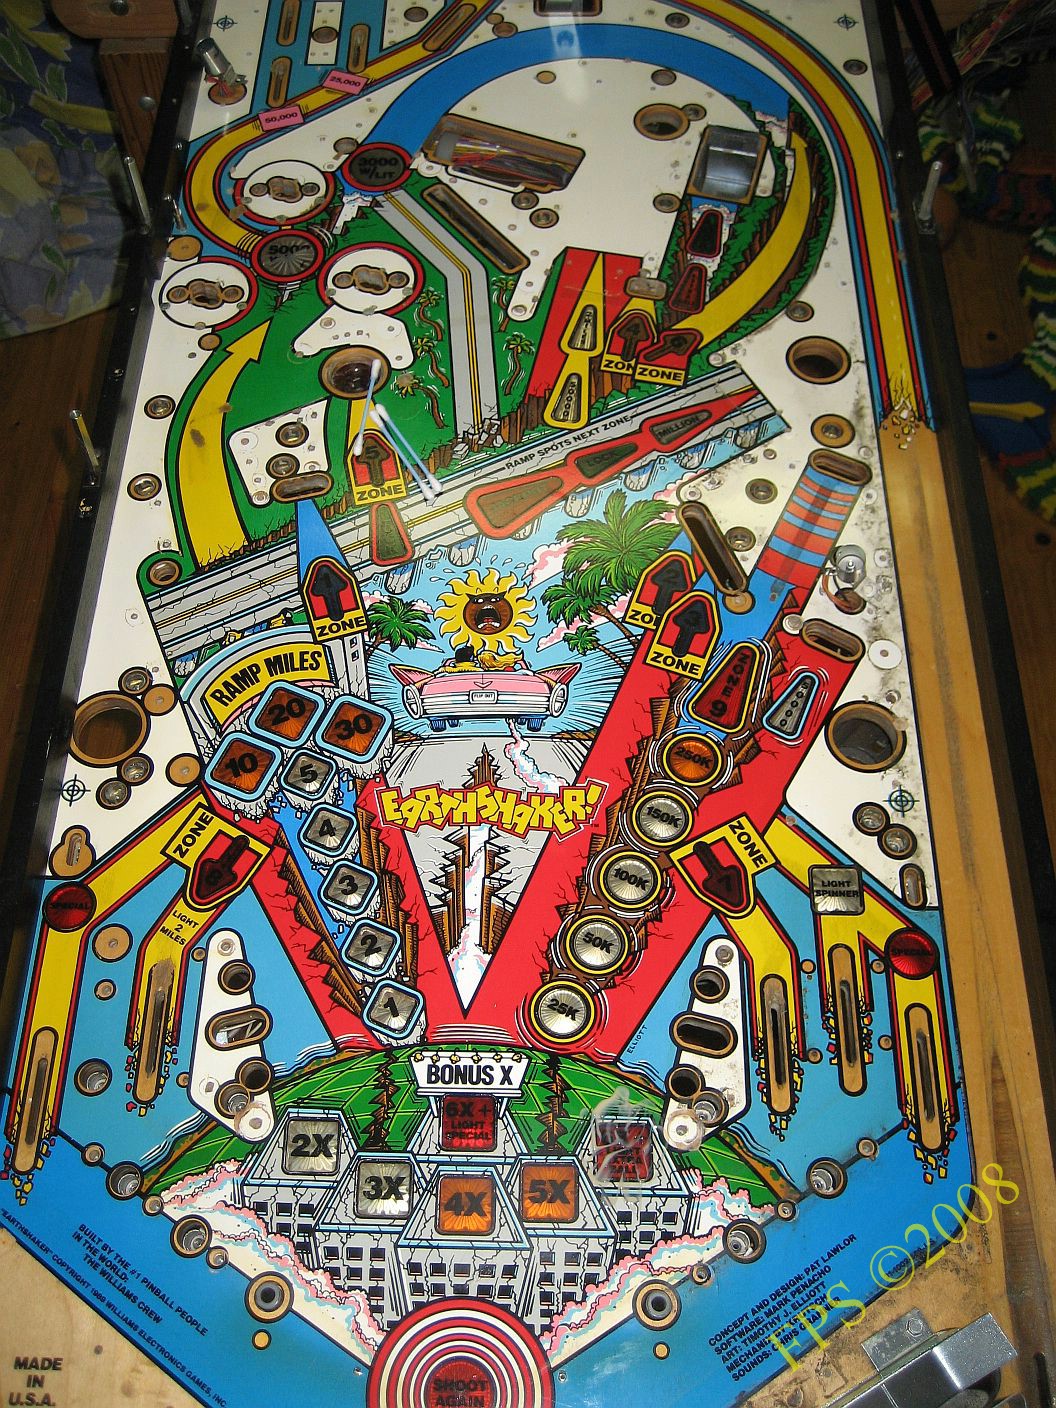
Some pictures of the playfield before refurbishing and removal of residue glue left from the mylar.

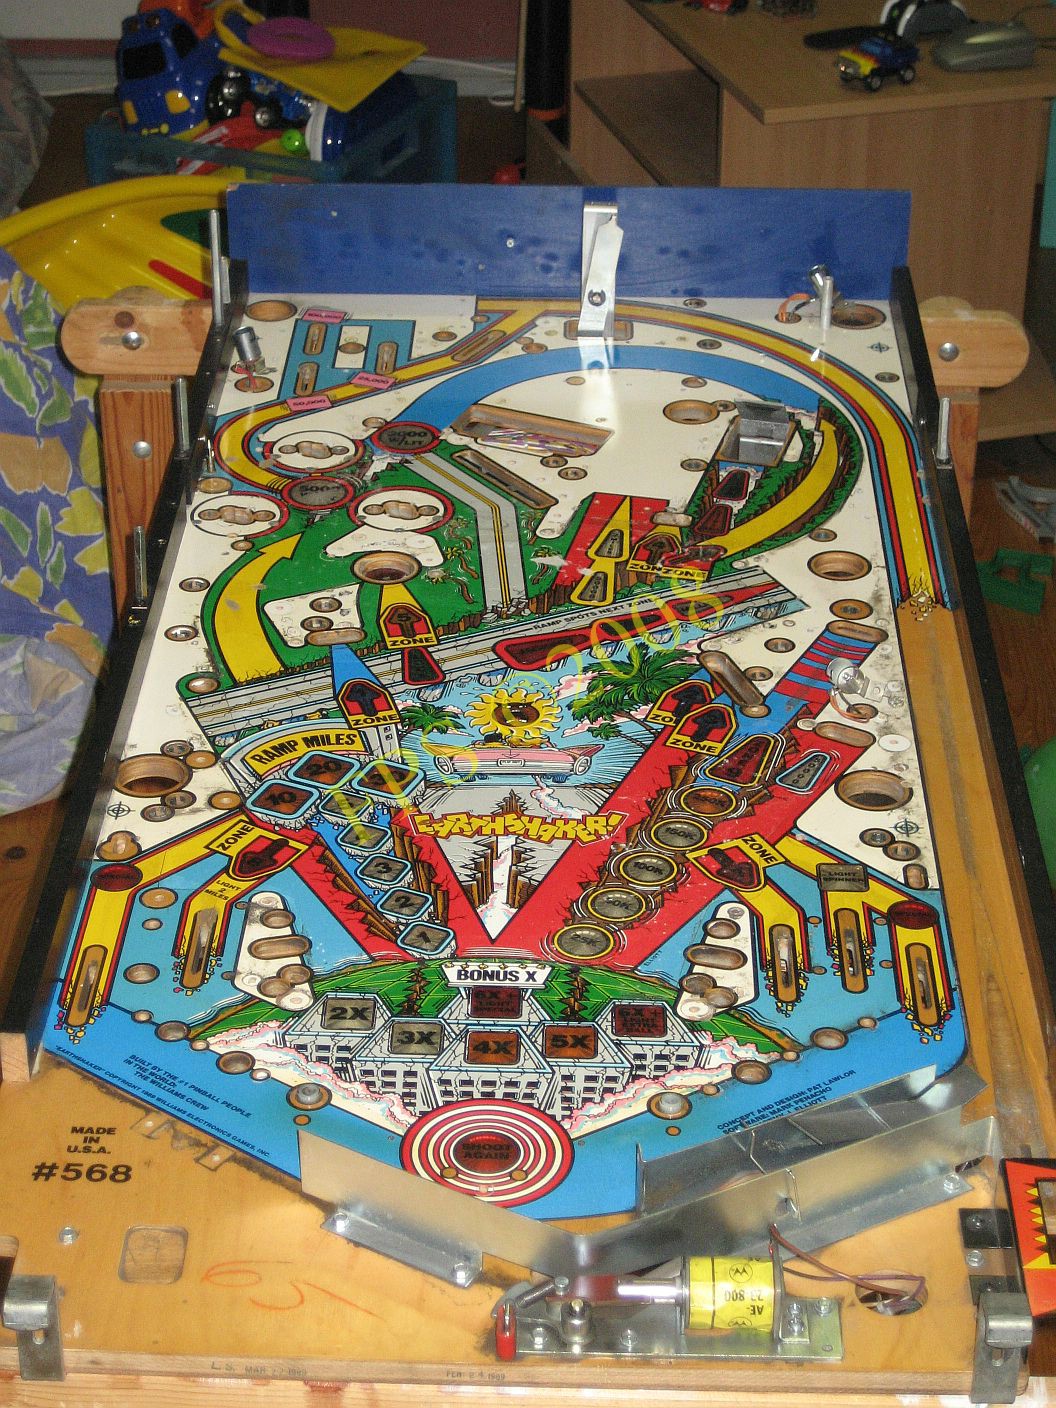
Lower part of the playfield. The mylar has done the job to protect the playfield well.


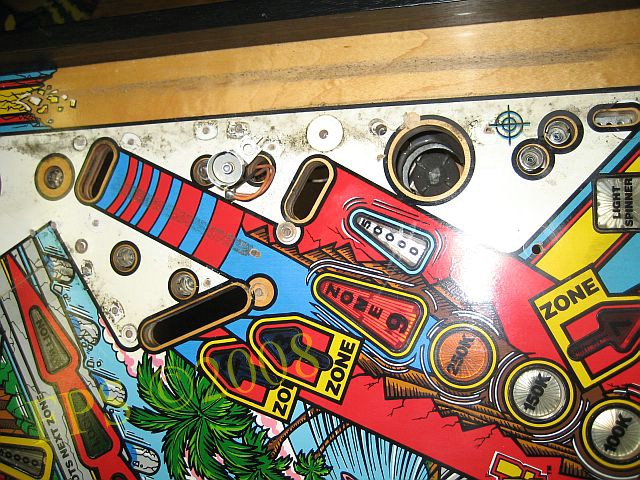
The area around the pop bumpers is a area with lot of ball action and is set for a lot of wear. This area will need some paint touch ups. Also this area was covered by a bigger mylar patch removed by the former owner, we can also better see how the half 5000 W/LIT insert decal has lift when the mylar was removed.
As always a lot of dust and dirt is collected at areas covered by plastics.The picture show a area
with paint loss where the captive ball is placed.
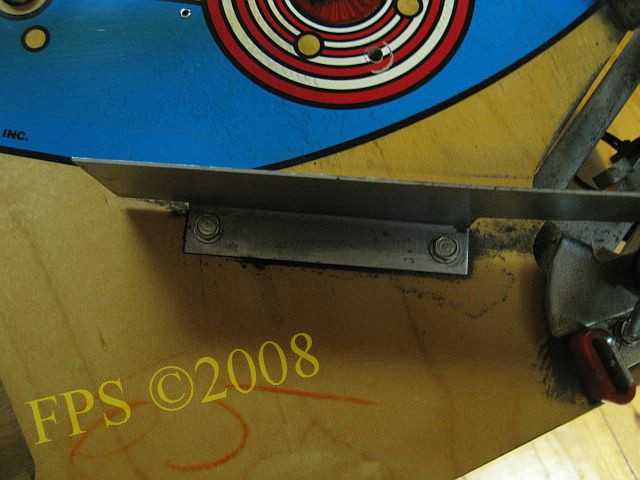
Another area where a lot of dust and dirt is collected is underneath apron. This area is rarely cleaned by an operator for example. I loosen all the parts to the ball gate and clean them with MR. Muscle and polish them with Autosol. To keep the ball gate clean prevent the ball to bring dust and dirt to the playfield in the future, with new potential risk for wear and damage on the playfield.
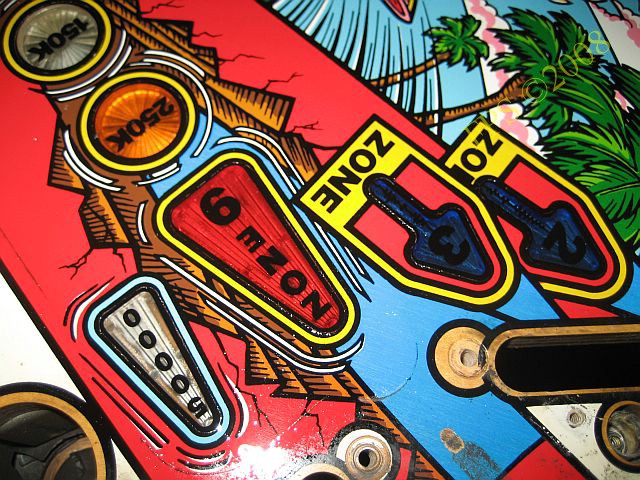
The area on the picture show a strong wear on the spot where the ball drops down from the center ramp.
The picture show that it often is wear around the roll over lanes on older pinball's. Wear around roll over lanes I usually grind carefully with a piece of fine sandpaper and afterwards I apply 3-4 layer of floor varnish to achieve a new hard surface that hopefully will remain without any new wear.

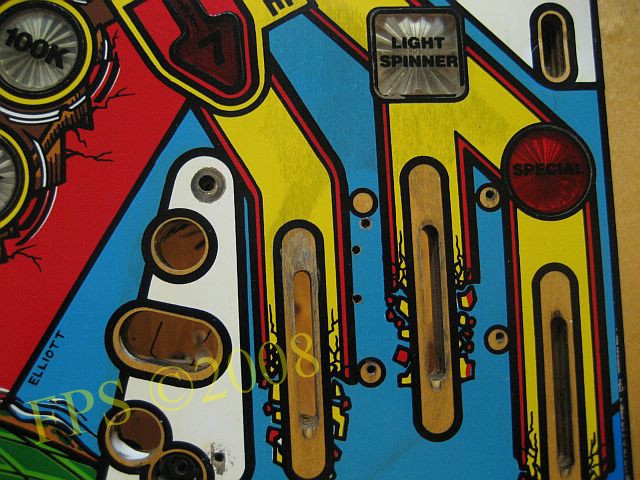
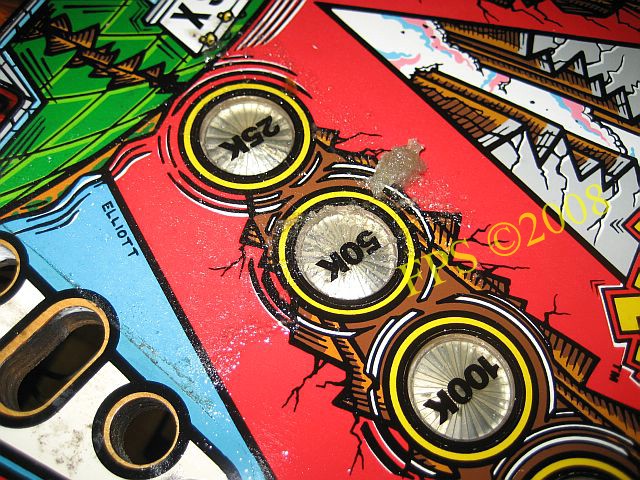
The inserts on the middle part of the playfield has no damage from the removal of the mylar. There was only minor black paint loss in the edges of the inserts. I consider to attach new insert decals over the old ones or make touch up with black paint (oil paint or acrylic paint) and finally seal with two layer of floor varnish.
The picture show the dirt that was present in the edge of the mylar.
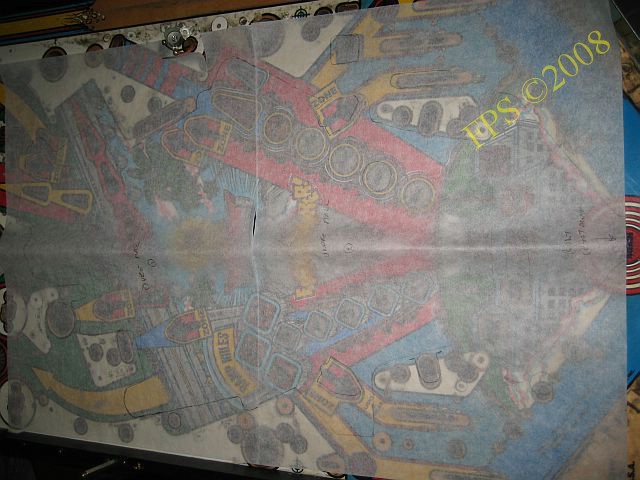
I choose to draw the edge of the mylar on a piece of greaseproof paper. It could be useful to save the contour of the mylar if I in the future decide to recreate the mylar. Here we get an clue of how big area that was covered with mylar and remaining glue.
I was unsure if I should recreate the old mylar or only have mylar on exposed areas. I hade read that the mylar will effect both the speed of the pinball and the playfield colors will be dull, my Firepower pinball has mylar in front of the slingshots and there I can see that the colors are more dull then other playfield. Since I do not have any experience to work with mylar before I was rather unsure to put such a big part of mylar on the playfield with a good result.
The mylar was developed to give the playfield protection from ball action and longer life time since the operators not had the possibility to regularly clean and wax the playfield as an home user can. On a pinball for home use only it is enough to clean and wax the playfield regularly to achieve a full protection from ball action. In the 90´ths the diamond plated playfield was introduced to even more increase the playfield life time. Then the mylar started to be superfluous except for exposed areas as in front of slingshot.
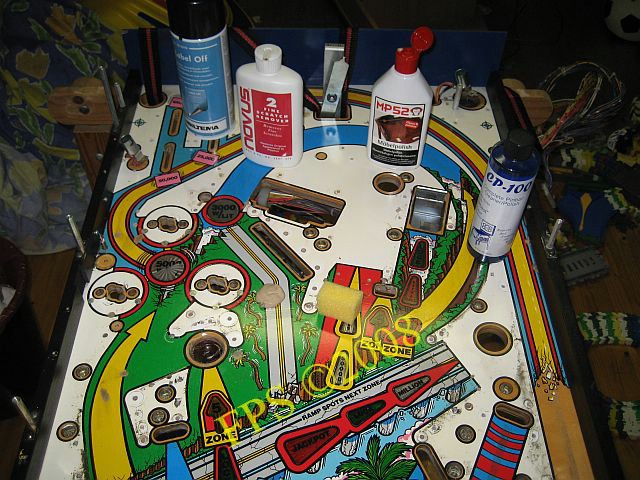
On the picture we can see the different solvents I use for removal of the glue and refurbishing of the playfield. From left, Label off - Biltema, Novus 2, MP52 - furniture polish and OP-100. When applying the Novus 2 on the playfield I use an Scotch-Brite pad and for areas hard to reach a q-tip. Afterwards I polish with a cloth.
Label off - is a special solvent which solves glue and it smells lemon.
On this picture we can see how I has gathered the glue in a pile by pressing it over the playfield using a cloth, before I gather the glue the solvent Label off is applied and I let it work for 20-30 seconds. I could not see any risk that the solvent Label off should in any case damage the color on the playfield. Label off dissolve the glue and make it to an loose mass which can be rubbed of as described above. A lot of cloths where used because they went very quick full of sticky glue remainder, as well as mine fingers. I was surprised over how effective the Label off was for the task to remove all the remaining glue on the playfield. I think I spent two evenings working with this sticky job!
Cleaning with Novus 2 before painting of areas with paint loss.
Pleasure and Pinball
© FPS. All right reserved. |
Page Last updated:
2008-08-03 |