- Home Old school pinball <1985
- Grand Prix (EM) 1976
- Firepower (SS) 1980
- Space Mission (EM)1976
- Genie (SS) 1979
- Magic Castle (SS) 1984
- Black Knight (SS) 1980 New school pinball >1985
- High Speed (Sys11) 1986
- Earthshaker (Sys11) 1989
- CFTBL (WPC) 1992 Arcade Project
- JK-Cabinet with MAME Contents High Speed
- Playfield Refurbishing
- Playfield Painting
- Playfield Re-build
- Before-After Pictures
- Refurbishing Diary
- Finished project
- Dokument - Flyer
|
Language |
|
|
WMS High Speed Playfield Refurbishing Project - Part III!
REBUILD BACKSIDE OF PLAYFIELD
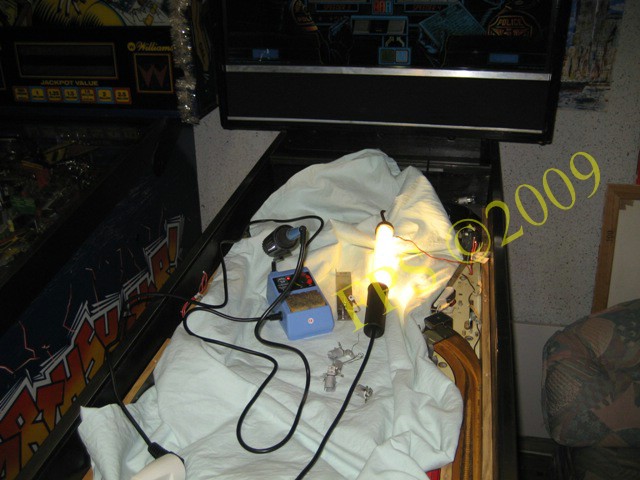
When paint touch-ups where done on the replacement playfield I started with the work to
bring back the wire harness.
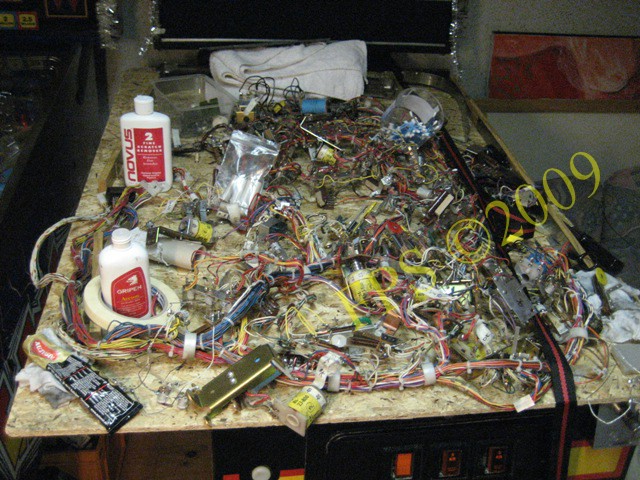
The complete wire harness with units stored on the cabinet until the replacement playfield is in place.
 |
 |
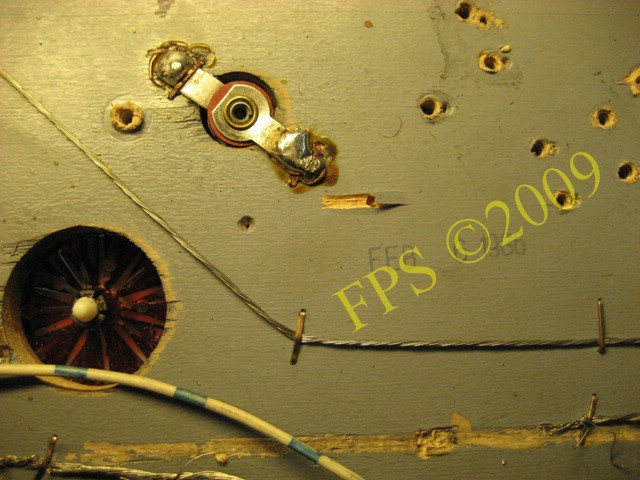
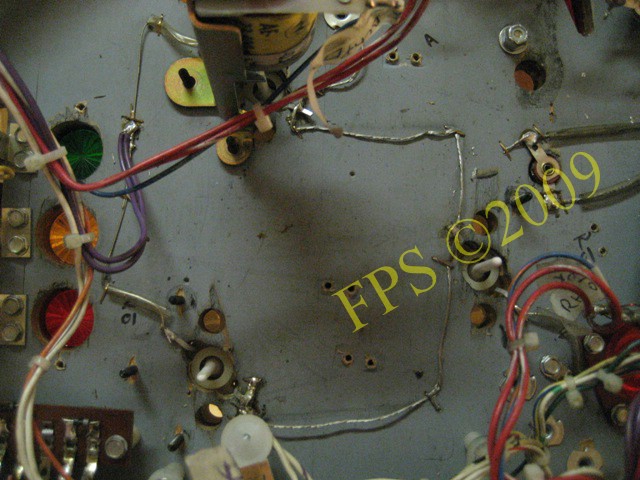
Manufacturing date of the playfield and all screws that shall be used to attach the wire harness and units on the backside of the playfield.
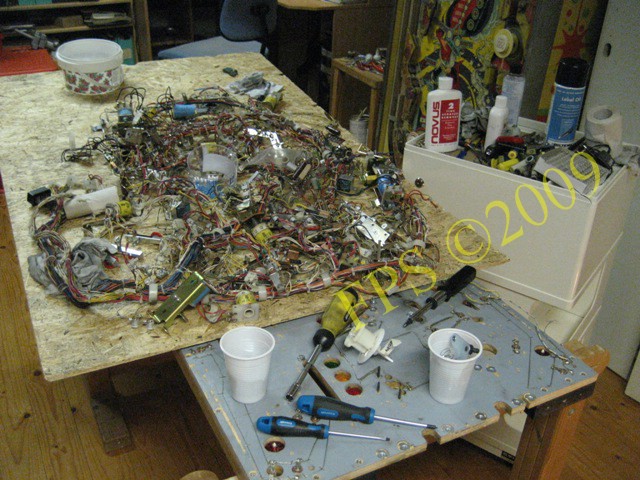
I put the wooden board on the backside of the playfield and move the complete wire harness with units step by step as the work proceed with attaching it to the playfield.
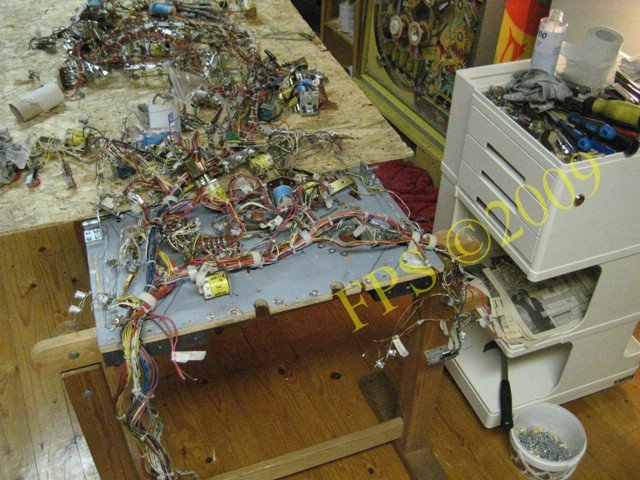
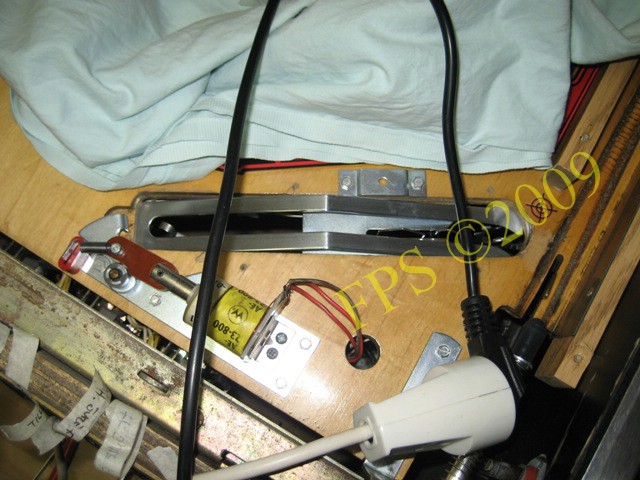
Here we can see how I started to attach wire harness and the units.
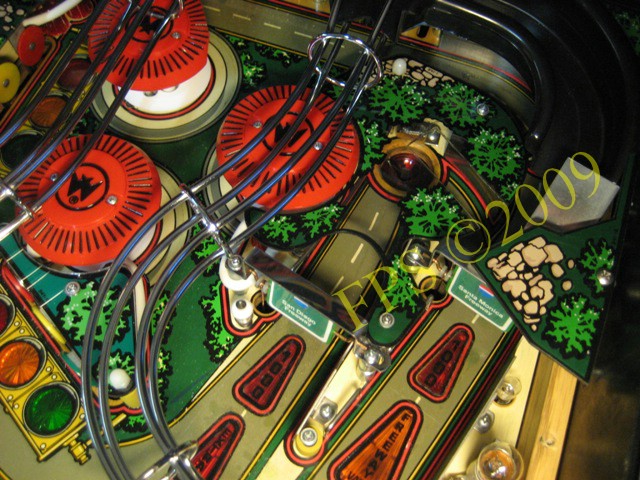
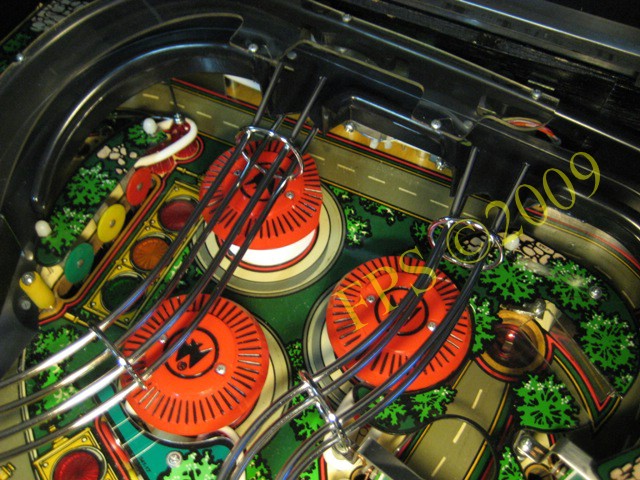
Rebuild of bumpers.
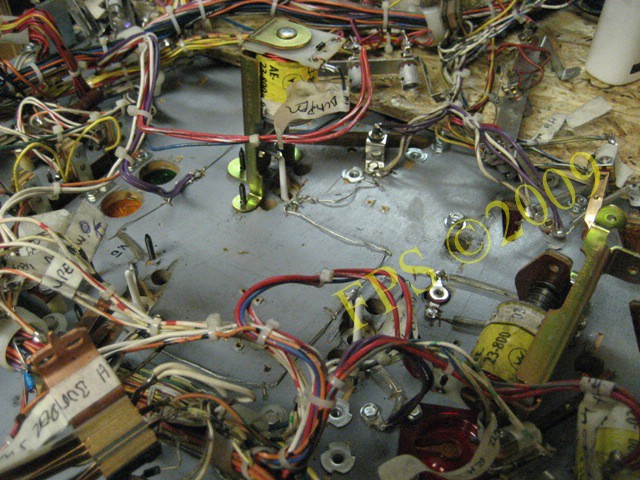
Now I have come to the middle of the playfield. Sometimes I have to think twice and try to remember how the parts where situated and now it is useful to have many pictures taken from how it was situated before the dismounting of wire harness and units.
 |
 |
 |
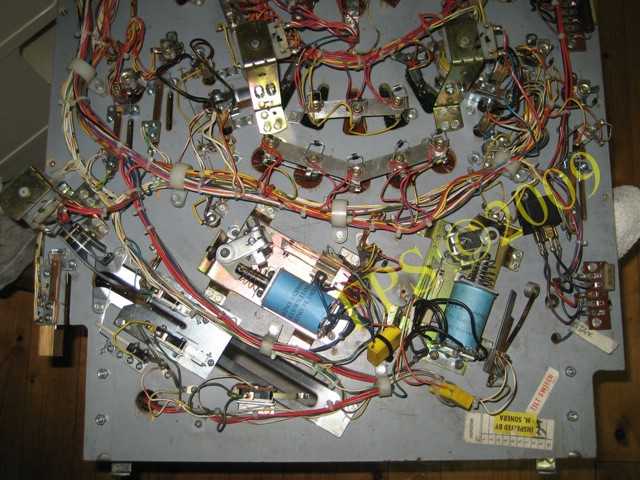 |
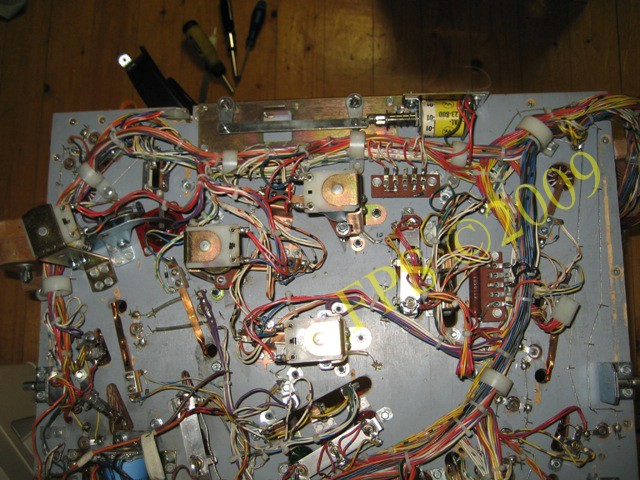
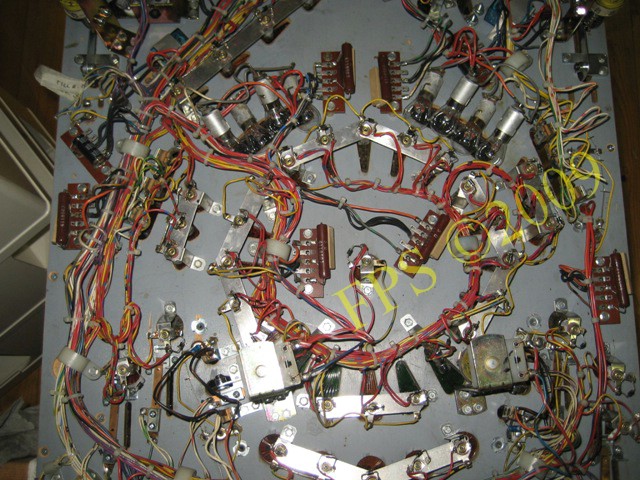
The pictures show how the complete backside of the playfield after rebuilding of wire harness and units.
The art of using mylar
Mylar
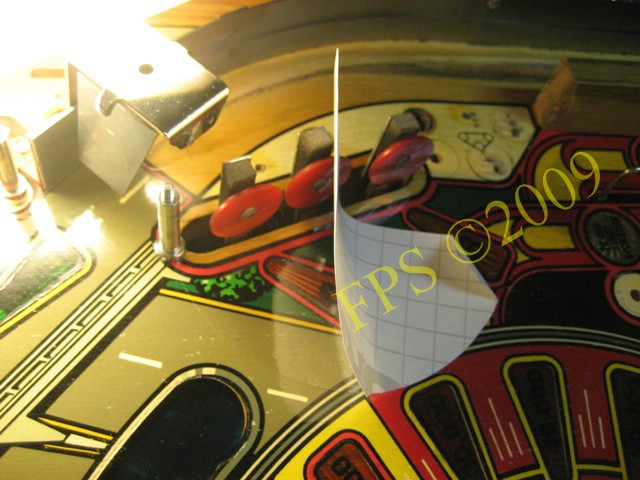
To protect the paint on the playfield from wear I apply mylar in front of the center targets. Be sure that the area is totally clean from dust before applying the mylar.
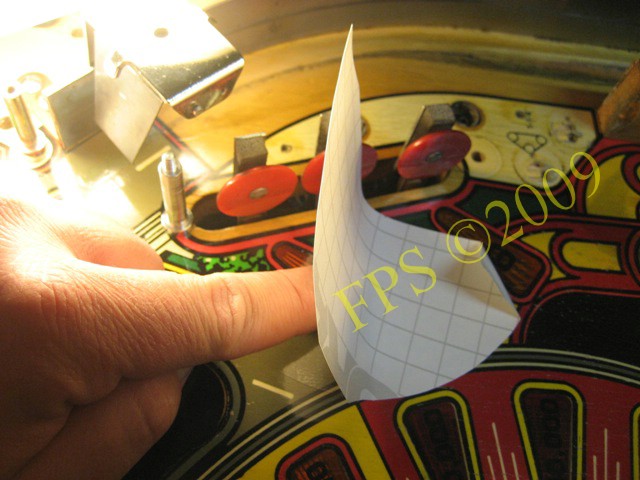
Start to position the mylar and then press it out with your finger to avoid air bubbles. When pressing the mylar against the playfield the protective paper slides off. Avoid to touch side of mylar with glue since ugly fingerprints can be visible after applying the mylar.
REBUILD DETAILS ON PLAYFIELD
Flippers and kick-out hole finished.

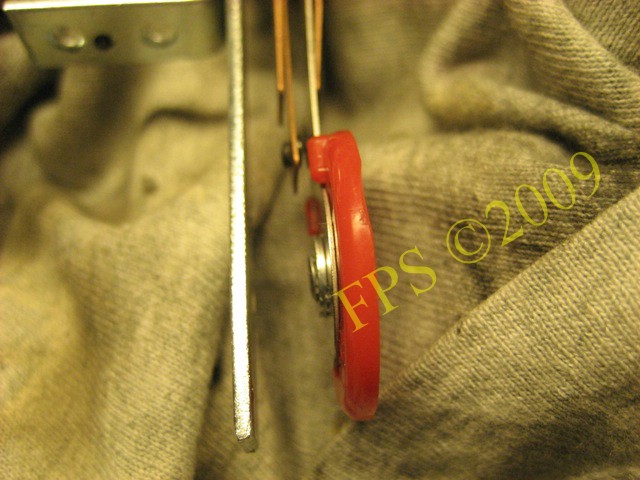
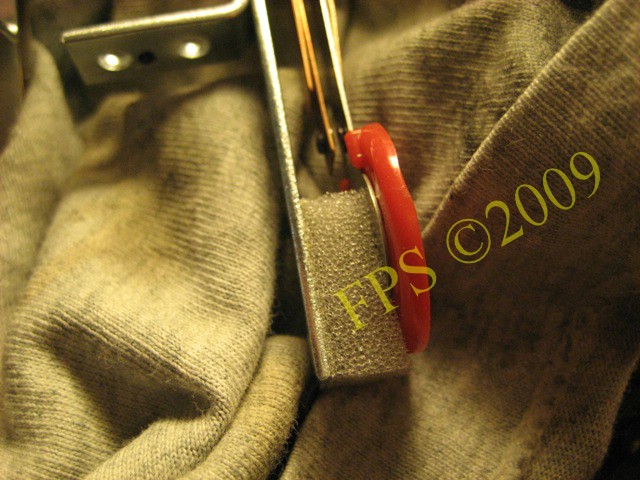
One of the bumper bodies had a lot of damage and was almost broken so this need to be replaced.
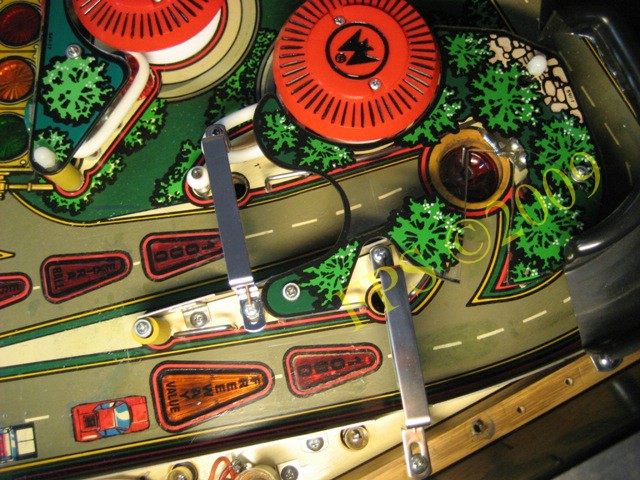
Bumpers and ramp finished.
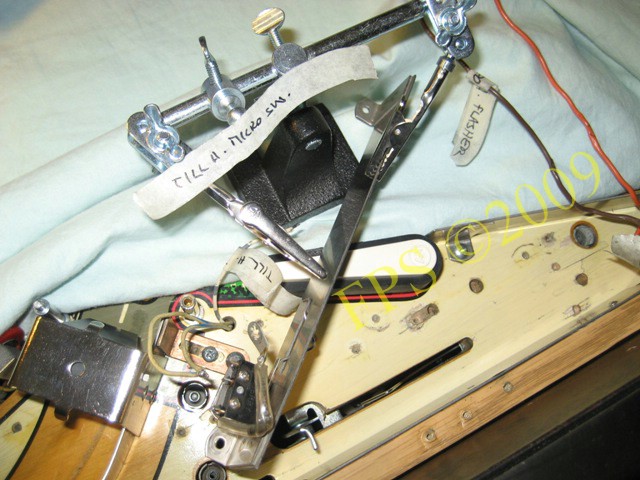
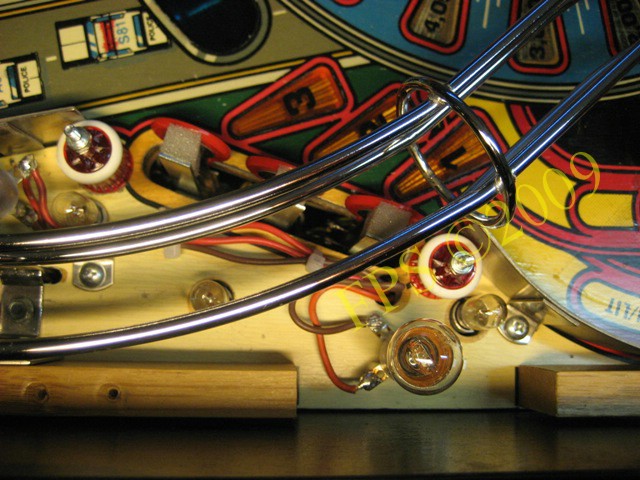
Here I am soldering wires to flash lamps and to the micro switch for the right Hide out.
 |
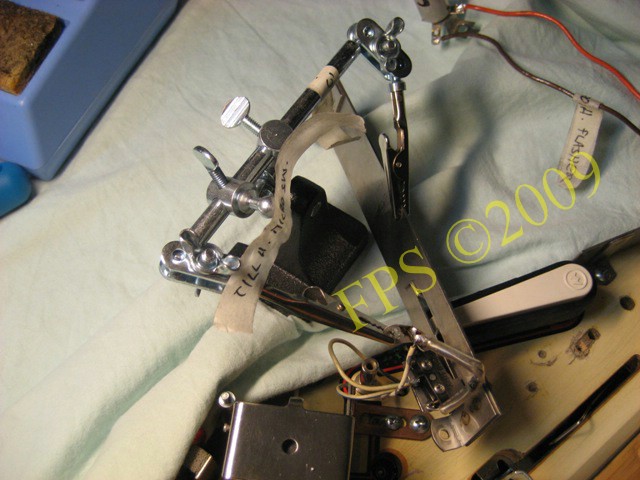 |
It is useful to have a pair of extra hands during the soldering.
Outhole rebuild.
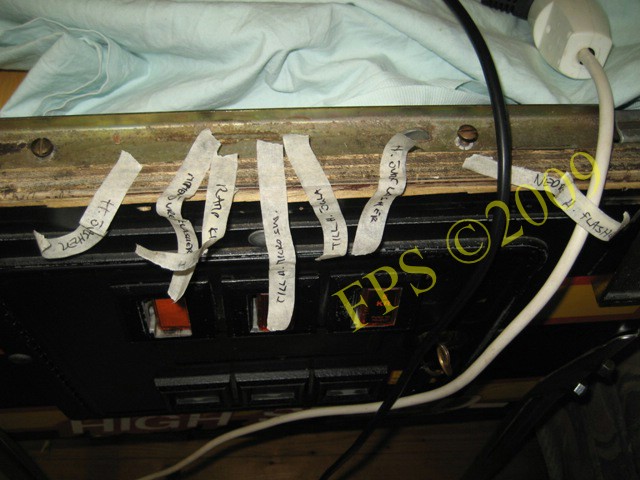
Here we can see tapes with name that I used to remember where each wire shall be soldered.
STANDING TARGET
Cleaning and polish of standing targets. Some of the targets had bad foam pads and even missing foam pad, this foam pad is used to moderate the hit of the pinball.
How nice the target look after polish and with new foam pad.
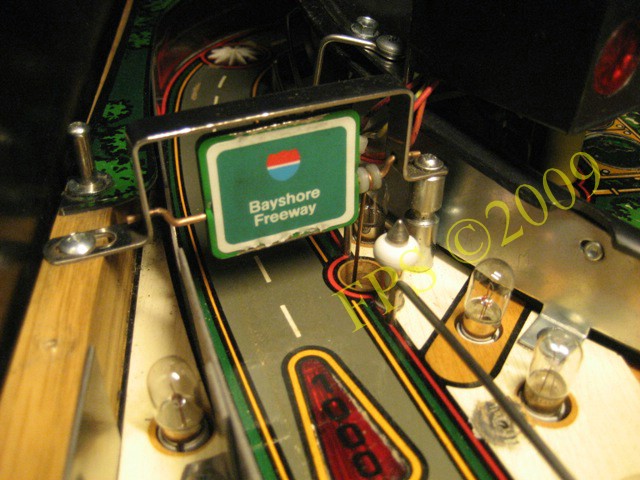
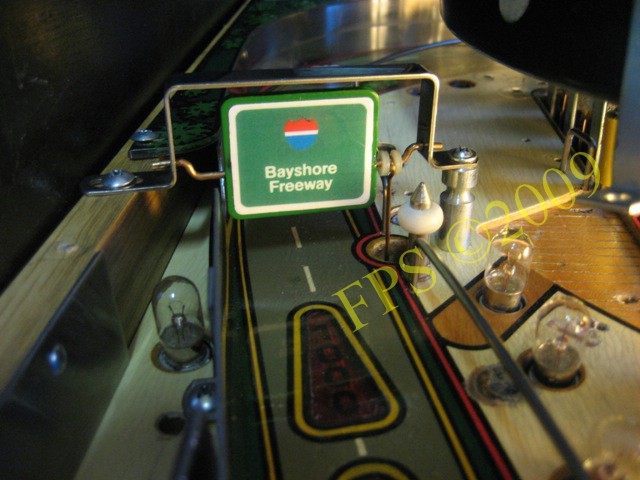
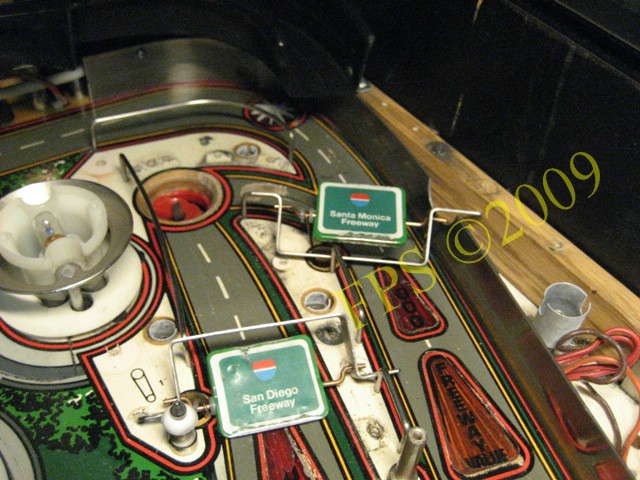
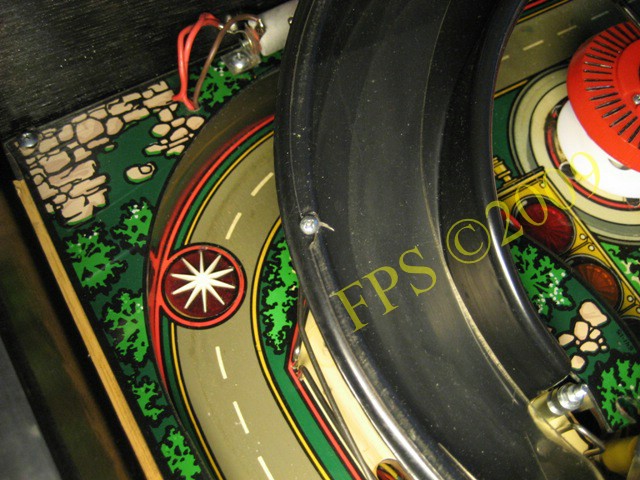
Bayshore, San Diego, Santa Monica Freeway
REFURBISHING SPINNING TARGETS

Spinner targets after paint touch-up with green color and new decals.
 |
 |
Left spinning target before and after.
 |
 |
Right spinning targets before and after.
A shiny playfield is the half pleasure
DETAILS IS IN PLACE

Area around center targets. Note the tape above the posts to protect the plastic from wear.
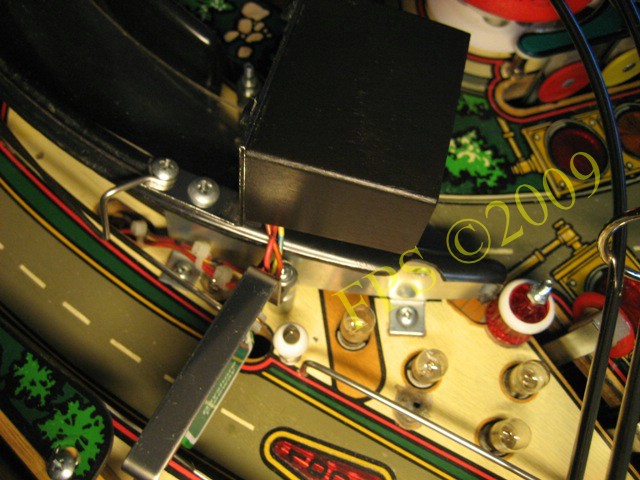
Right Hide out after rebuild. There was a little bit tricky to solder the wires in this area, but it went out well.

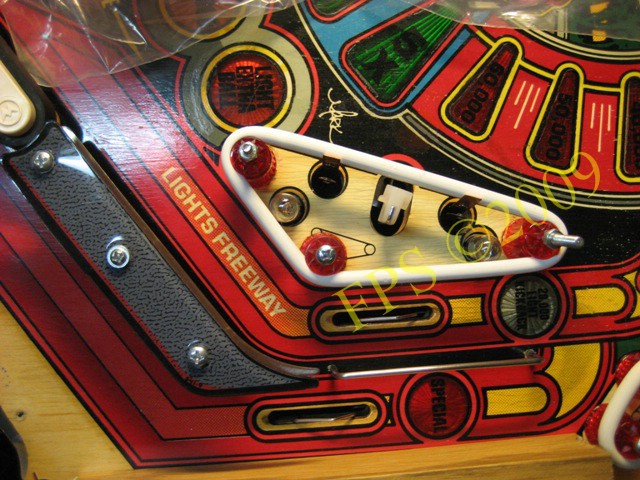
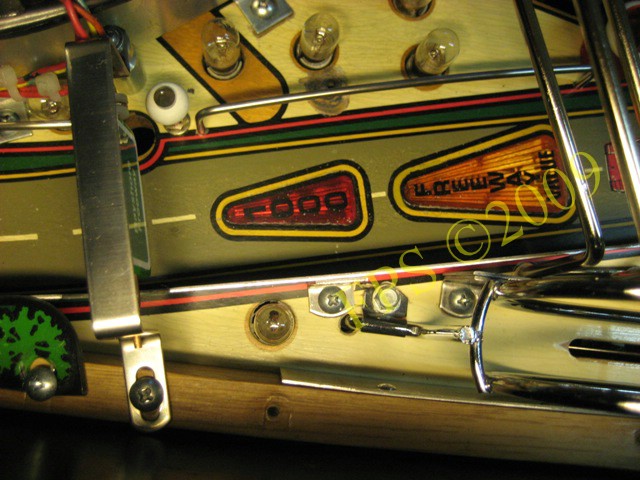
DThe area around the insert Freeway value got a new shape after a new insert decals was applied. The police cars after paint touch-up is protected by a piece of mylar.
Area around outlane.
Area around the right sling shoot. I'm satisfied with the paint touch-up and if there is a slight shade difference in color visible it will not be notable underneath the mylar during game play.

Area around kick-out hole.
PLASTIC KICK-OUT HOLE
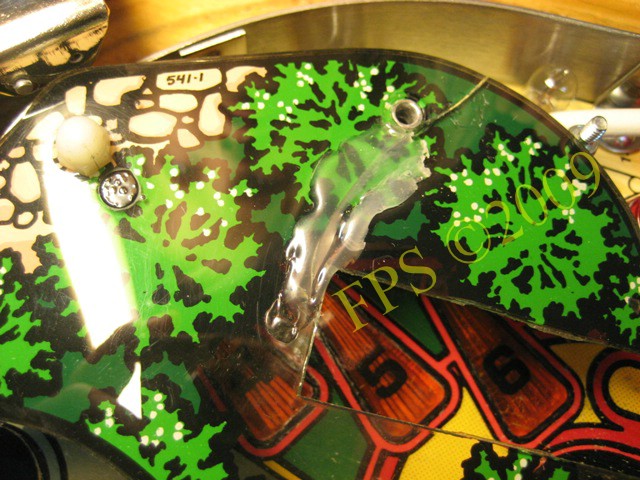
The plastic situated over the kick-out hole has a ugly repair. A crack is repaired with melt glue on the visible side of the plastic and a cut out is done in the plastic. The cut out was probably done to make it easier to get the ball if there has been a problem that the ball has been caught in the kick-out hole?
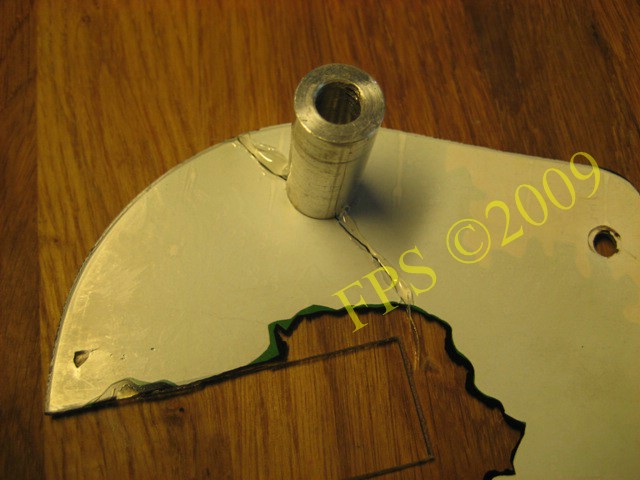
Instead I repair the crack on the plastic with melt glue on the backside.
Plastic after repair.
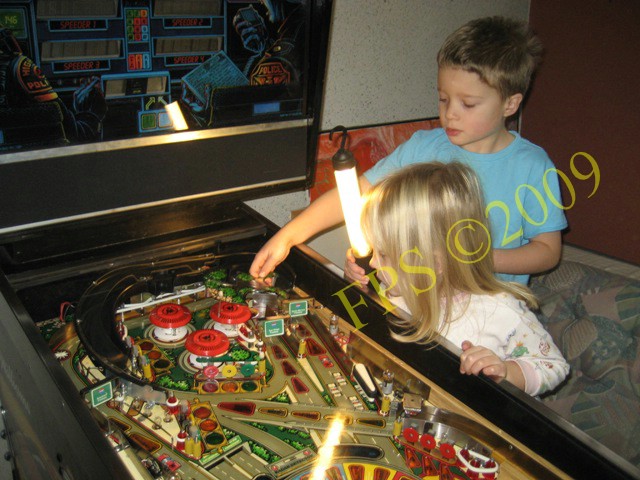
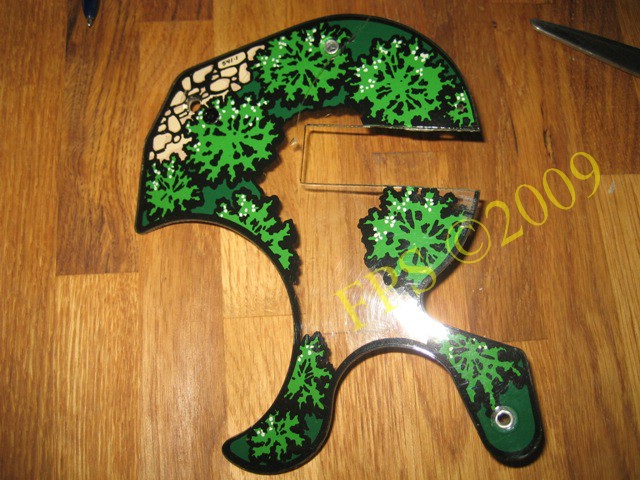
Albin and Alva is helping me to attach the plastic above the kick-out hole. I think they have started to be anxious to test play the pinball after the refurbishing of the playfield.
A picture of the plastic above the kick-out hole.
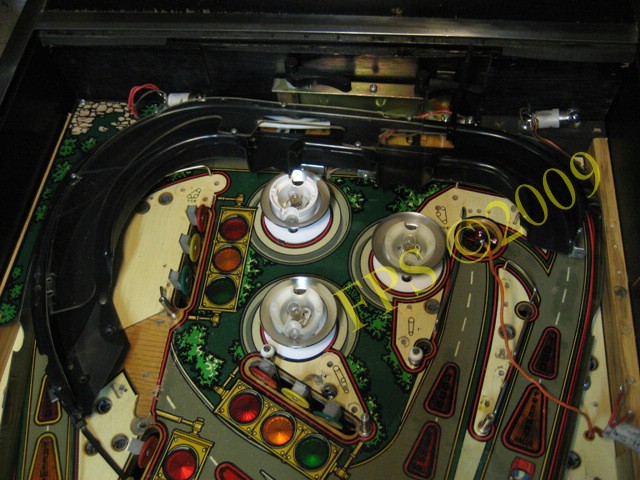
NOW IS ALMOST ALL PARTS ASSEMBLED ON THE PLAYFIELD

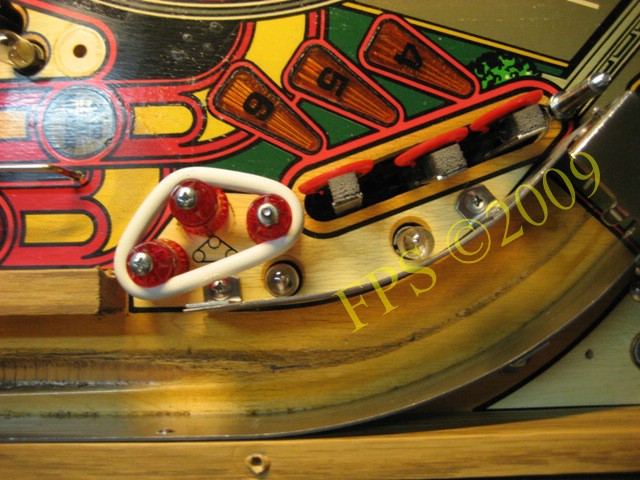
Area at upper targets.
Area at left targets.
Picture of the area at left spinner target.
 |
 |
Stop light had dried glue from tape on the cover. After cleaning with Label-off and wet grinding with fine sandpaper and a layer of black paint it looks very nice again.
Ramp and left Freeway lane.

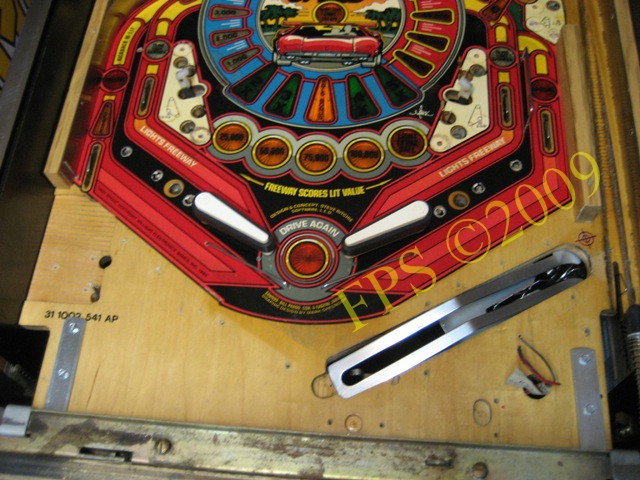
Lower part of the playfield start to be finished - the bottom arch is left to assembly.
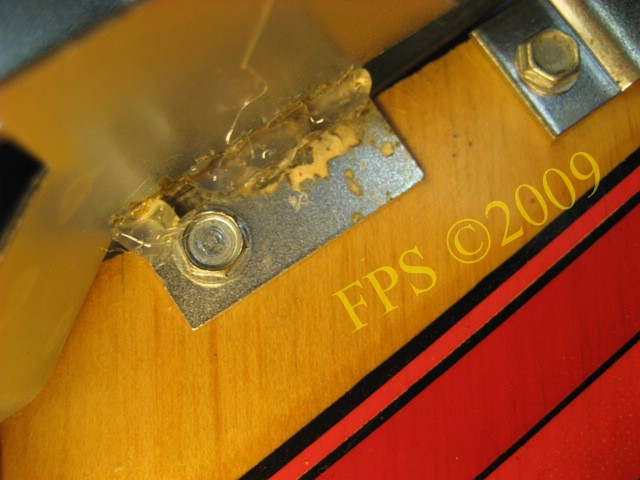
A attachment for the outhole guide was broken so I fixated it with melt glue - will not be visible underneath the bottom arch.
 |
 |
Two pictures of the upper part of the playfield with all units and plastics assembled.
Pleasure and Pinball
© FPS. All right reserved. |
Page Last updated:
2009-03-14 |