- Home Old school pinball <1985
- Grand Prix (EM) 1976
- Firepower (SS) 1980
- Space Mission (EM)1976
- Genie (SS) 1979
- Magic Castle (SS) 1984
- Black Knight (SS) 1980 New school pinball >1985
- High Speed (Sys11) 1986
- Earthshaker (Sys11) 1989
- CFTBL (WPC) 1992 Arcade Project
- JK-Cabinet with MAME Contents Grand Prix
- Playfield Cleaning - Part 1
- Playfield Cleaning - Part 2
- Cabinet Refurbishing
- Backbox Refurbishing
- Troubelshooting
- Finsihed project
- Documents - Flyer
|
Languages |
|
|
WMS Grand Prix EM Playfield Refurbishing - Part I
RESTORATION UNDERNEATH PLAYFIELD AND UNITS
Underneath the playfield.
 |
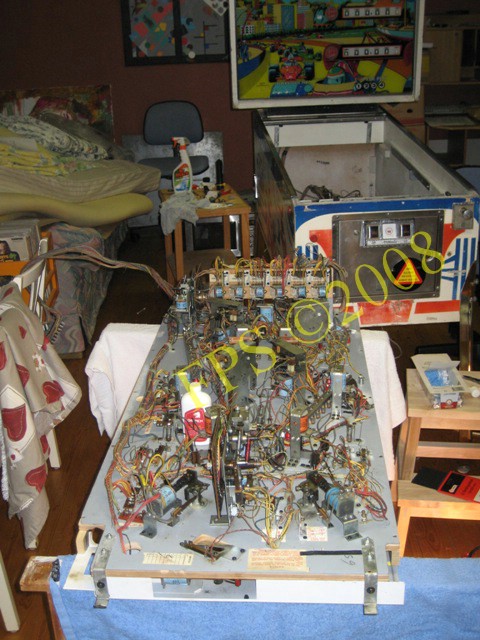 |
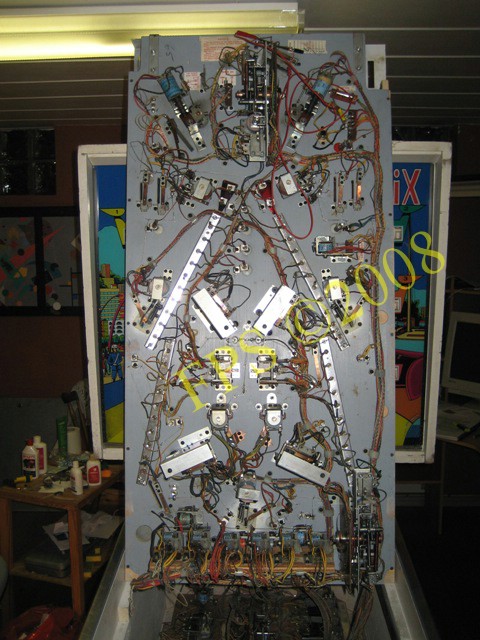
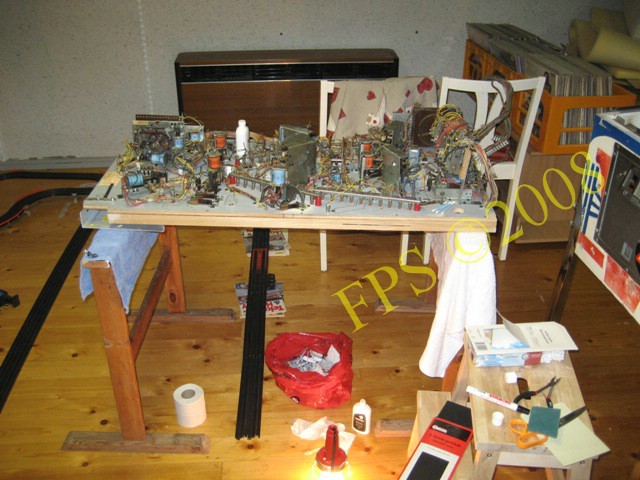
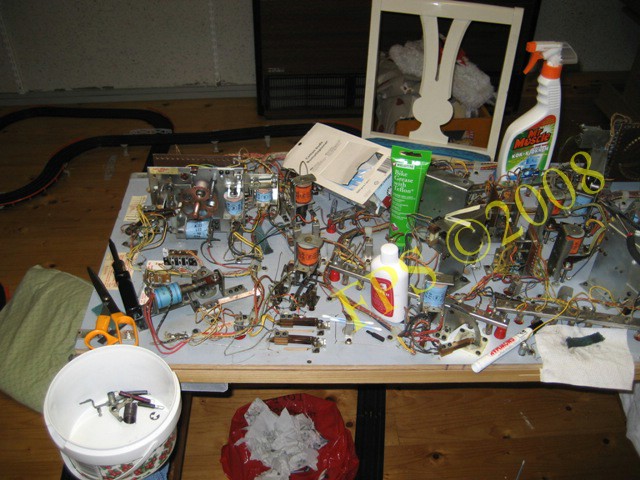
The playfield lifted out from the game and placed on wooden stools with the backside up to easy reach and refurbishing all parts and units.
JACKS
Refurbishing of jacks is an essential part of the restoration of an pinball machine to get it to fully operate. The jacks is often corroded after 20-30 years of use.
To keep them clean is important since the electrical signals is traveling between the playfield and the back box units and relays. If not kept clean or corrosion is present the current/signal will fail or be weak the result will be that the pinball miss function in an solenoid or the game play will be sluggishly.
The female contacts is grinded with a round file and a q-tip soaked in Acetone.
CLEANING OF JACKS
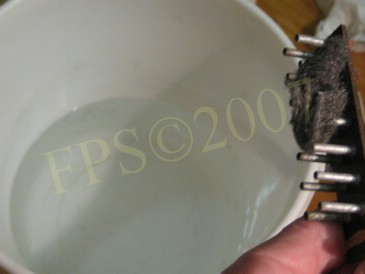
To clean and polish the jacks I use steel wool whiteout soap damped in water. Afterwards the jacks is washed in a bucket filled with water to get rid of corrosion and dirt particles. Then I air-dry them with a hair dryer to get away any remaining water and let them be 100% dry during one or two days before a reconnect them in the machine again. The isolation on the wires is made of some kind of fabric and not plastic as today so they soak up moisture. WARNING - never reconnect directly after above method.
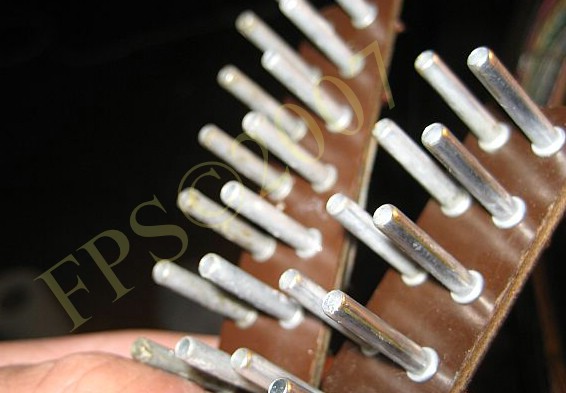
The picture show a comparison between cleaned and not cleaned pins on the jack.
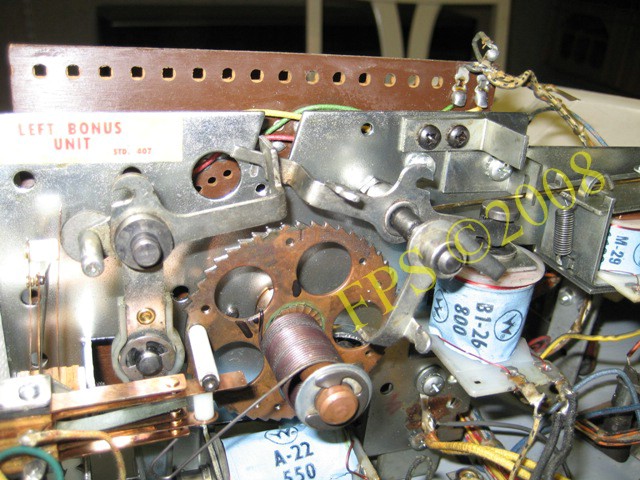
STEPPER UNITS
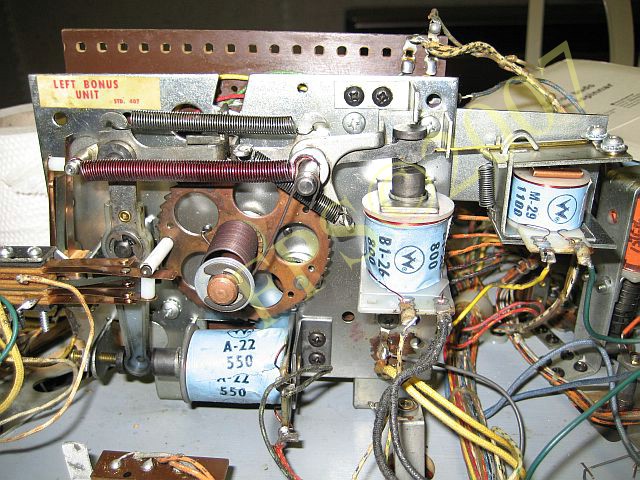
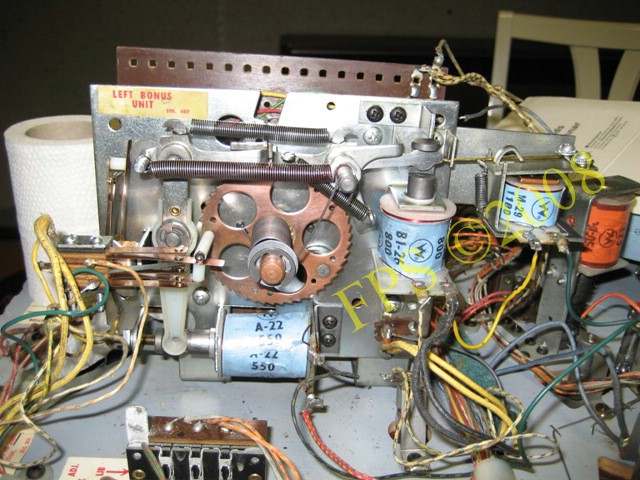
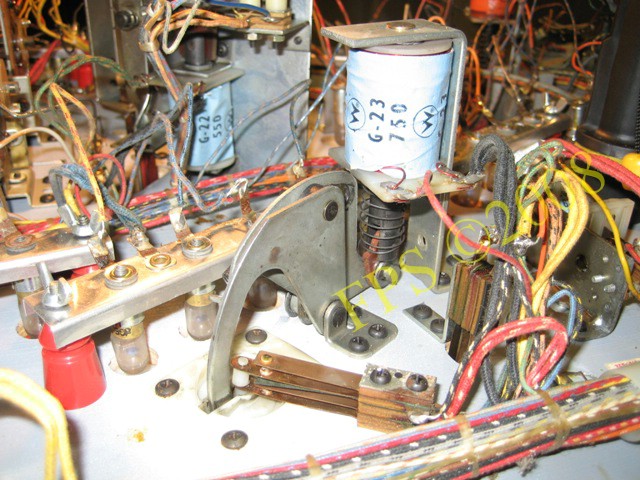
Grand Prix consists of many units as stepper units. The y have solenoids coil which step up and reset the unit. Grand Prix have five units and on the picture above we can see one of the two stepper units for bonus - right and left bonus unit. This units must be refurbished to achieve a stable function.
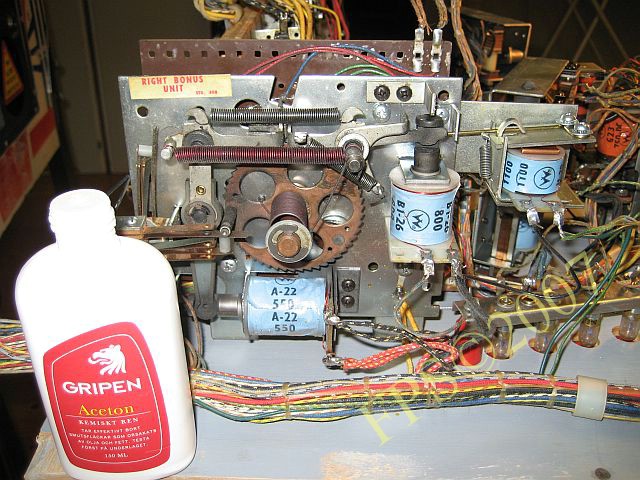
This units can manually be stepped up by pulling the plunger into the solenoid, coil A. You feel if it works smooth or sluggish, if sluggish a lot of gum (oil, grease, dust) is in the coil sleeve. If the plate B and the coil C is pressed together the unit shall reset to the zero position. If the operation is sluggish it is time for refurbishing of the unit. The picture show how the unit for right bonus looked before cleaning. Shall try to describe how I did. After a lot of reading and inspiration from TOP2 (This Old Pinball's 2 - DVD With Shaggy and Norm) I was prepared to start. It felt a little bit unsure when I started to disassembly the unit and not knowing if I could make it work again. But if you work slowly and methodically there is no problems. The most important is to take a lot of pictures during the process. For example then you knew how switches was adjusted. TAKE A LOT OF PICTURES. The best memory when you start to be unsure (brain ghost) how it was before refurbishing.

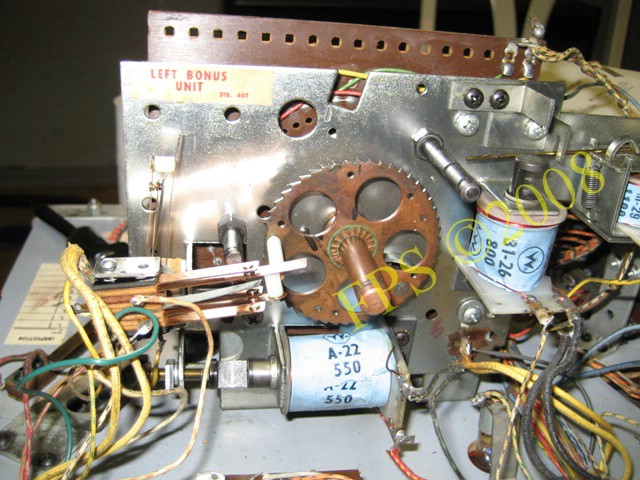
Make sure that the unit is in zero position. Before disassembly of the stepper unit I mark the springs position with an marker pen. Make a mark with a black mark pen. When loosen the spring its important to count the springs pre-tension, count how many turns the spring is loaded with then you can apply the same amount of turns when reassembly the unit. Normally it is 3 turns sometimes 4 turns if the spring has started to be weak. Then the unit operate optimal when resetting. Start to loose the springs E,F,G. Loosen one of the switches screws. The other screw is slightly loosen on the switch stack which allow me to turn the stack and make space to remove the arm from the axle. Tighten the screw on the turned switch just so it not can move around during the refurbishing.
Then loosen the springs and remove the arms.

Here are they removed.
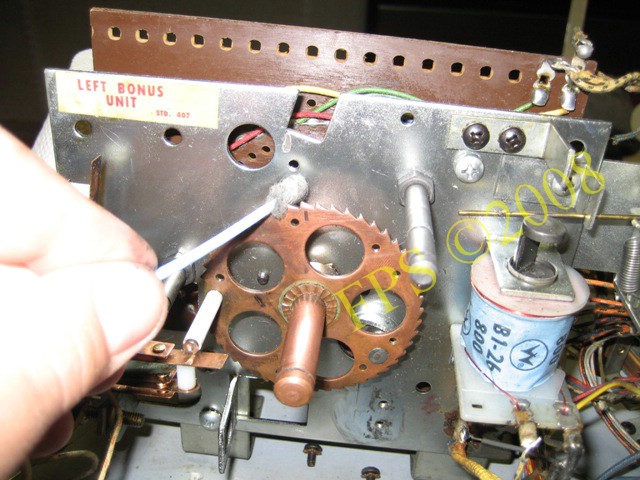
Here is the switch turned outwards in the picture as described above to allow me to remove the step up arm from its axle.

Now I can remove the solenoid which steps up the unit.
 |
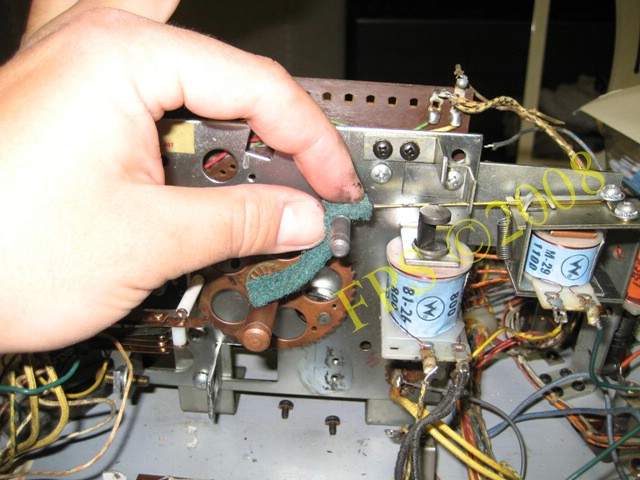 |
Cleaning with q-tip soaked in Acetone and a scotch brite pad also soaked in Acetone.
Here I work with the unit.
 |
 |
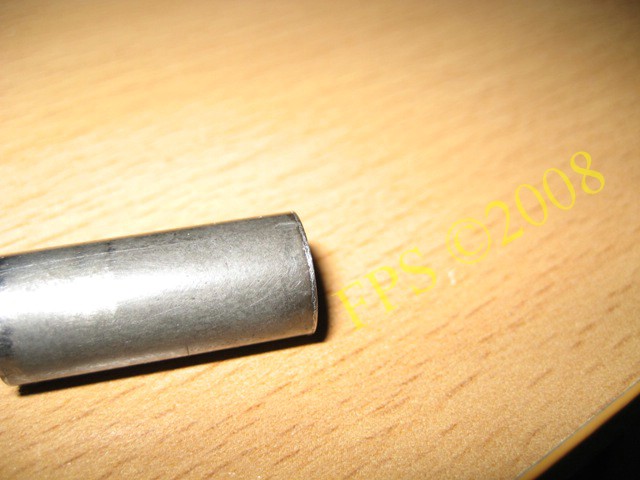
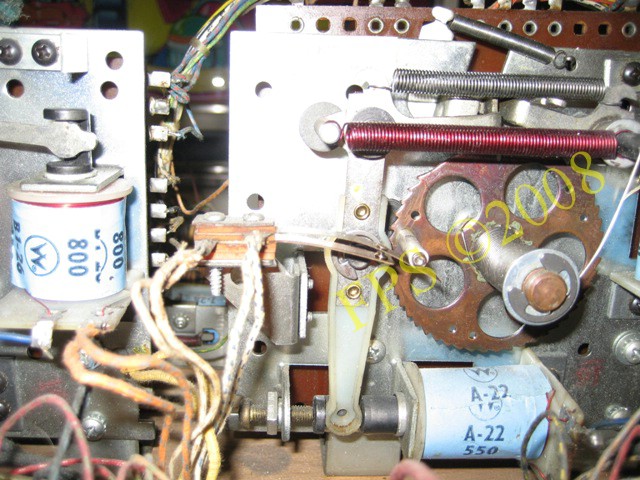
On the drive plunger it can be some beard which need to be removed with a file. The beard is created when the plunger hits the coil stop. Sometimes it is not possible to file off the beard and the plunger need to be replaced. This beard influence the plungers movement in the coil sleeve inside the coil.

 |
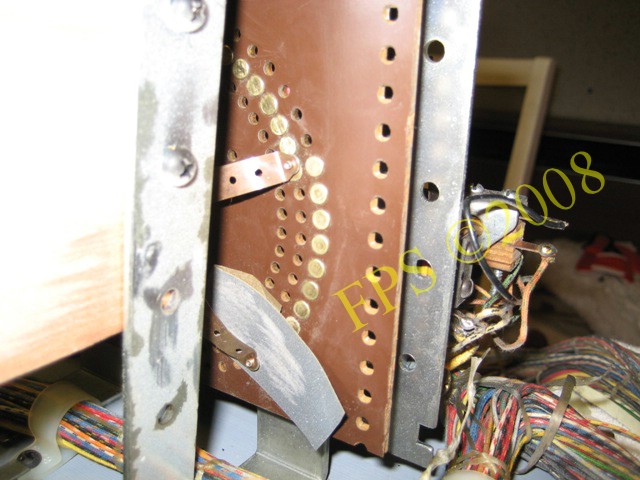 |
The rivets on the backlit disk and finger wipers is sanded. This to secure the contact between them.
The unit reassembled and cleaned - now when stepping up and resetting the unit it operates fast and not as before sluggish. it is important to position the switches on the correct side of the white pin on the ratchet. Adjust all switches to have a play of 1-2 mm when in open position.
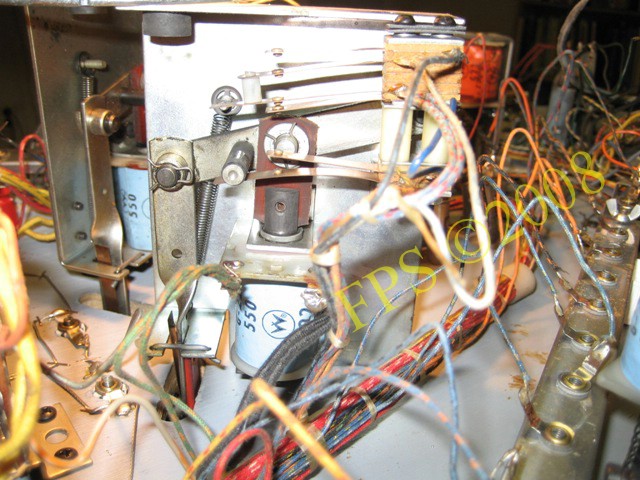
EOS SWITCH FLIPPER

EOS - End of stroke switch to the left flipper was burned and broken. I replace the EOS switch for both the right and left flippers to secure correct function. The EOS switches cuts the current on the high voltage part of the solenoid - this happens when the flipper button is pressed in for a longer time to avoid that the solenoid gets burned. The play between the EOS switch blade shall be approximately 1/32 inch - 1.6 mm.
REFURBISHING OF SWITCHES

I start to clean the switch blades outside with a q-tip soaked in Acetone. Then I pull the cotton on the Q-tip to make it easier to come between the blades for cleaning without risk for bending the blades apart. The Q-tip works like a credit card but the q-tip also bring some Acetone on the blades contact point. Why using a credit card which has a smooth, slippy or slick surface - I do not understand the advice why it can be the best practice to clean with a business card - doesn't make sense?
Where it not is possible to come between the switch blade I use blotting-paper which I cut into 10 mm width and fold them on the half. They are soaked in Acetone before cleaning. This method works very well.
If necessary I sand the blades contact points with a sand paper of fine grit. If the contact point is black and the Acetone do not make any more progress on the carbon, corrosion I use a file. Do not file to much on them and try to hold the file straight. If the file is not hold straight it is risk that the contact points do not get the round shape they need to work properly. The switches on the electromechanical pinball's is in some grad self cleaning.
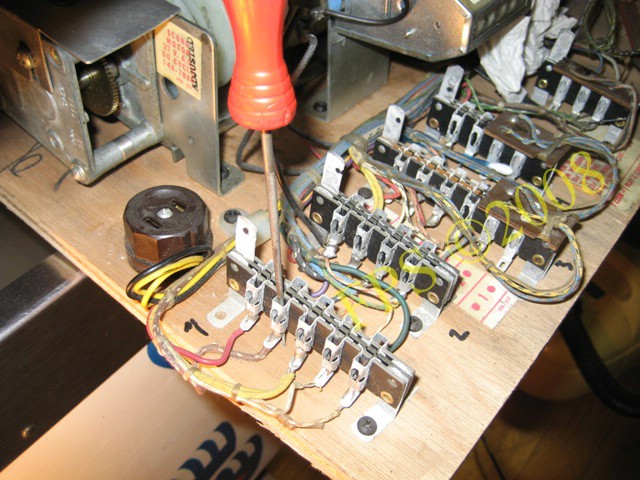
COIN UNIT - WHY?
 |
 |
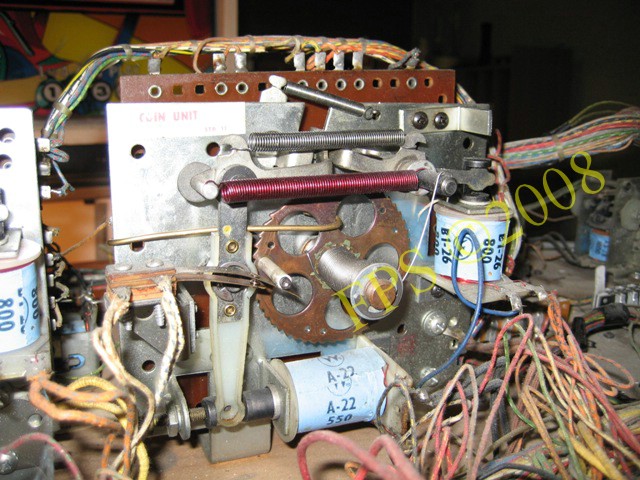
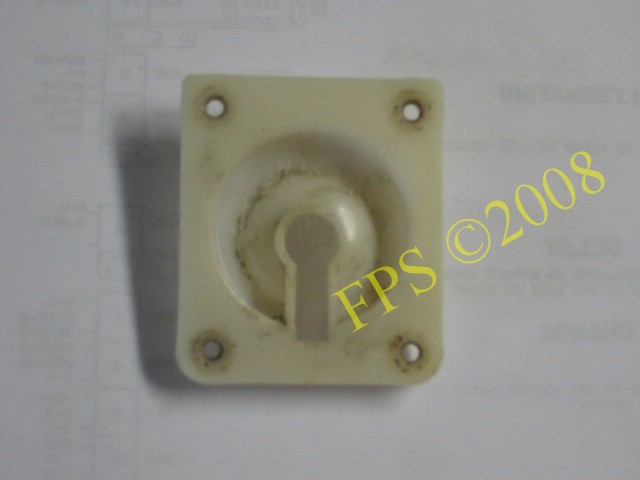
The unit which is involved when a coin is put into the coin door to achieve credits was blocked with a steel wire. I do not understand why and has today not figured out why. It can be due to the switch was position on the wrong side of the white pin on the ratchet. Or a try to make the game to be in free play???.

All parts removed from the coin unit situated on the mechanism panel in the cabinet and it is cleaned.

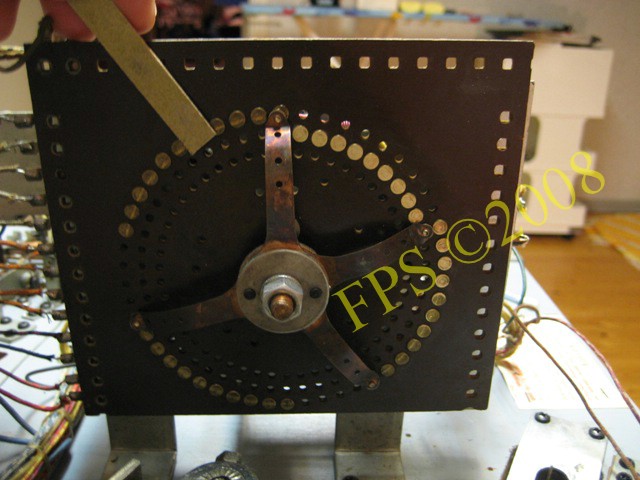
The other side of the coin unit consist of a PCB with contact traces which need to be cleaned with Acetone and sanded if needed to achieve good contact to the wiper fingers.

Cleaning of all coin units parts.
 |
 |
Coin unit after cleaning and reassembled - now the unit works perfect.
DROPTARGET
The picture show a drop target unit with switches.
KICKER
On the picture we can see one of the three kick-out units which is on Grand Prix. This is the left bonus unit which gives signal to count up the collected bonus on the score wheels when the ball is situated in the kick-out hole on the playfield and activate the switch also visible in the picture.
Here is the switch and the eject plastic shield removed.
Eject plastic shield was cracked so I cleaned and glued the crack with glue. Hopefully it will hold until I replace it with a new one.
ROLL-OVER

Switches on the backside of the playfield for roll over wire assembly for inlane and outlane.
SPINNER-UNIT
 |
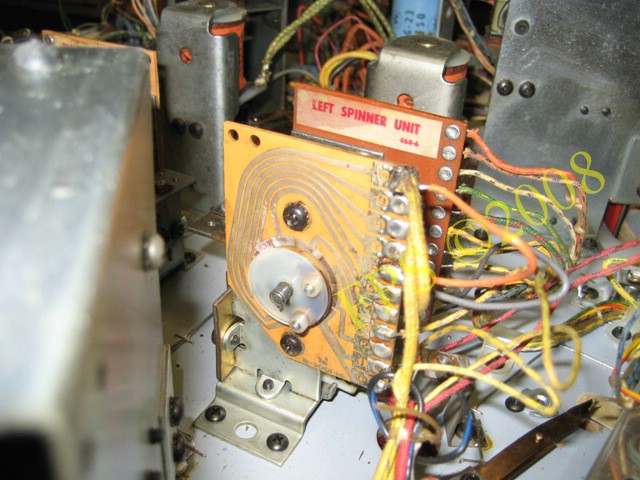 |
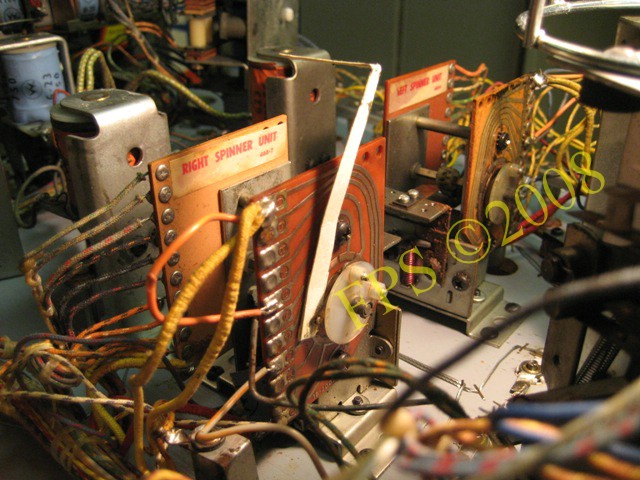
Spinner unit consists of two PCB one on each side of the unit. The PCB´s has contact traces which switch blades rotates by a mechanism with cogs on a axl in the middle of the unit activated by a metal plate and a solenoid. Here we can see cleaning of the left and right spinner units.
RELAYS
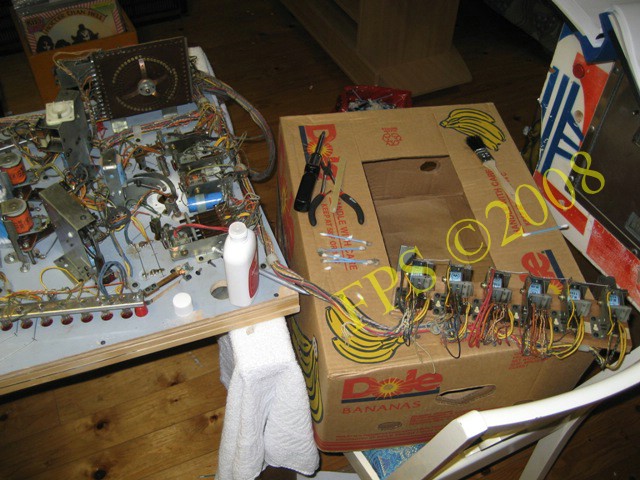 |
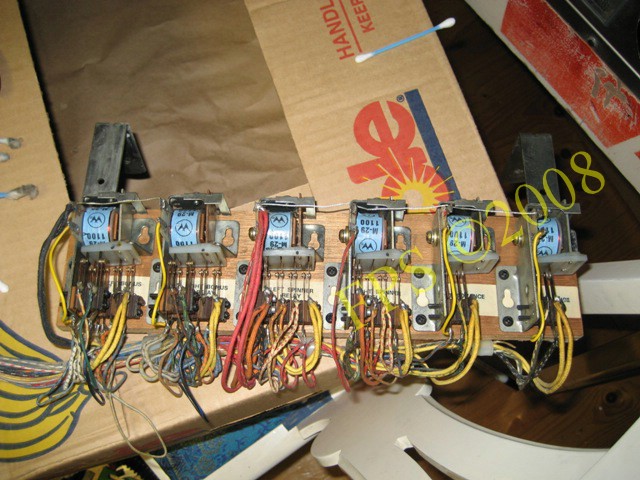 |
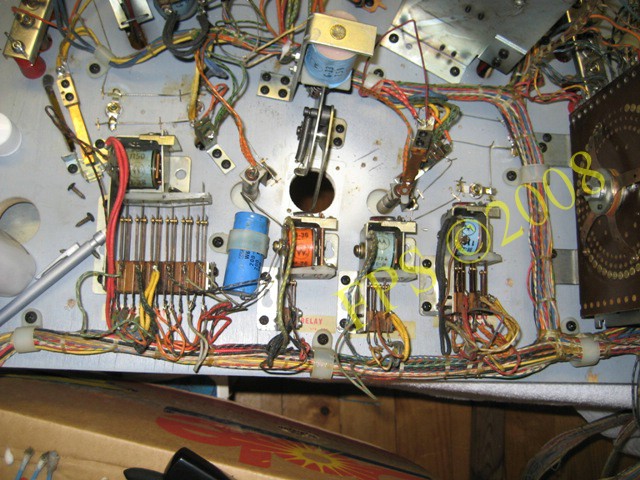
On the backside of the playfield there is a bank of relays, to make it easier to reach the relays leaf swithces during cleaning I remove the bank from the playfield. Simultaniously I verify all the switches to be Normally Open (N.O) or Normally Closed (N.C) according to the manual.
Pleasure and Pinball
© FPS. All right reserved. |
Page Last updated:
2008-05-01 |