- Home Old school pinball <1985
- Grand Prix (EM) 1976
- Firepower (SS) 1980
- Space Mission (EM)1976
- Genie (SS) 1979
- Magic Castle (SS) 1984
- Black Knight (SS) 1980 New school pinball >1985
- High Speed (Sys11) 1986
- Earthshaker (Sys11) 1989
- CFTBL (WPC) 1992 Arcade Project
- JK-Cabinet with MAME Contents Grand Prix
- Playfield Cleaning - Part 1
- Playfield Cleaning - Part 2
- Cabinet Refurbishing
- Backbox Refurbishing
- Troubelshooting
- Finsihed project
- Documents - Flyer
|
Languages |
|
|
WMS Grand Prix EM Playfield Refurbishing - Part II
PLAYFIELD REFURBISHING
 |
 |
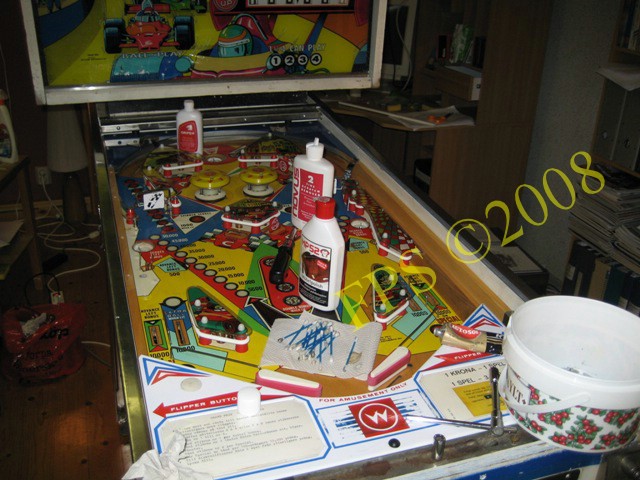
Now is the red plastic posts and new rubbers in place. The playfield is first cleaned with Novus 2 and furniture polish MP52 secondly I wax the playfiled with Carnuba wax, this wax does not consist any water. There is not allowed to be any water in the cleaning solvents used since there is a risk that the water can go down into the wood and create cracks in the playfield or the paint can start to peal off. I use the yellow side of the Scotch Brite pad. When the dirt is hard to get off the playfield I use the side of the Scotch Brite there some green pad is left over after separating the pad in two parts, one green pad and one yellow pad.
The upper right part off the playfield before plastics is attached.
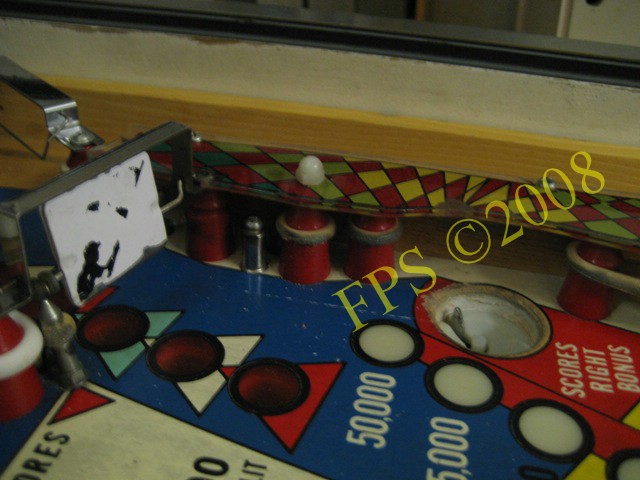
Here we can see how the playfield looks before refurbishing. Notice how cracked and dirty the sling shot rubber is.
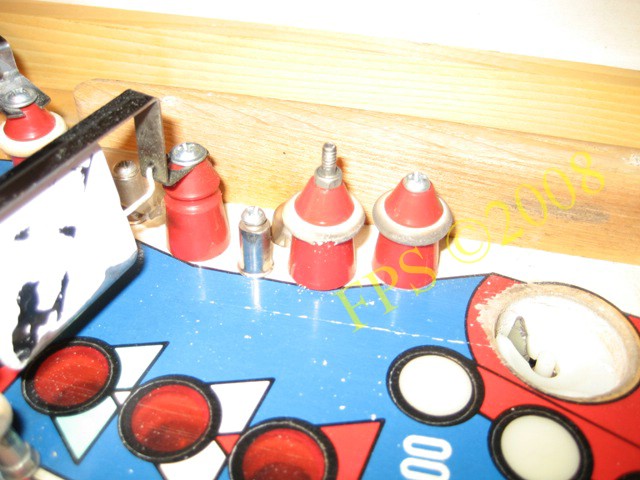
Some plastic posts and rubber removed.
 |
 |
The left side of the playfield before cleaning. Notice the wear in the playfield at the middle of the upper part - the wear is extensive down to the wood.
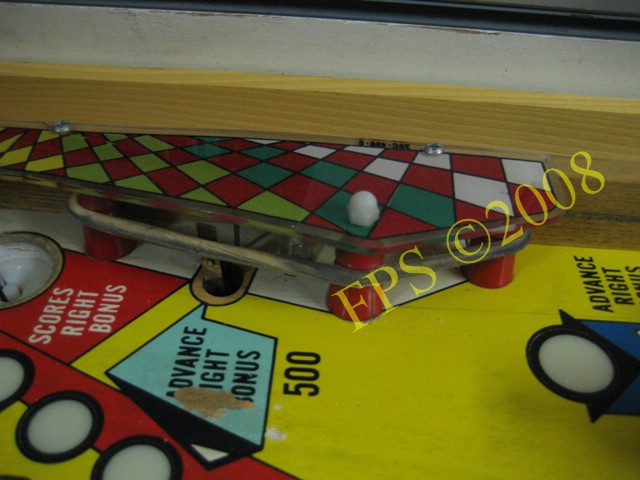
The right side of the playfield cleaned and rebuild - now is only the plastics left to be attached.
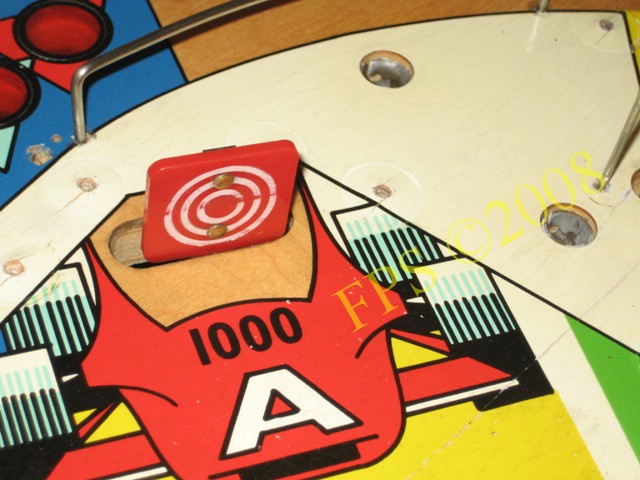
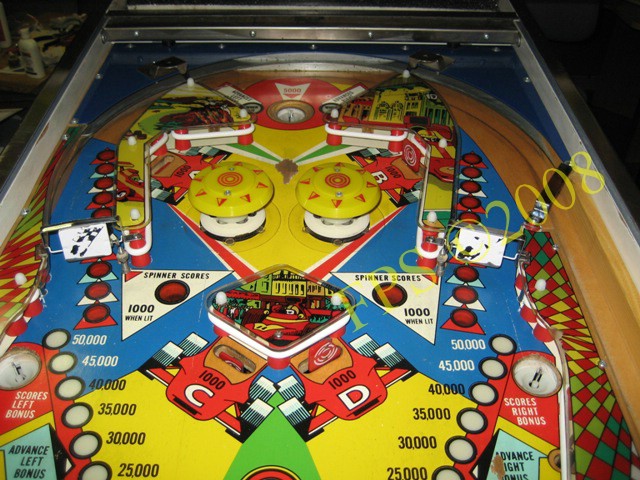
One of four drop targets - this one is not broken but have some white paint flaked off but what to expect after 30 years of use.
 |
 |
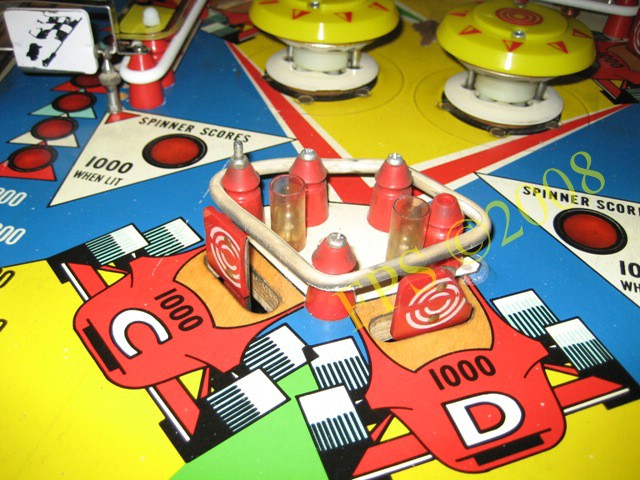
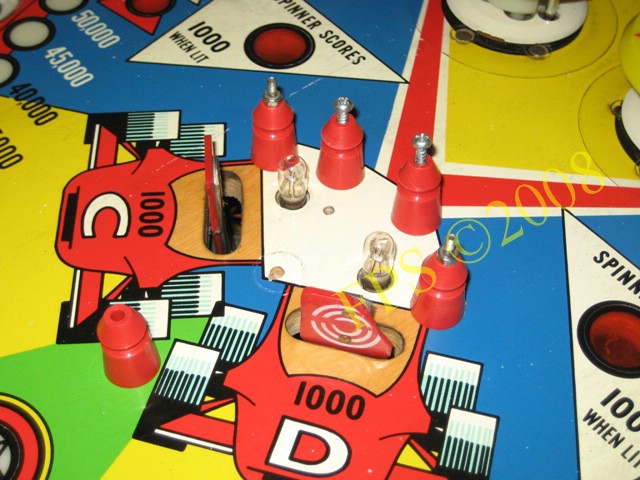
In the middle of the playfield two red drop targets is situated "C" and "D" - they are broken and it took me more then a year to find replacement targets. I advertised at Mr. Pinball Classified for these targets without success. Then one day at E-bay I found a auction for one drop target unit for Grand Prix. But I was over bided. Some days later the same seller had another auction with drop target. I was the highest bidder. I asked the seller if he had more of this targets and he relied that he send me another unit for free. Lucky me exactly what I needed a pair of drop targets. This is hard to get parts.
 |
 |
Plastic attached - at this time I have not find any replacement target.
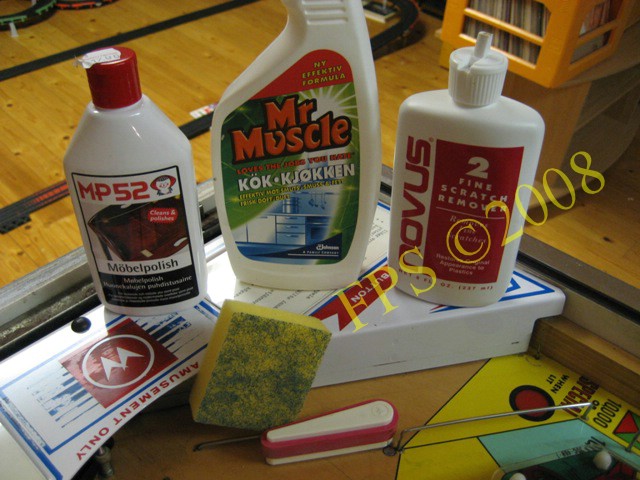
Solvent to be used on playfield during refurbishing is in this order,
 |
 |
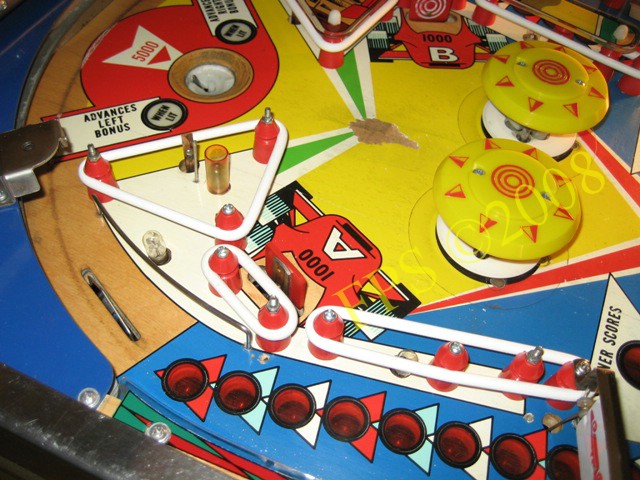
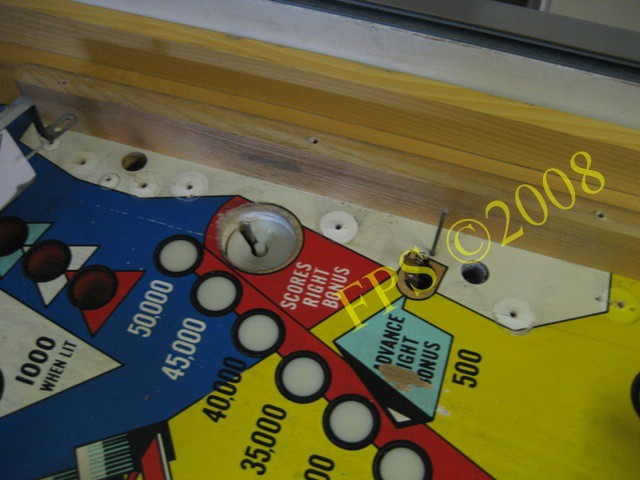
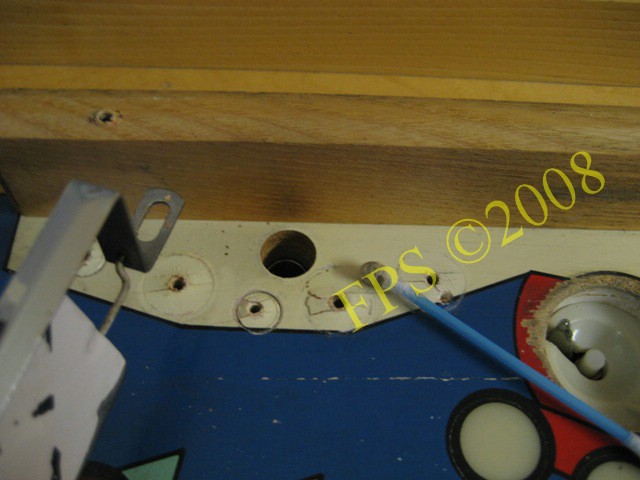
Right side with Kick-out hole. We can see the right side with wear around the edge. Probably I will touch up the edge in the future since this has worked out well on other projects. There is also wear after ball drop from the kick out hole - the text LEFT BONUS is pealed off.
 |
 |
Underneath the plastic was it really filthy - for example a bit of tape. Just get it off with the cleaning solvents.
 |
 |
When cleaning if the dirt is very sticky I use a q-tip soaked in some of the cleaning solvents.
Do not forget to clean the switches on the playfield - a q-tip soaked with Acetone is removing the most of the carbon and dirt, if the contact points is black use a sand file as Flexstone. These contact points consists of silver and differ from the electronically pinball's which switches use gold plated contacts points - these cold plated contact points shall under no circumstances be sanded.

Another cleaned area.

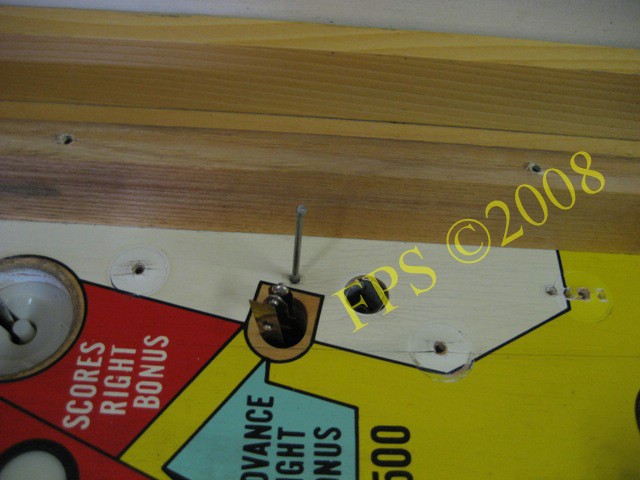
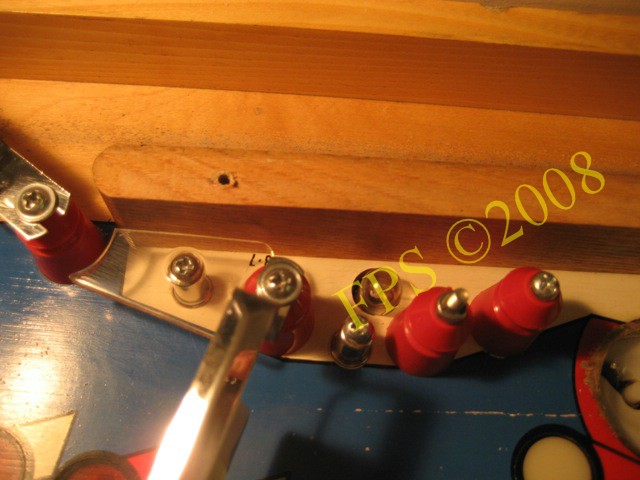
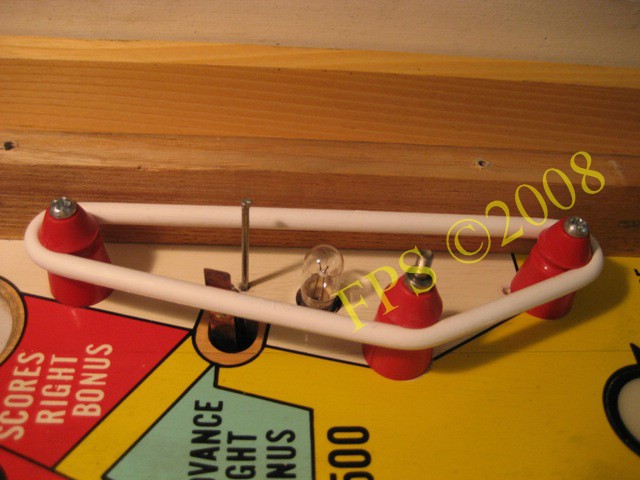
All lamps on the playfield is replaced with #44 to #47 since this is consuming less current and development not so much heat. To remove the lamp in hard to get places I use a tube for compressed air. I have also tried to use a shooter tip rubber. Work also but not as good as the tube for compressed air as the picture above.
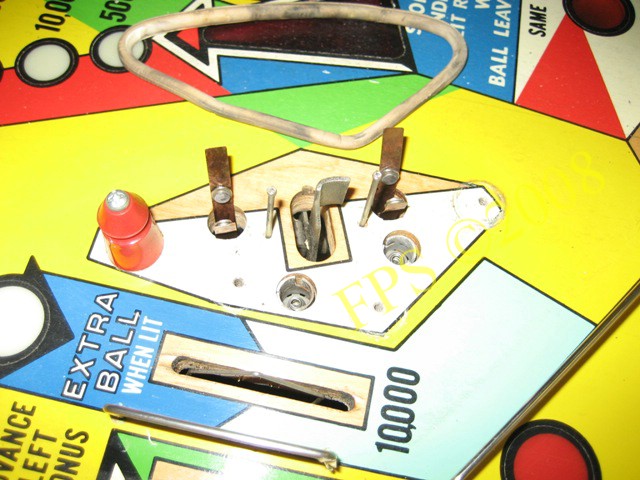
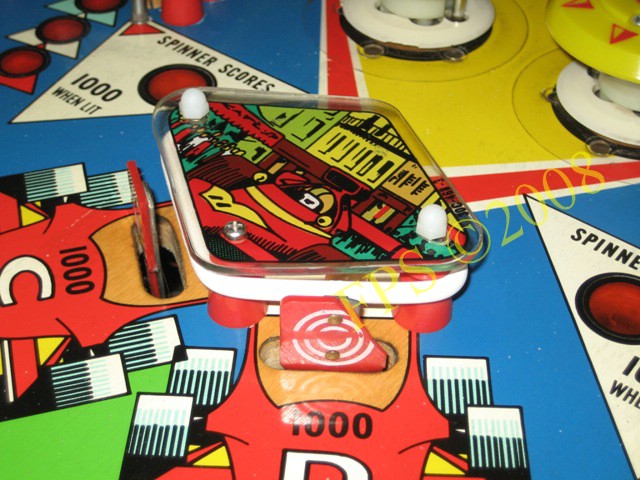
The transparent plastic is broken and in need of reparation - sure hard to find part.
 |
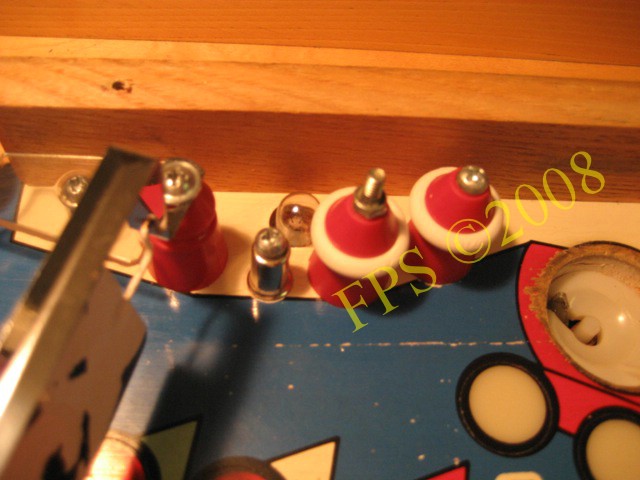 |
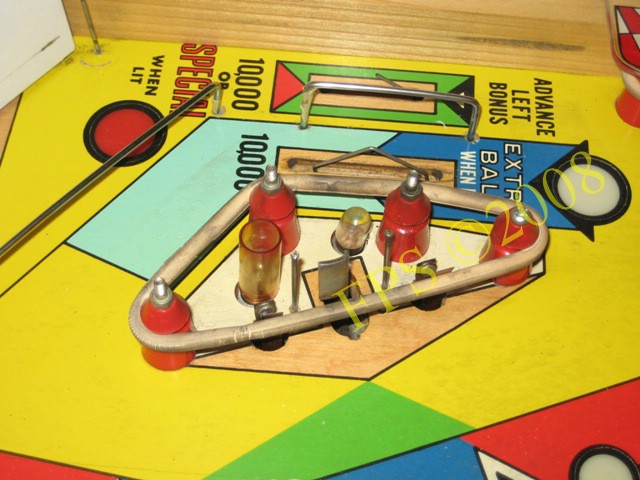
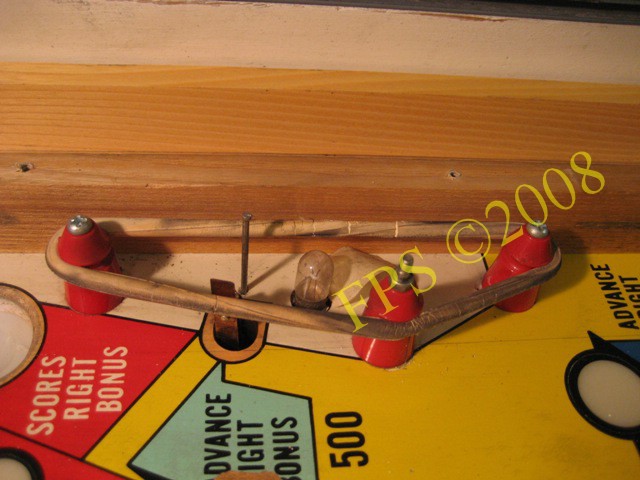
So nice it looks after new rubber is in place.
 |
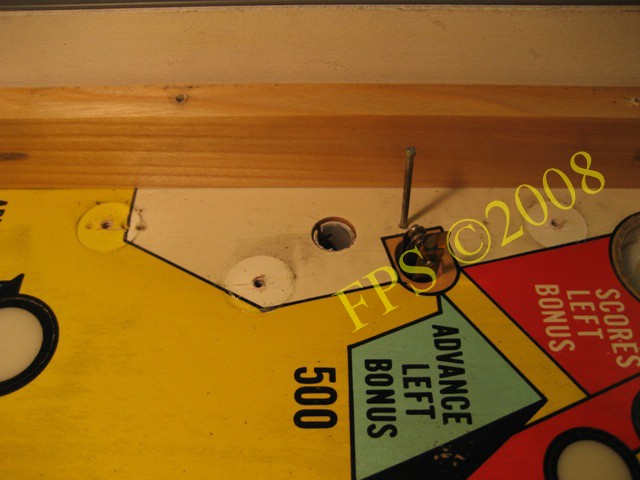 |
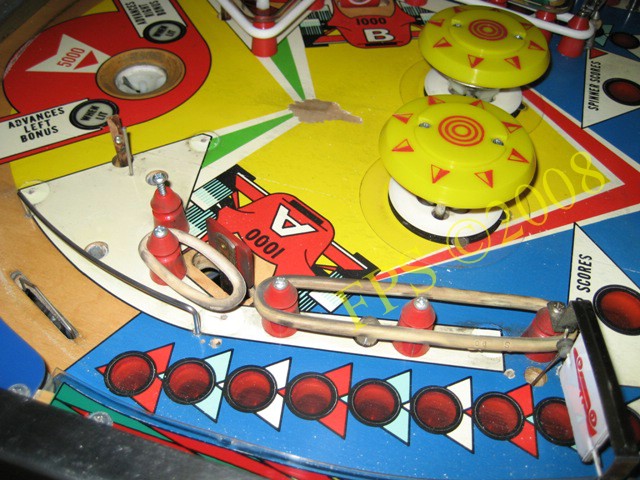
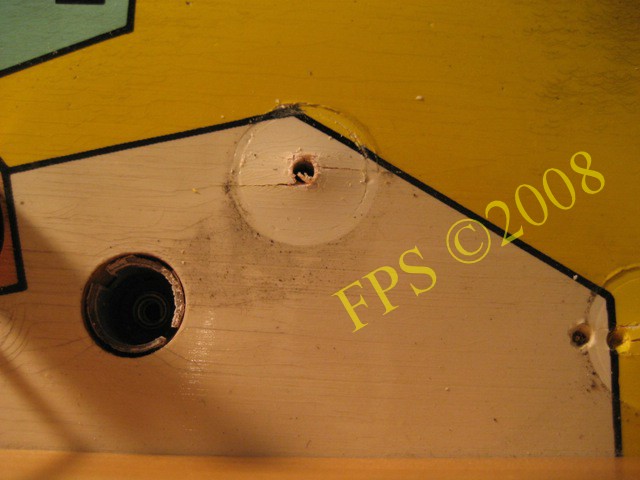
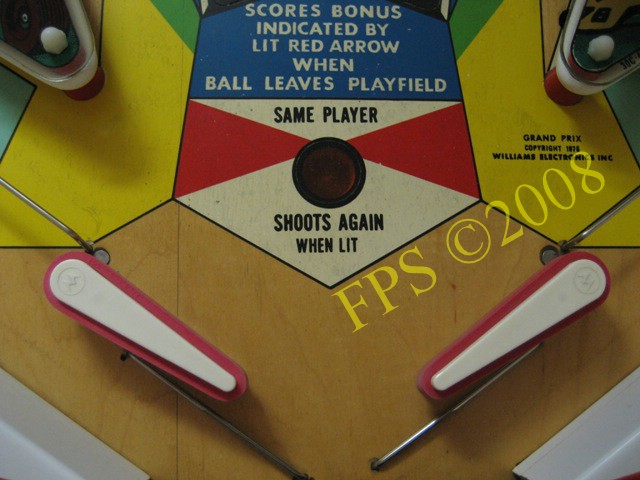
On the left side of the playfield there is no wear on the text "ADVANCE LEFT BONUS" but on the right side as can be seen in a previous picture.
After cleaning. The black contour lines around the inserts for the bonus had been pealed off and lights come through. I did a test to paint touch up with a black marker pen Saphire and the result went out well but the ball is collecting black paint and brings it on the rubbers. I will try to do a paint touch up with acrylic paint or enamel paint instead.
The picture show the classic dirt that is gathered on the playfield - carbon, dirt and dust after years of use of the machine and lack of cleaning.

Which rubber rings do you want or your pinball?.
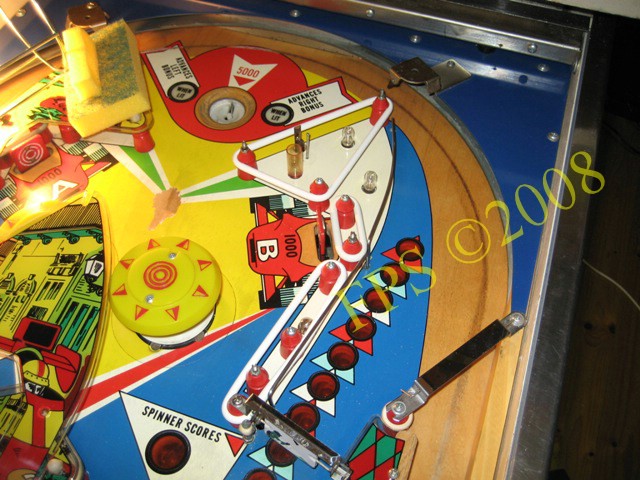
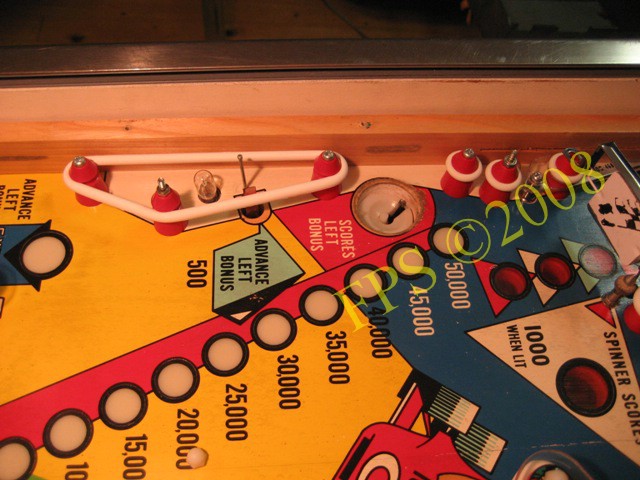
This is close to the end of the refurbishing with all playfield parts in place and new rubbers.
 |
 |
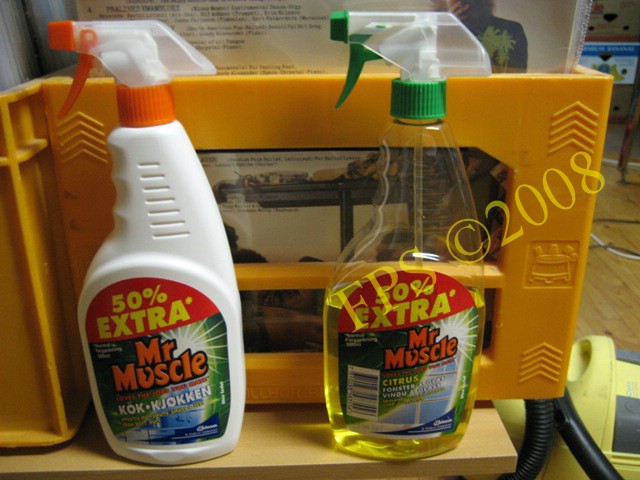
The last thing to do was to clean the flipper glass - it needed to be cleaned twice due to all dirt. First I use Mr. Muscle kitchen remover and then window cleaner. Where the dirt is very hard to remove I use a ice scrape.
THE FINISHED RESULT
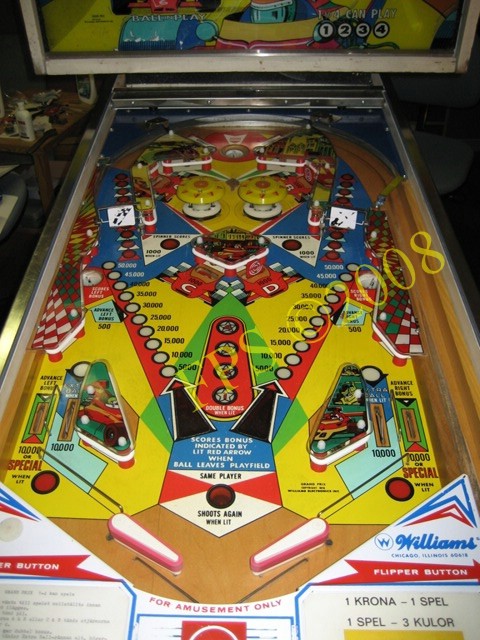
The complete playfield after refurbishing and below some more detail pictures of the finished project.
 |
 |
Pleasure and Pinball
© FPS. All right reserved. |
Page Last updated:
2008-08-06 |