- Home Old school pinball <1985
- Grand Prix (EM) 1976
- Firepower (SS) 1980
- Space Mission (EM)1976
- Genie (SS) 1979
- Magic Castle (SS) 1984
- Black Knight (SS) 1980 New school pinball >1985
- High Speed (Sys11) 1986
- Earthshaker (Sys11) 1989
- CFTBL (WPC) 1992 Arcade Project
- JK-Cabinet with MAME Contents Space Mission
- Playfield Cleaning - Part 1
- Playfield Cleaning - Part 2
- Cabinet Refurbishing
- Backbox Refurbishing
- Refurbishing Diary
- Finsihed project
- Dokument - Flyer
|
Language |
|
|
WMS Space Mission Refurbishing project - Part I!
WILLIAMS SPACE MISSION (EM) 1976 - PLAYFIELD REFURBISHING
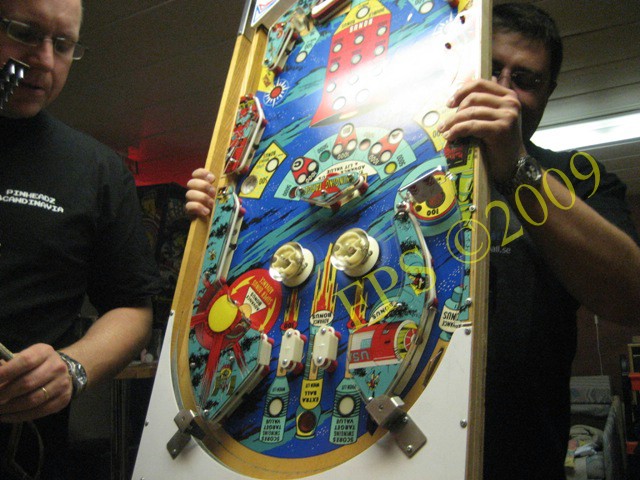
The playfield is lifted out from the cabinet and it is time for refurbishing.
 |
 |
Horse shoe before cleaning. There is a roll over button situated in the horse shoe which score points when activated by the ball. It was not working properly due to all dirt in the button.
Roll over button cleaned
 |
 |
Horse shoe after cleaning and lane guides polished.
UPPER PART OF PLAYFIELD
 |
 |
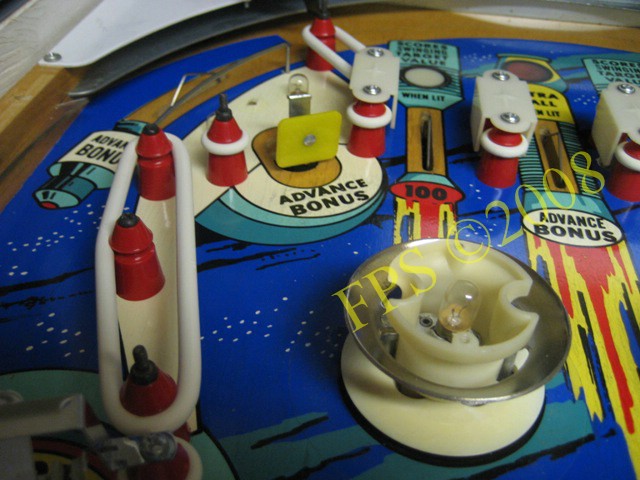
All rubber rings is dry and cracked as they used to be on older pinball. All lamps will be replaced from #44 to #47 since these consume less current and develop less heat.
All playfield parts removed and we can see how much dirt there was gathered on the playfield underneath the plastics.
 |
 |
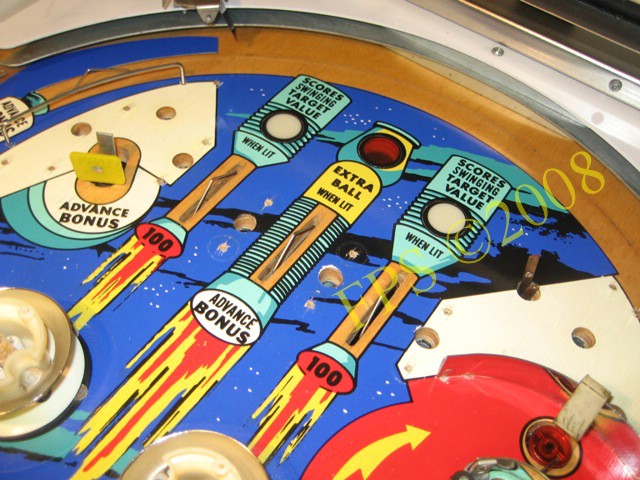
The upper area of playfield with the lanes before cleaning.
Cleaning and polishing of the bumper. The ring and rod assembly is polished with Autosol to get shiny again.
 |
 |
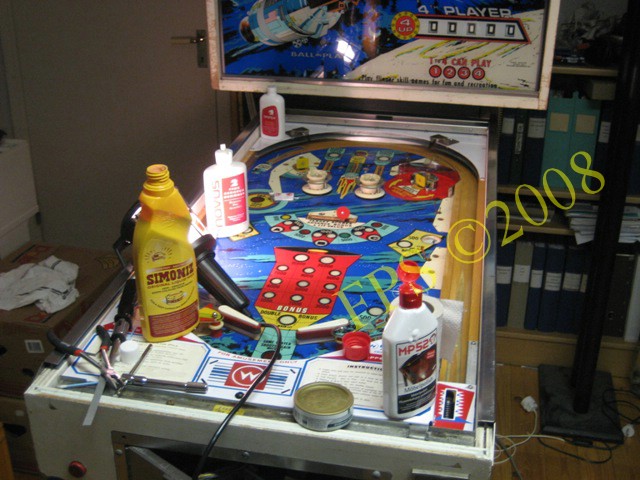
All playfield parts removed from the upper area of the playfield. Now I use Novus 2 and furniture polish to clean the playfield surface and finally I coating the playfield with 2-3 layer of Carnauba wax.
 |
 |
The upper area of playfield with the lanes after cleaning new white lane guides installed.
 |
 |
 |
 |
 |
 |
After cleaning of the upper area of the playfield.
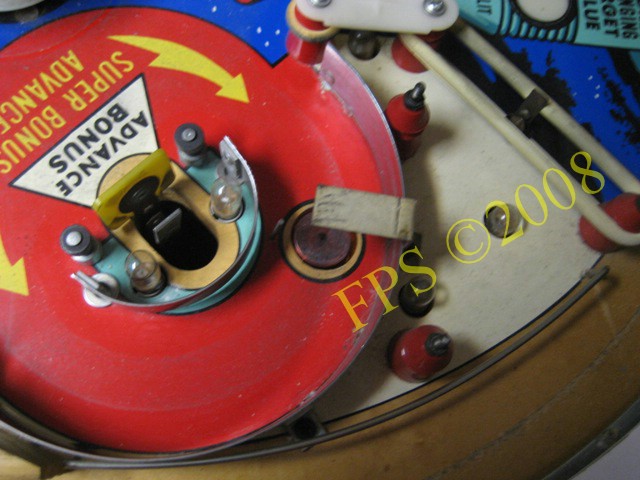
AREA AROUND SPINNER
 |
 |
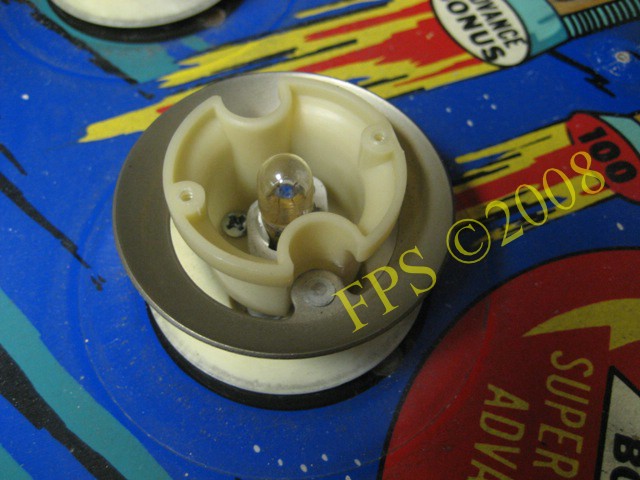
Area around spinner.
 |
 |
There is some wear on the spinner that can be repainted with white paint.
 |
 |
The area around the spinner shines bright after some coat of wax. It is possible to get a fine luster in a playfield that is +30 years old after cleaning and some coat of wax.
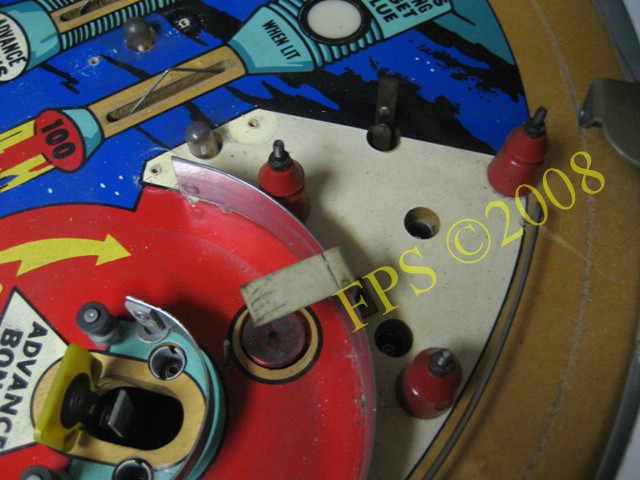
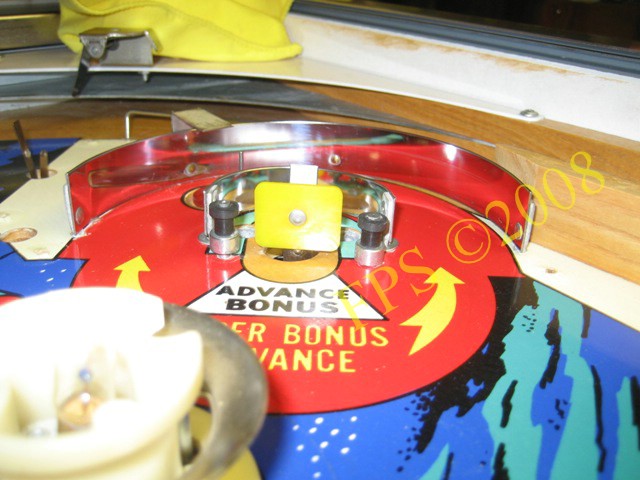
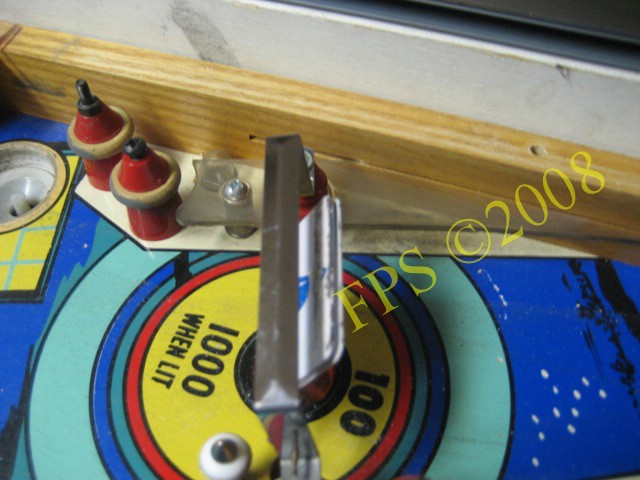
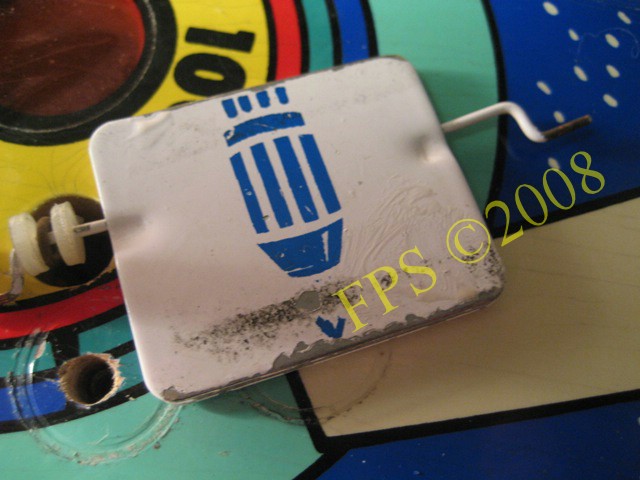
AREA AT MOVING TARGET
 |
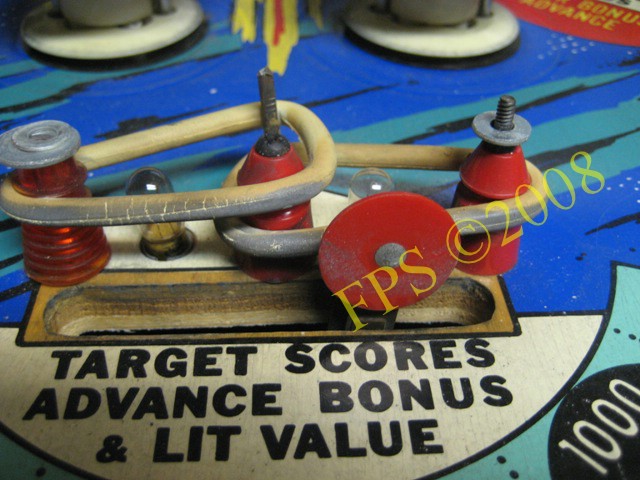 |
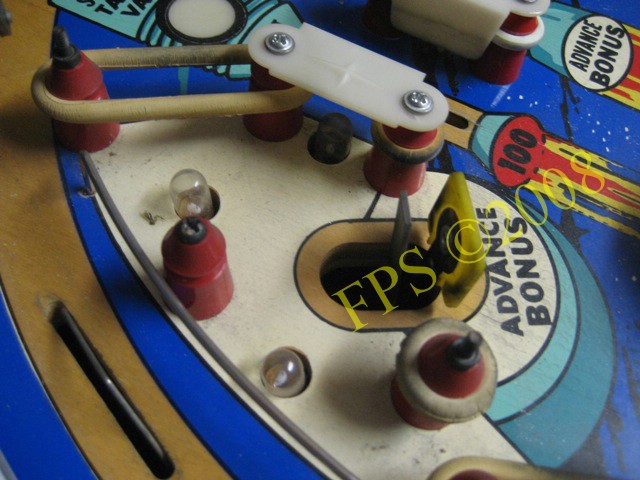
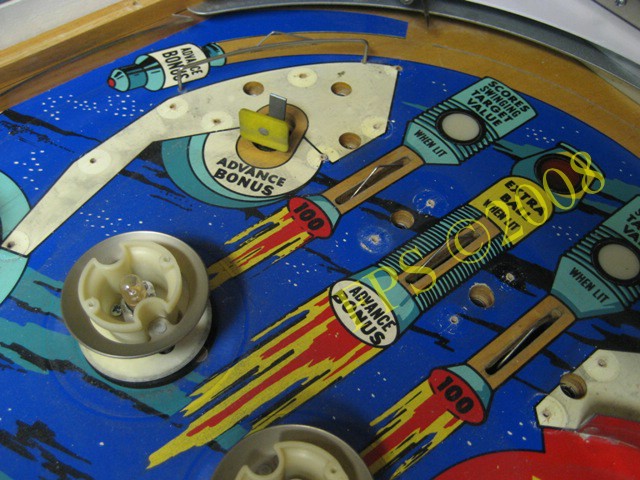
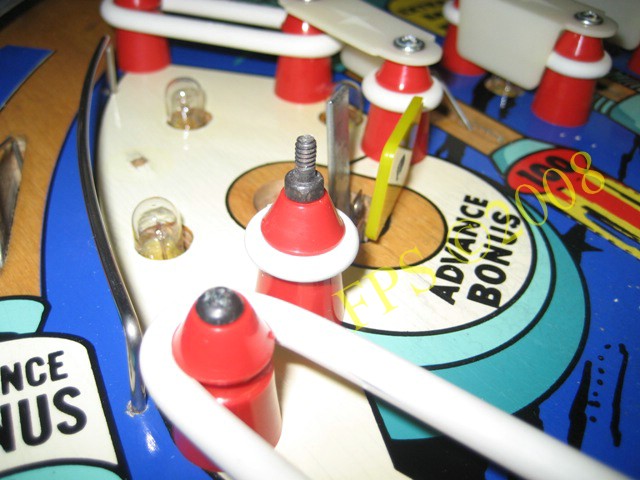
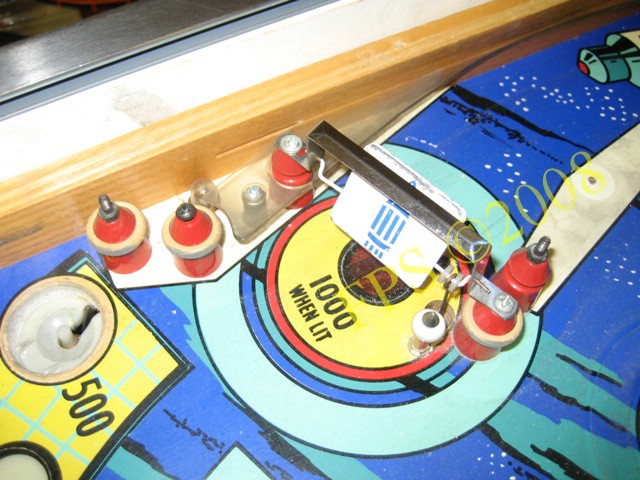
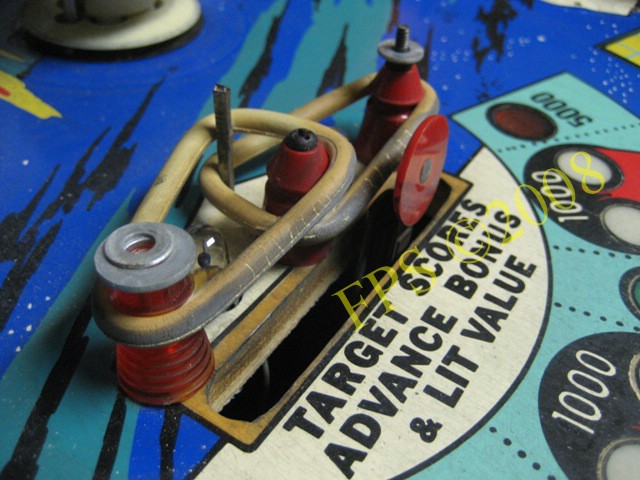
The area around the moving target - this area was really messy with worn rubber rings and washer put on the posts and even a steel nail can be found. Again a special solution made by "MacGyver" inspired person, instead of a plastic post a steel nail where used - Urk!
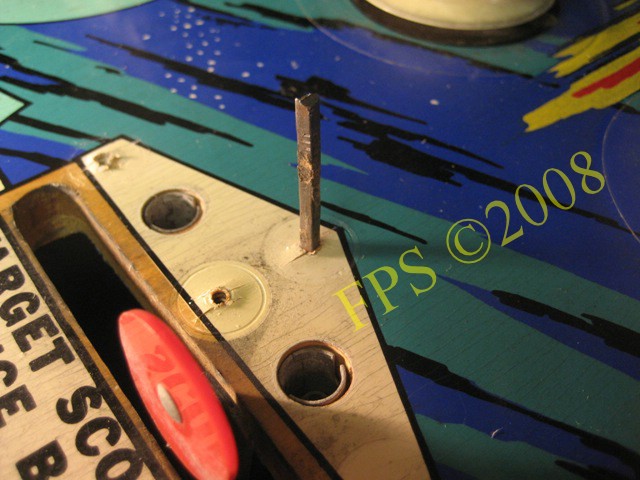
Close up on the steel nail, as we could see on the previous pictures two rubber rings where used when only one rubber ring shall be used. Different types of plastic posts has been used together with steel nail - the person made this must has been really desperate.
 |
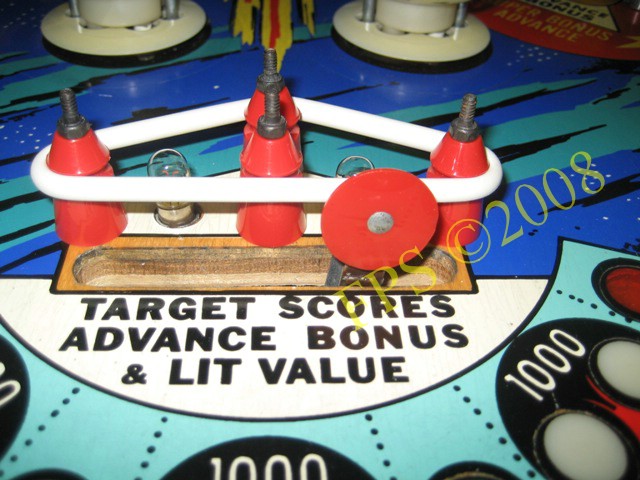 |
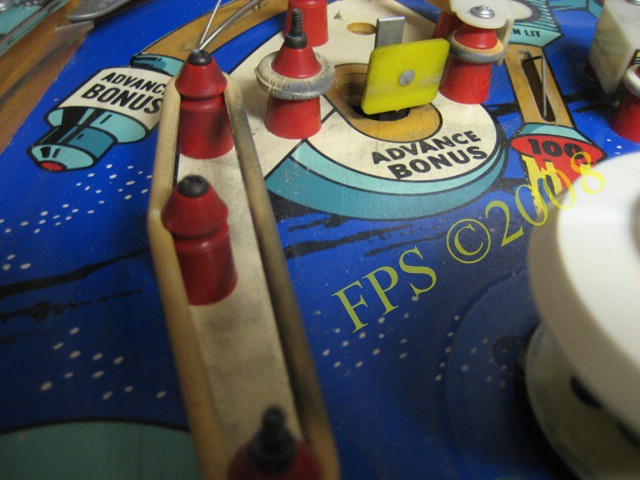
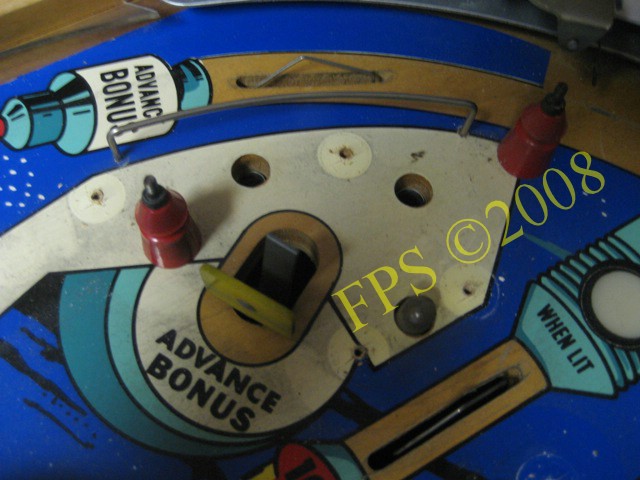
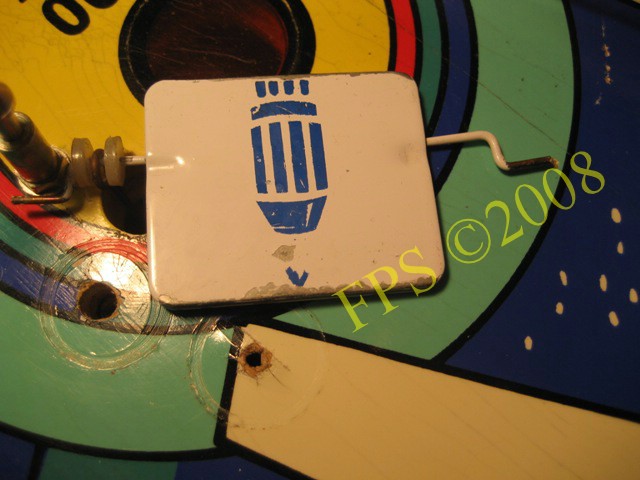
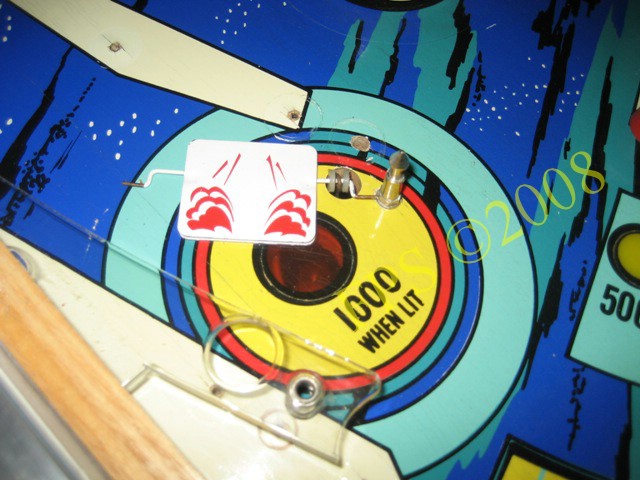
The area after cleaning. The steel nail is removed and replaced with a plastic post of correct type. One rubber ring used around all the plastic posts.

New yellow, Tube Light Shield installed on the lamps.
 |
 |
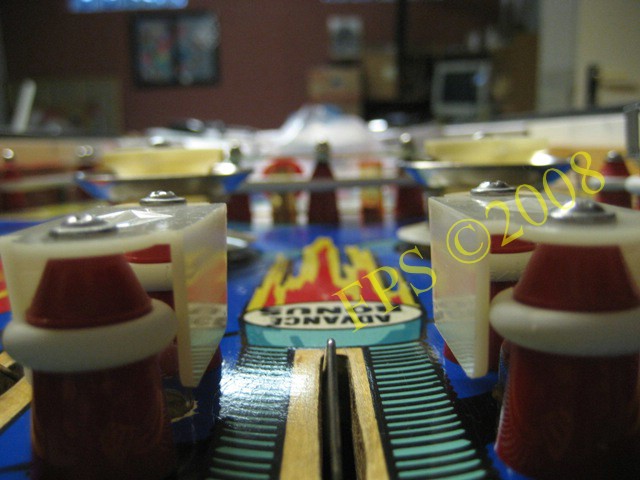
It is never fun to play on a machine with rubber rings as in the pictures.
 |
 |
Overview of the cleaning of the playfield.
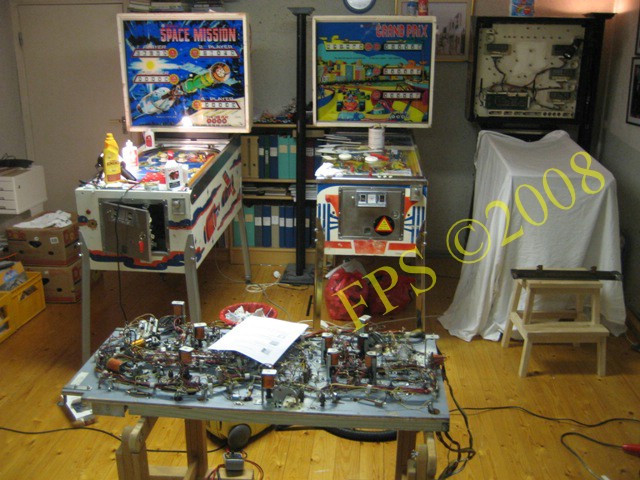
In the pictures I am working on the William Space Mission 1976 and Williams Firepower 1980.
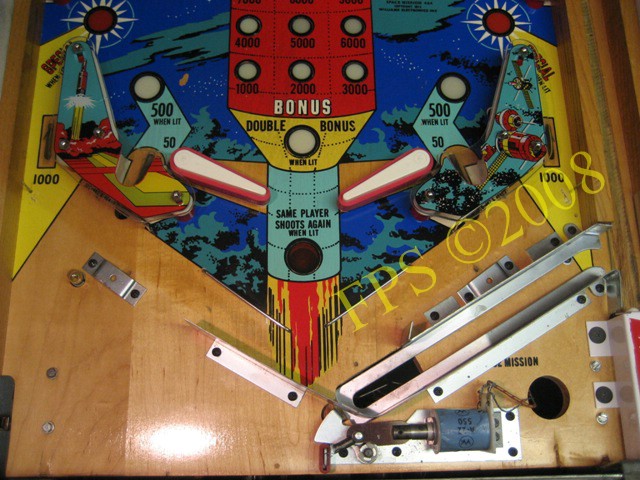
LOWER AREA OF PLAYFEILD
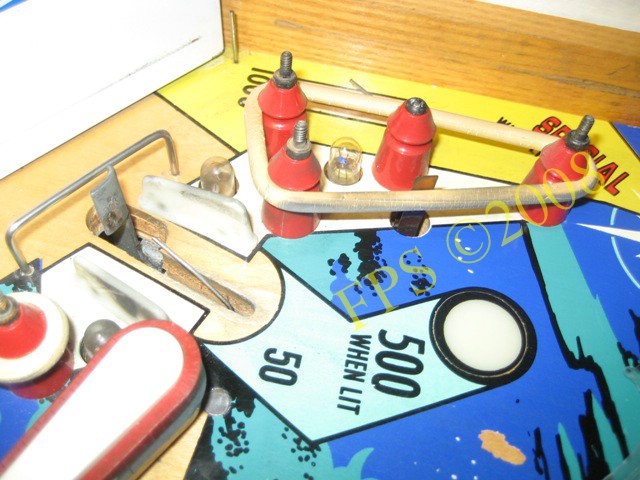
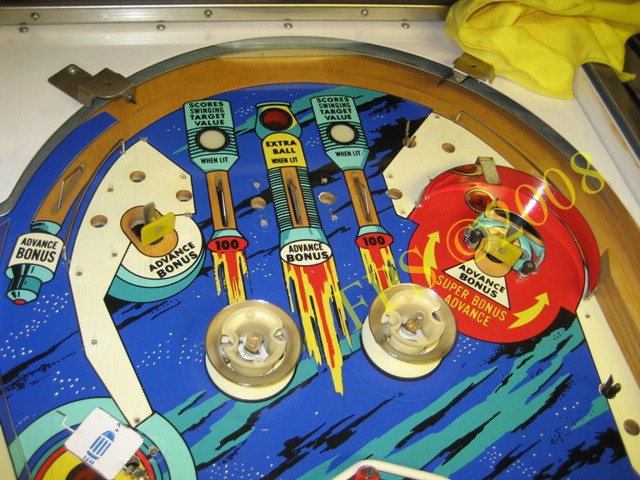
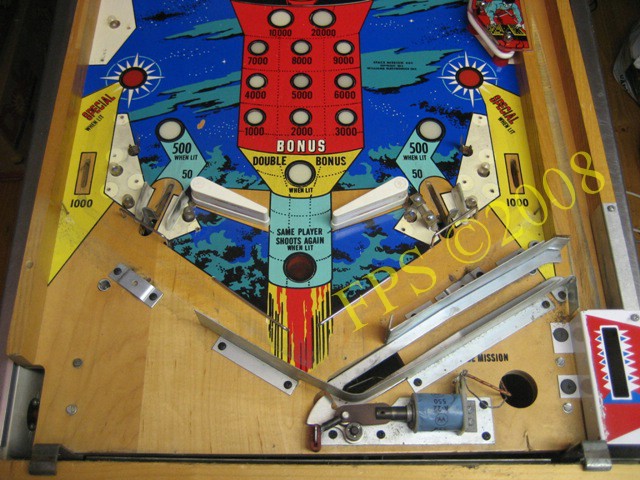
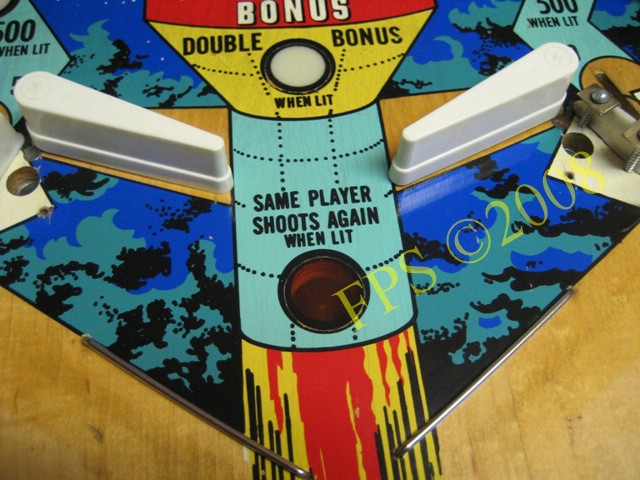
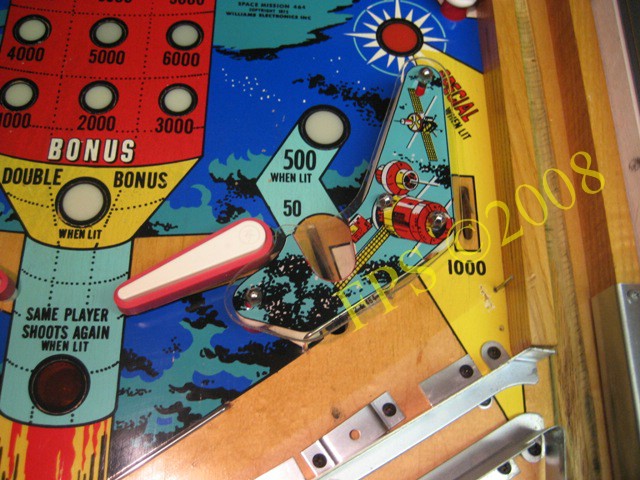
The lower area of the playfield with right kicker - the only major playfield wear is to be found at the 500 WHEN LIT insert. Lower right in the picture.
 |
 |
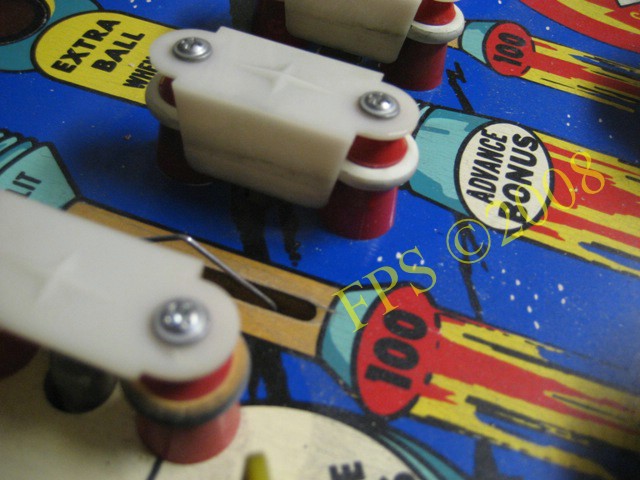
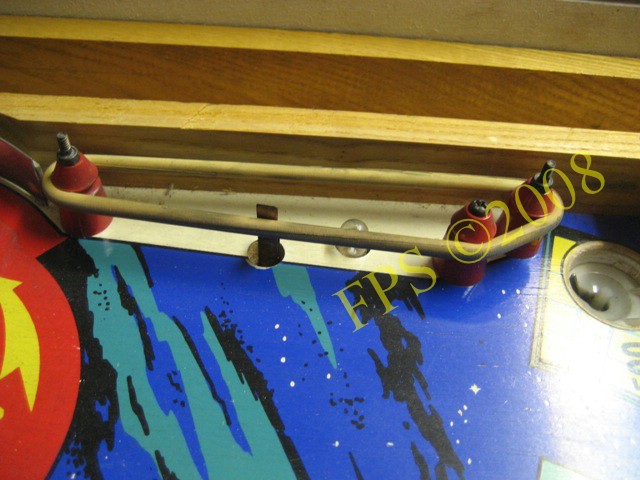
Another example of worn rubber ring and dirt underneath the plastics.
 |
 |
Would you practice ball control with this rubber ring?

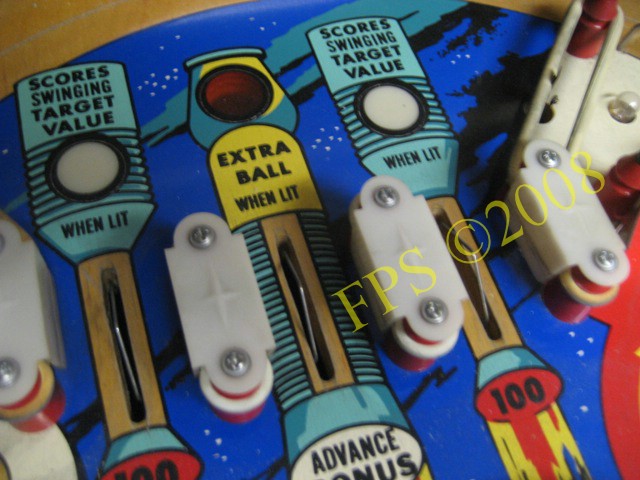
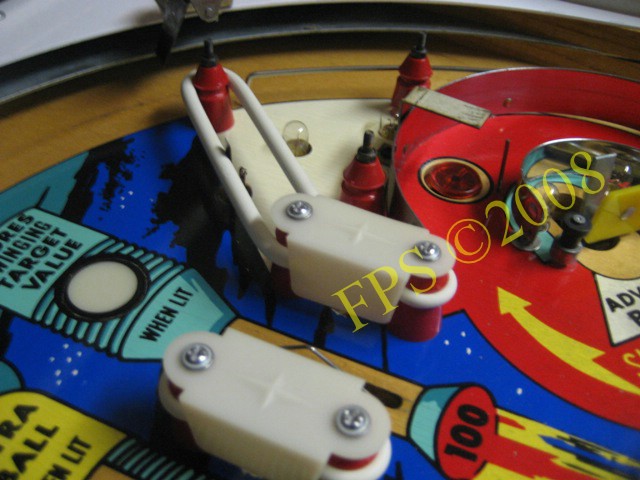
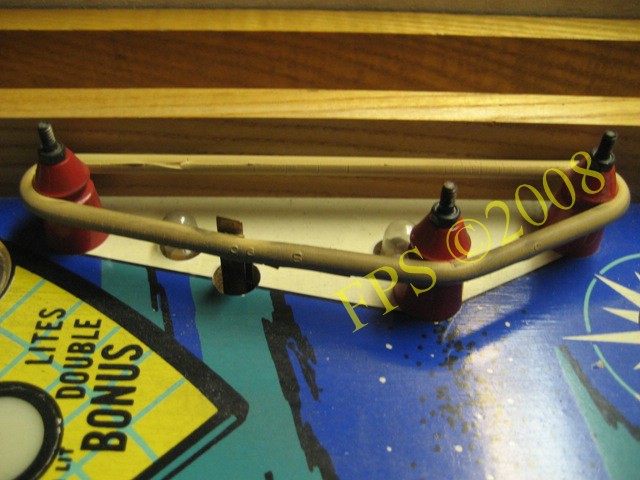
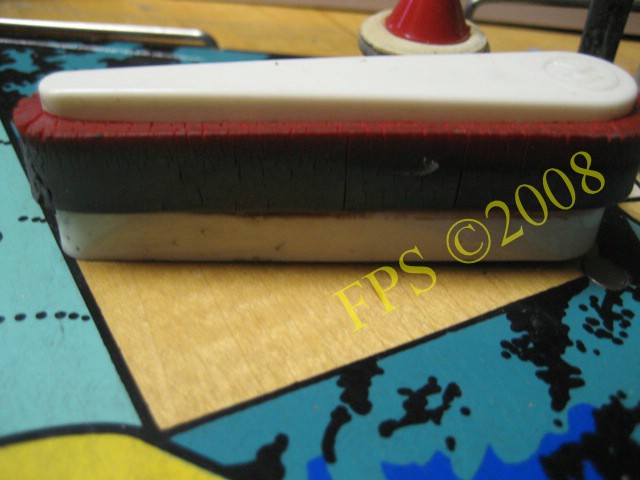
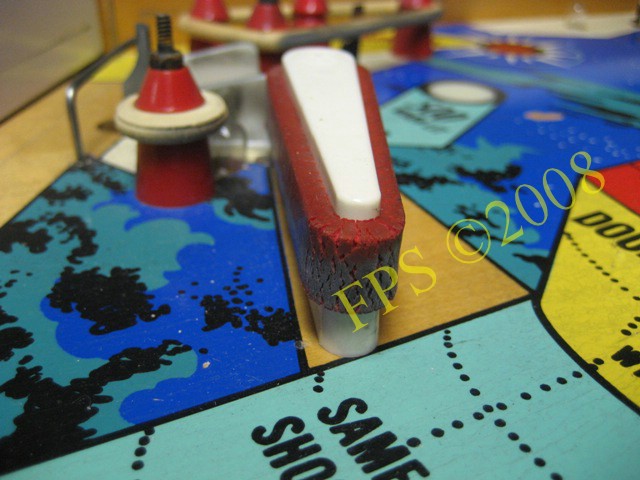
Roll Over Finned Medium White one on each side of the kicker. One of them where broken and is temporary mounted with two to clear for clamps as a fix. I thought it should be hard to find a replacement part but after speaking with Ole at Parts 4 Pinballs in Norway the picture start to clear for me. They found this part at a supplier and nowadays it is in there standard assortment.
 |
 |
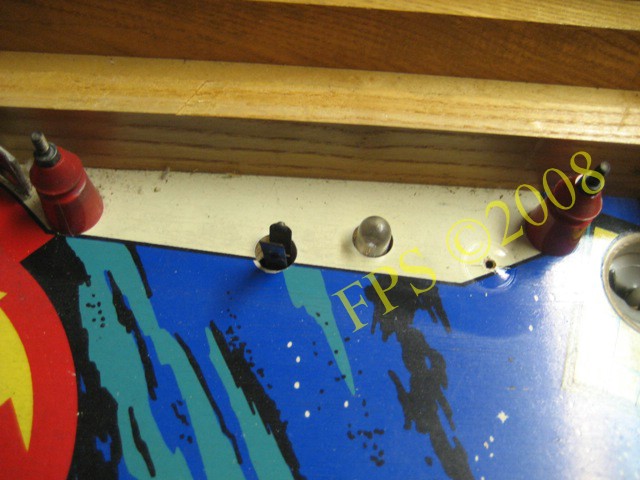
Some more cleaning before all playfield parts/details is installed.
UNDERNEATH BALL ARCH
 |
 |
 |
 |
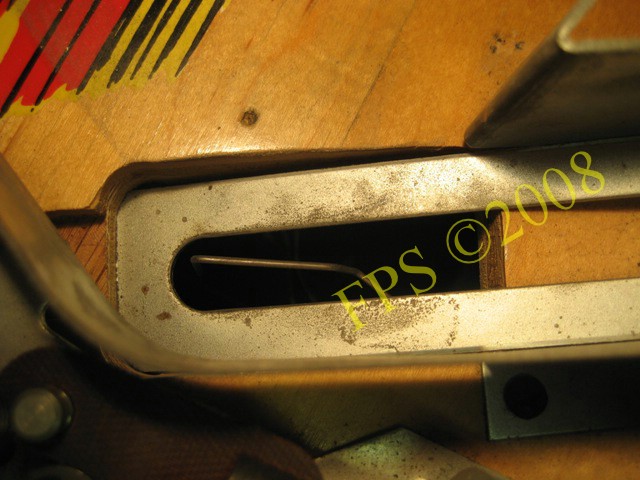
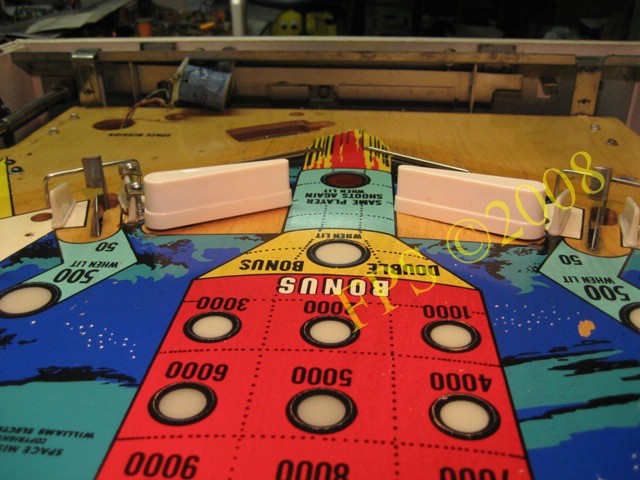
Here is the area underneath ball arch before cleaning.
 |
 |
Area after cleaning.
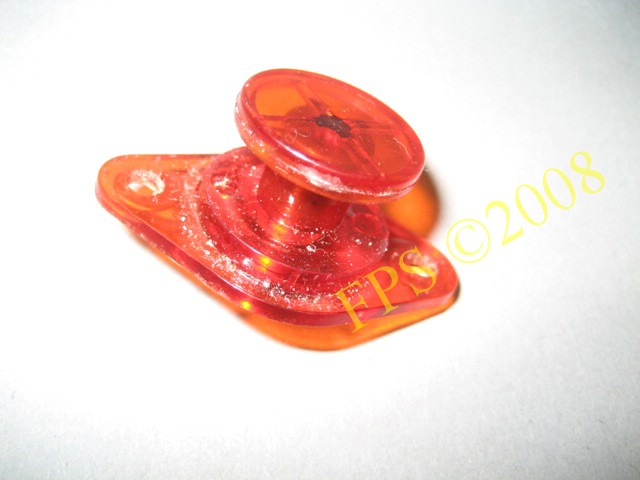
REPAIR PLAYFIELD PLASTICS
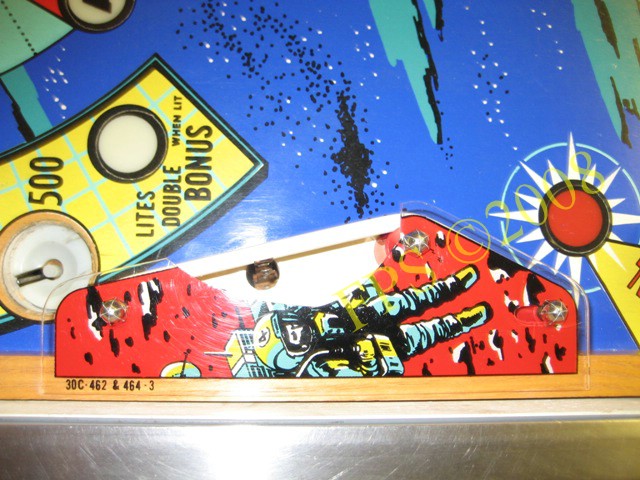
Playfield plastic on the left side of playfield was broken. A large piece of plastic was loose, but fortunately this piece was still left when I bought the pinball.

I repair the plastic by gluing the plastic parts together with Araldite - 2 components glue.
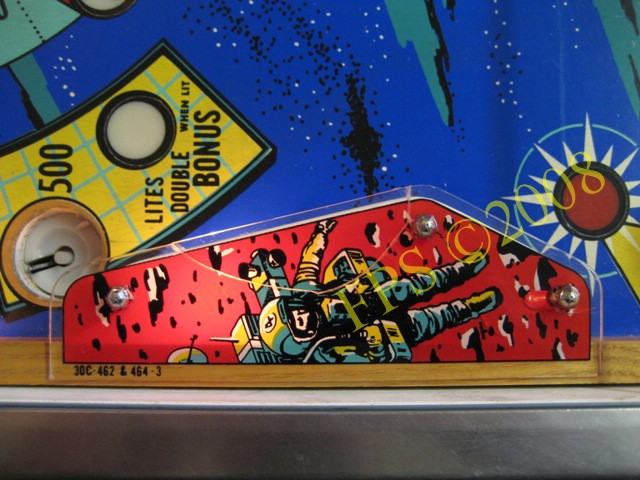
After gluing the plastic the repair is still visible, since the light shines through the glued edge.

In order to mask the repair, I was painting the main color on the backside of the plastic, same color that is visible on the top of the plastic, this will soften the amount of light that shines trhough the glued edge.
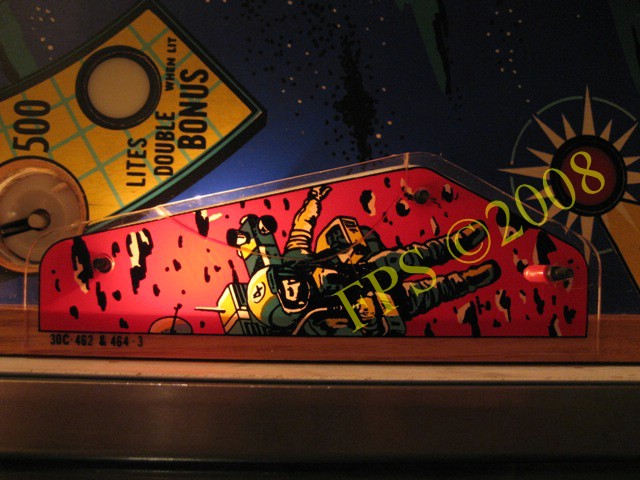
Now is the repair of the plastic not so obvious.
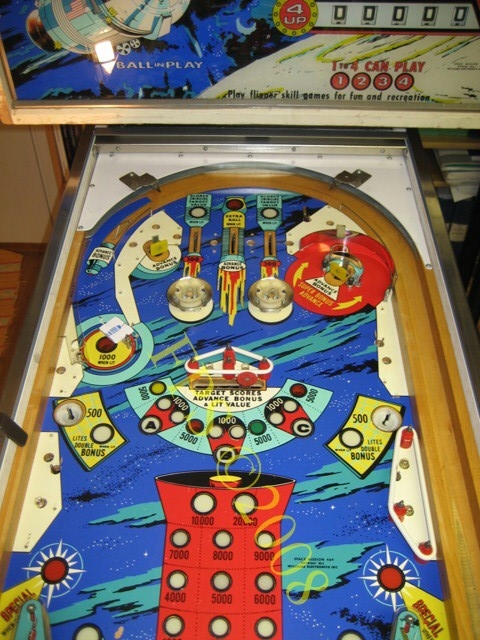
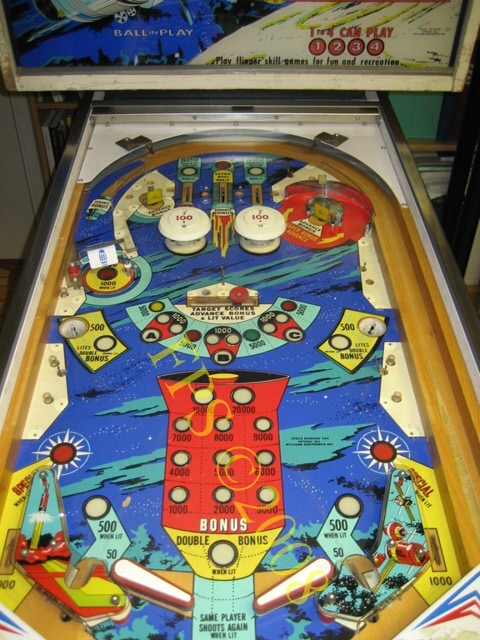
RESULT AFTER REFURBISHING PLAYFIELD


Pleasure and Pinball
© FPS. All right reserved. |
Page Last updated:
2008-12-01 |